Dear Lizzy...Neapolitan is Oh So Sweet!

Happy Thursday to you!

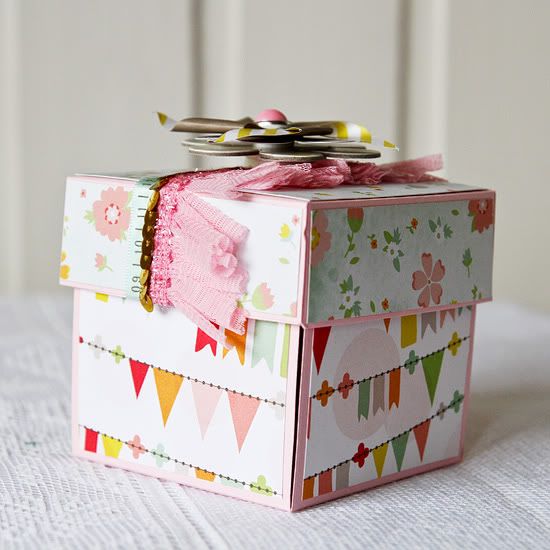
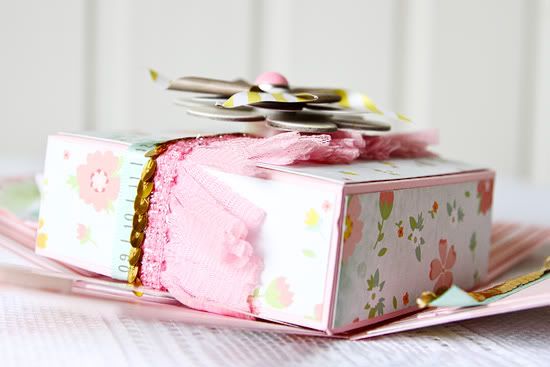
It's hard not to be happy when you work with the sweet Dear Lizzy Neapolitan collection.

We heard time and time again from the designers just how much they enjoyed working with this collection.

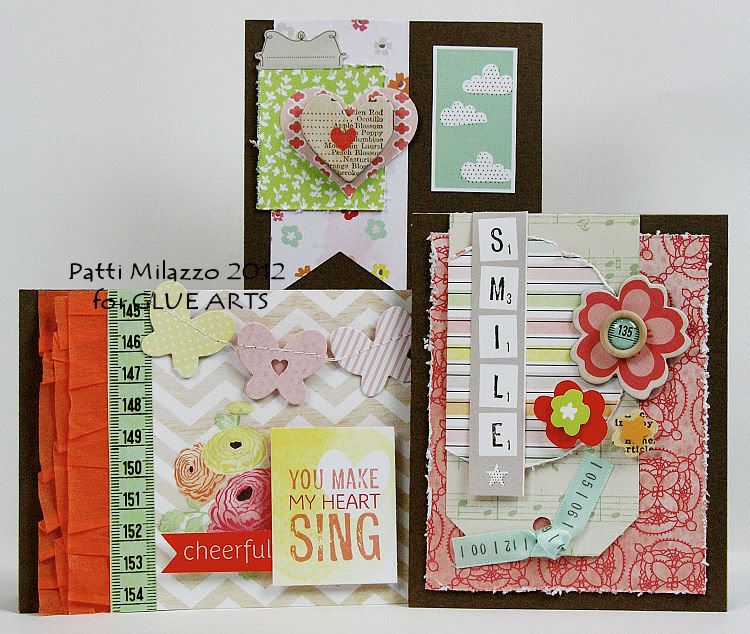
As they say...proof is in the pudding and Designers Patti Milazzo and Glue Girl Julia Sandvoss...are swimming in it!lol Patti has a trio of cards that will definitely "make your heart sing" and GlueArts Adhesives play a key role in helping Patti create!!
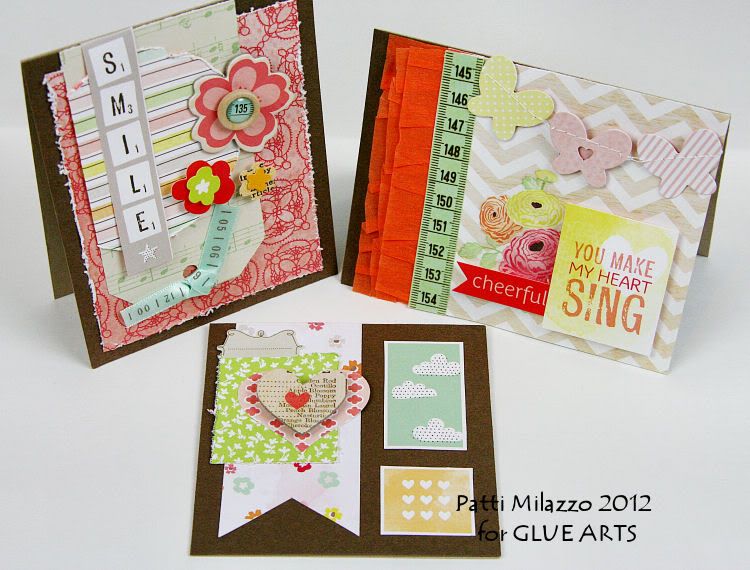
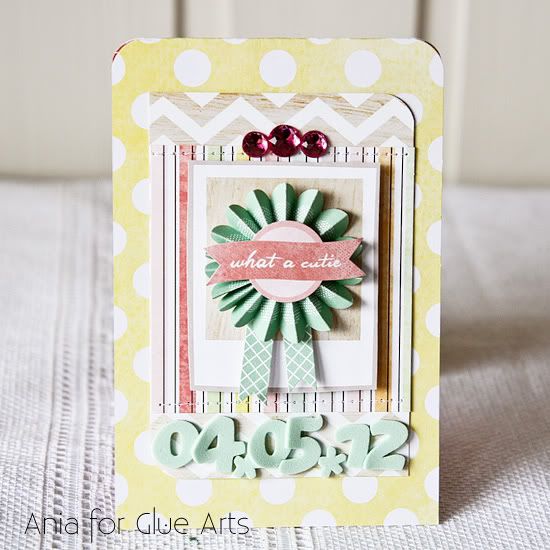

user posted image
Greeting Card Trio


GlueArts Designer: Patti Milazzo
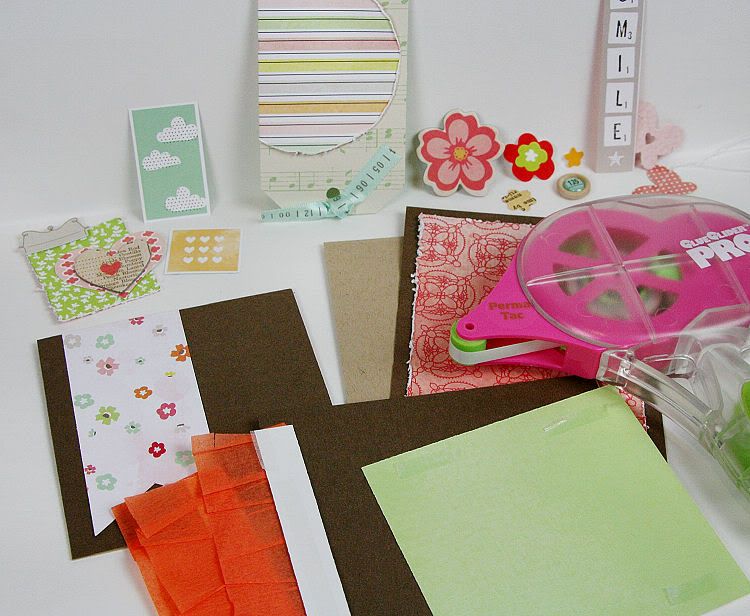
Supply List: 

Glue Arts- 


U-Cut-It Adhesive Foam
Raise ‘Ns

American Crafts:
Dear Lizzie Pattern Paper
Dear Lizzie Chipboard Shapes
Dear Lizzie Rub-Ons
Dear Lizzie Buttons & Accents
Dear Lizzie Accent & Phrase-Sticker Sheet & Sticker Book
Dear Lizzie Ribbon
Neapolitan Paper Garland
Neapolitan Stitched Ruffle Paper

Instructions:
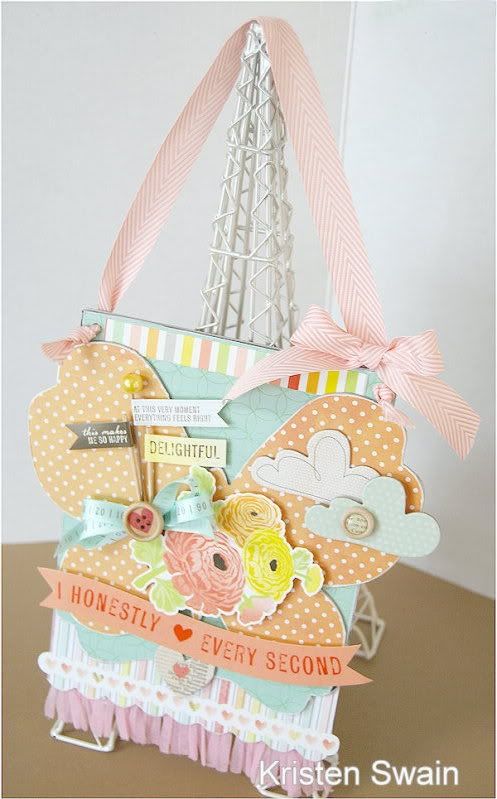
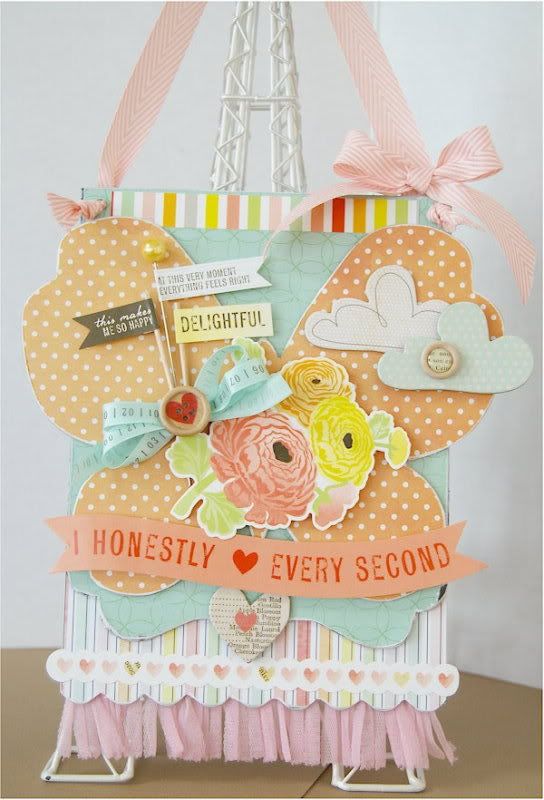
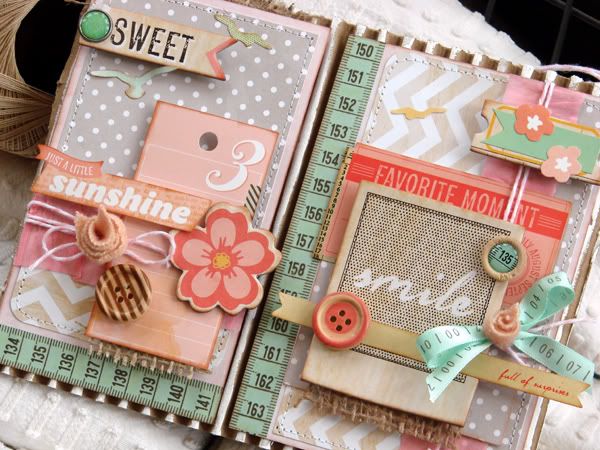
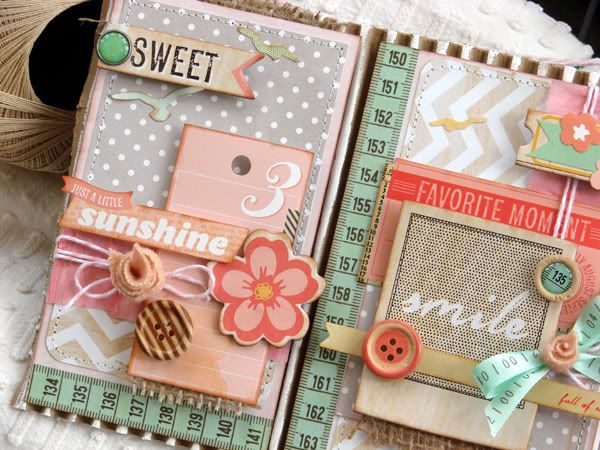
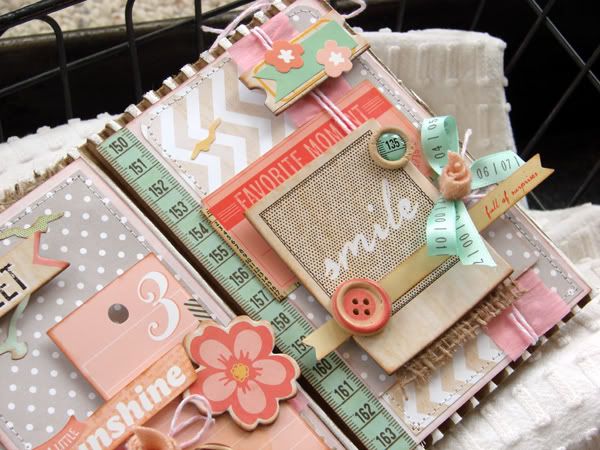
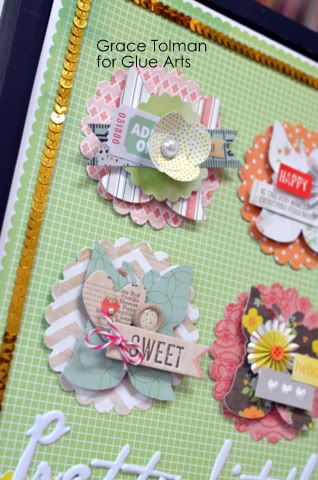
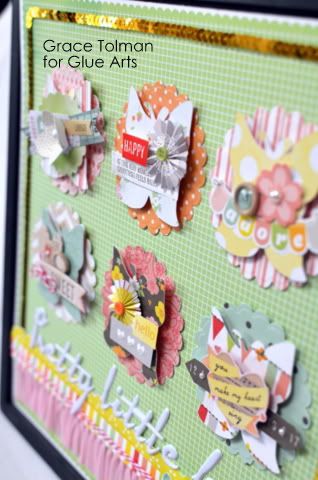
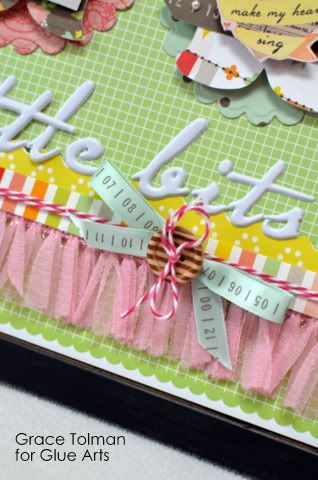
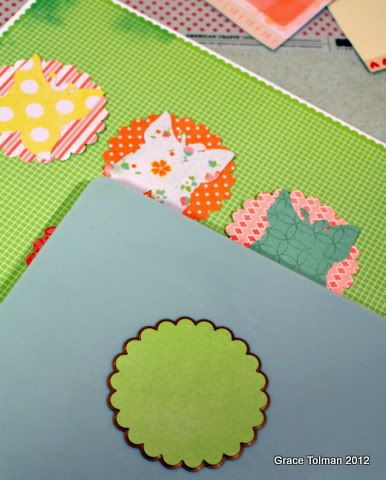
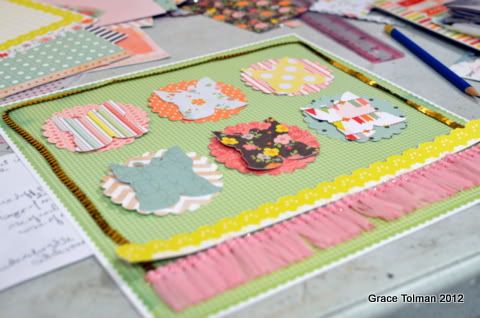
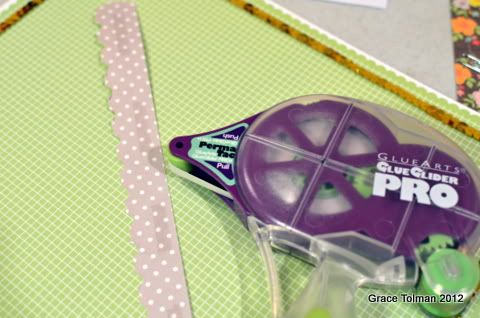
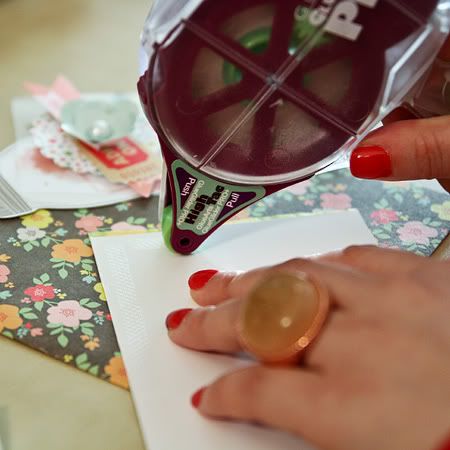
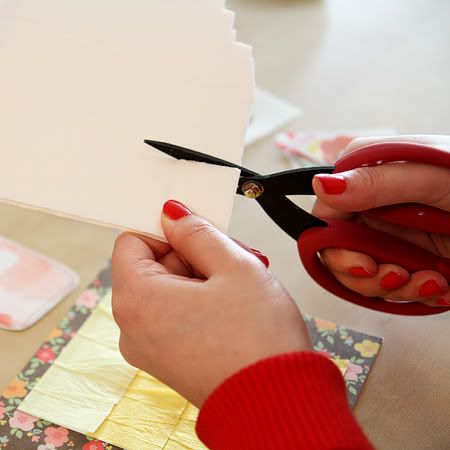
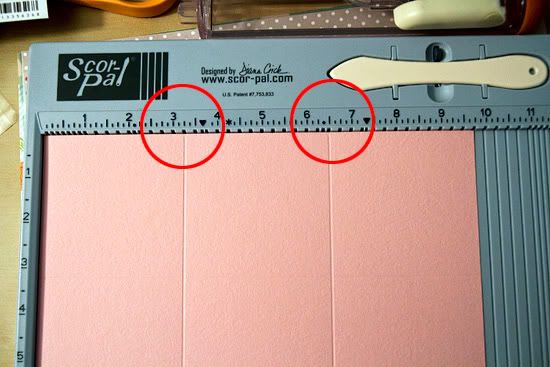
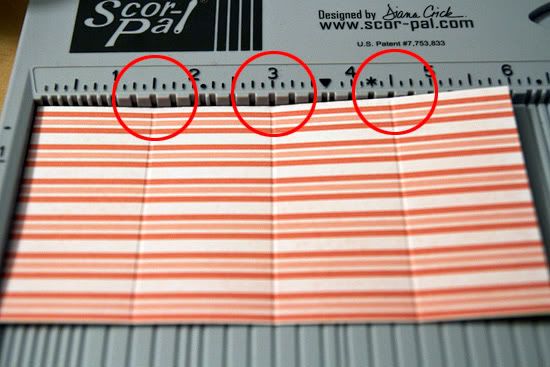
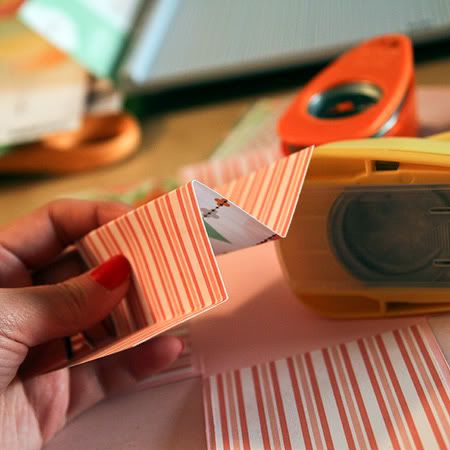
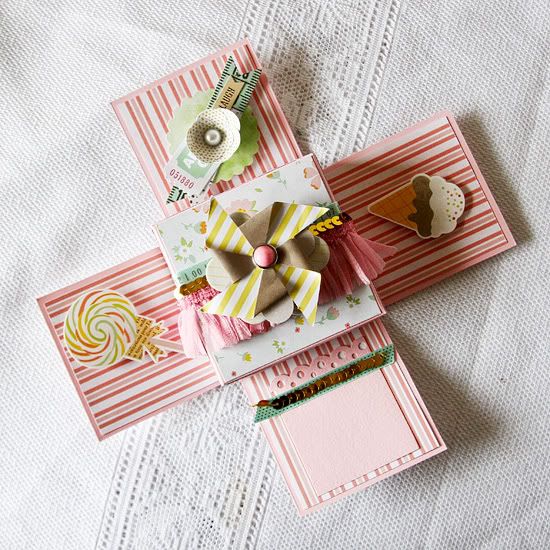
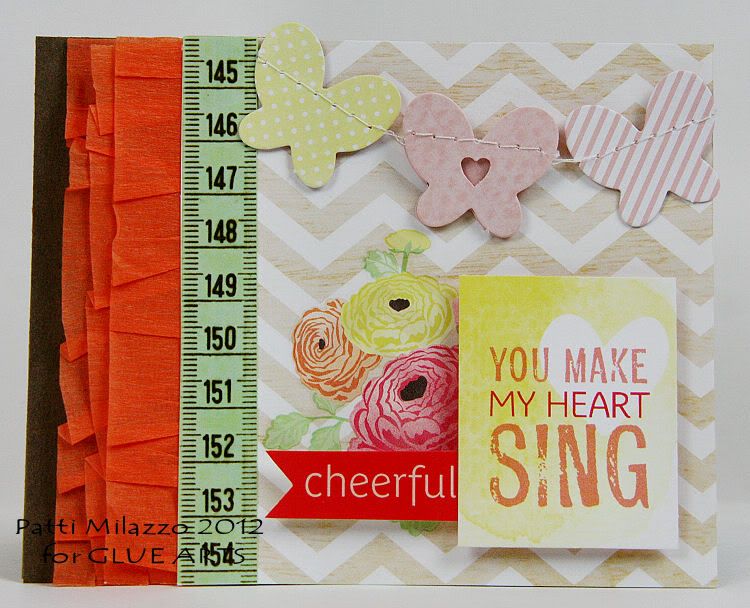
To create these quick greeting cards, start by making 3 small (2-4x6 and 1-4x4) cards from cardstock. Use the Glue Glider Pro to adhere background pattern paper to the front of the card for your designs. I also used the Glue Glider Pro with Perma Tac Adhesive to layer the Dear Lizzie Stitched Ruffle Paper before adhering it to the left of the chevron pattern paper on one card.


user posted image

user posted image

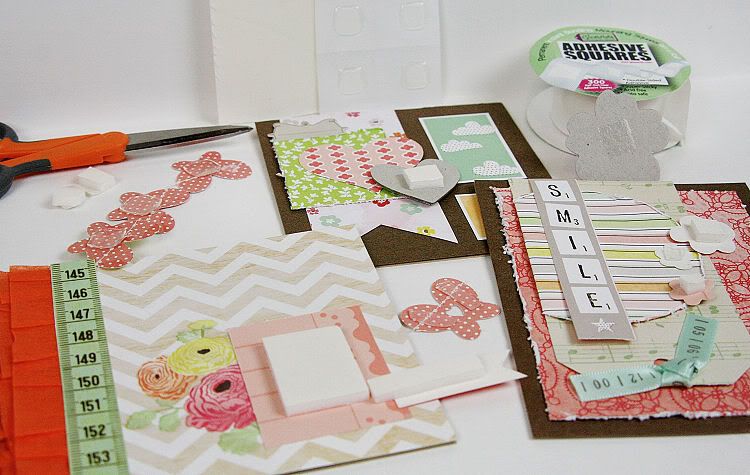
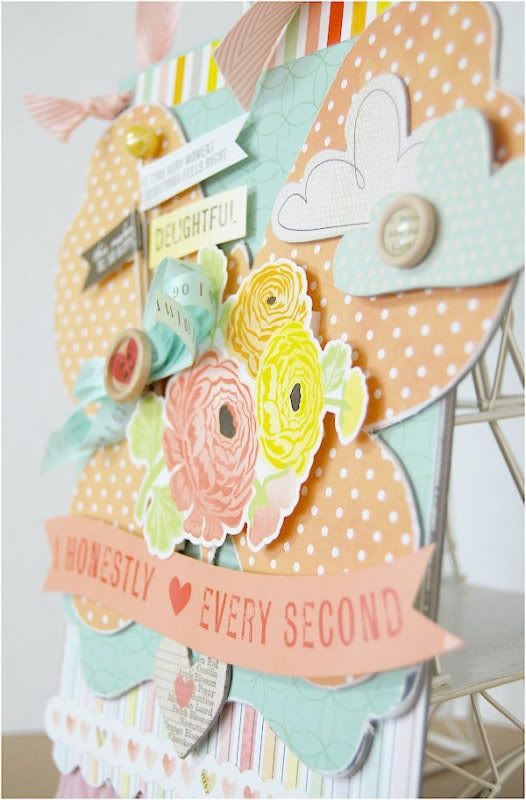
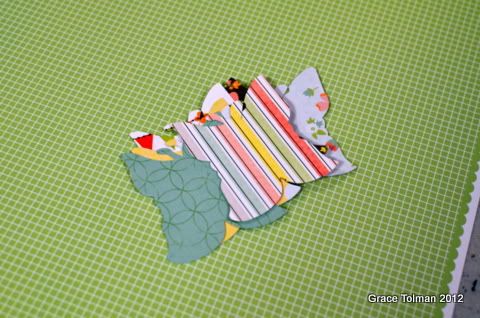
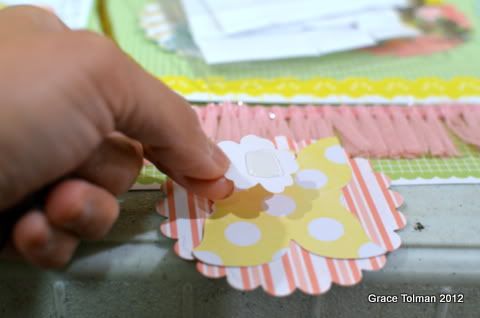
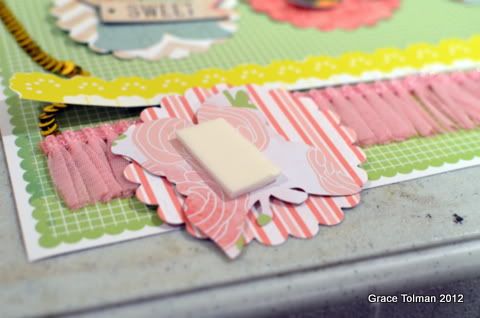
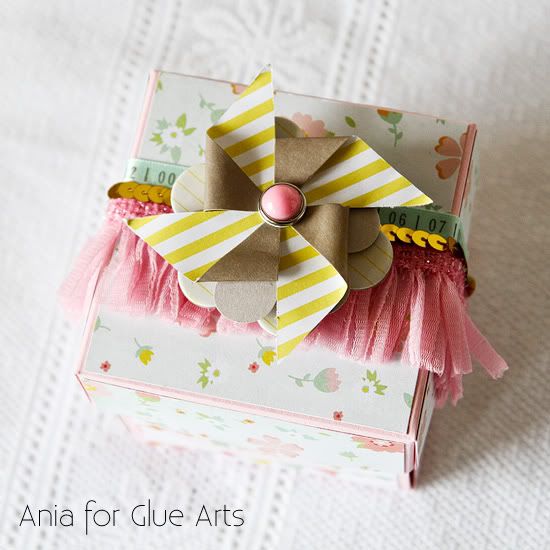
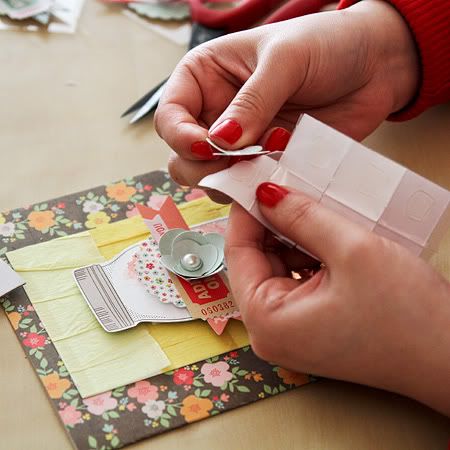
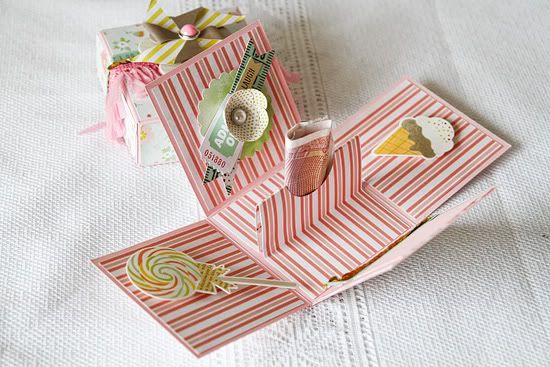
Use both Raise ‘Ns and U-Cut-It Adhesive to give dimension to the accents you choose to add to each card. I added an extra butterfly (with a heart punch in the center) on top of the stringed banner by layering in small cut pieces of Raise ‘Ns. To attach the Dear Lizzie chipboard flower, I applied an Adhesive to the back.

user posted image

user posted image

user posted image

user posted image


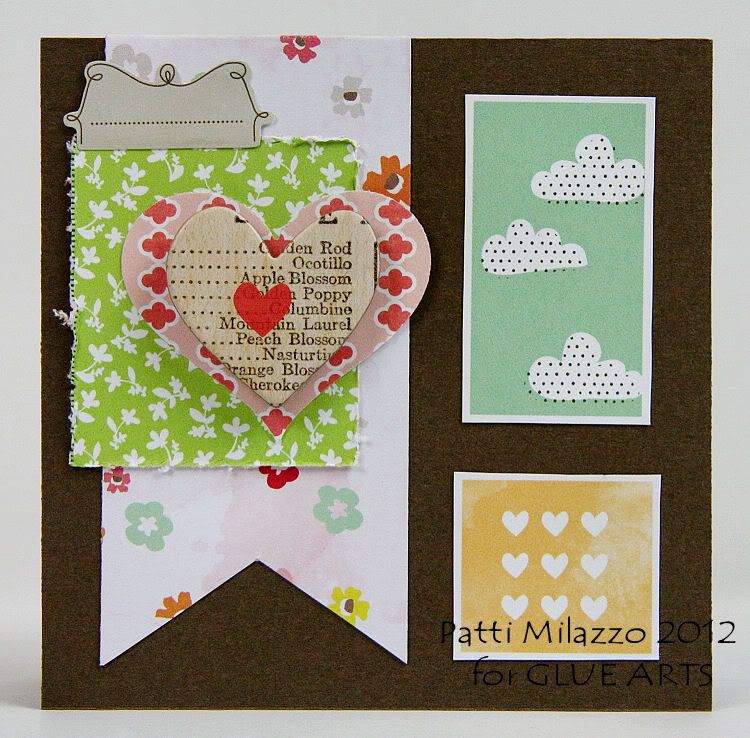
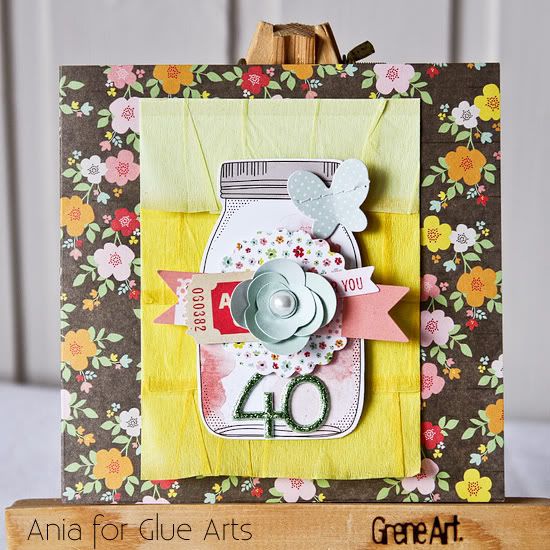
Bottle You Up Layout 
Glue Girl: Julia Sandvoss

Supplies:

GlueArts Adhesive Squares
Dear Lizzy Neapolitan Papers, Vellum & Alphabet Stickers
Doodlebug Cardstock
Fiskars Cloud Punches
Epiphany Crafts Studio Shape Star Tool & Bubble Caps
My Little Shoebox Yellow Alphabet Stickers
Creative Imaginations Color Mist
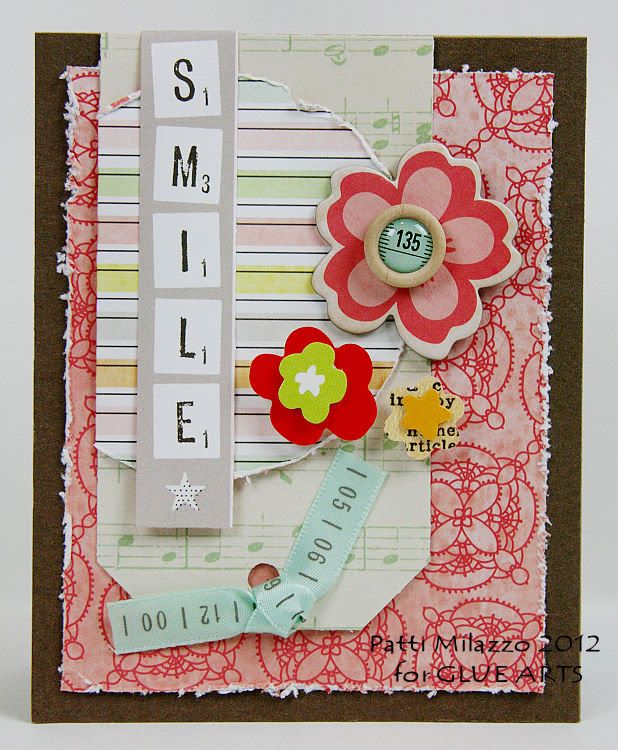


Dance Time Layout
Glue Girl: Julia Sandvoss

Supplies:

Adhesive Squares
Dear Lizzy Neapolitan Papers, Vellum, Stickers, Chipboard & Alphabet Stickers
Maya Road Pin
May Arts Ribbon
Fiskars Scallop Border Punch
Marvy Scallop Heart Punch

Designer Note: I layered a strip of the dotted vellum over my ribbon for a fun look!


So how would you like to win this amazing collection?


Our incredibly generous (did we say generous?/!!) friends at American Crafts were kind enough to send an amazing kit filled with the Dear Lizzy Neapolitan collection. It's filled with papers, stickers, buttons, alphabet stickers...and on and on. We'd like to send this to you...so please post us a comment. We'd love to hear how many of you are using GlueArts Adhesives. And if not...what is first on your list to try. Already shared with us this week...well heck...how about what is YOUR favorite flavor of ice cream then!lol

Then we'll select one random winner from this week's comment and post their lucky name right here next Monday. All it takes is one comment and it might be YOU!

Do stop by tomorrow...we have so many beautiful projects to share with you this week that we know you will not want to miss a day!
You have read this article 3D Combo Pac / Adhesive Squares / Dear Lizzy / Glue Gilder Pro / Julia / Patti / U Cut It Foam with the title May 2012. You can bookmark this page URL http://skinnyminny22.blogspot.com/2012/05/dear-lizzyneapolitan-is-oh-so-sweet.html. Thanks!

"Dear Lizzy....You Are Delightful!" Said GlueArts!


Soft sweet colors, feminine embellishments....flowers, ice cream, strawberries and more!

All of this is part of the beautifully delicious Dear Lizzy Neapolitan collection!


Today Designers Kristen Swain and Audrey Pettit are going to have your sweet tooth crying out...they're just so soft and sweet! GlueArts Adhesives though..can't be beat! (nothing wrong with a little rhyming on a Tuesday!)

user posted image
Delightful Wall Hanging
GlueArts Designer: Kristen Swain 

Supplies: 


American Crafts- Dear Lizzy collection- ribbon, paper, stickers, chipboard, ribbon,buttons


ribbon- May Arts
chipboard album- bobunny and Maya Road
sand paper
toothpicks


user posted image

Instructions:

1. Cover each album shape with paper, glue into place and sand off edges.


2. Adhere chipboard pieces together using Adhesive Squares.


3. Add foam tape to back of stickers and chipboard and adhere to butterfly.

4. Adhere ribbon tulle to bottom of chipboard using Adhesive squares, also add ribbon bow and button on knot.


user posted image

5. Add U Cut It Foam to large banner, then adhere to butterfly. Make banners with stickers, toothpicks and U Cut It Foam.


6. Punch holes at top of banner, thread ribbon through and tie knots.


user posted image

user posted image
Just a Little Sunshine Hanging
GlueArts Designer: Audrey Pettit

Supplies:

Glue Arts Glue Glider Pro+ High Tac 
Glue Arts U Cut It Foam Adhesive
Glue Arts Extreme Adhesive Squares

American Crafts- Dear Lizzie Neapolitan Collection:
Patterned Paper, Stitched Ruffle Paper, Accent & Phrase Stickers, Printed Chipboard Shapes, Ribbon, and Buttons & Accents

Corrugated Board: Zutter
Brad: Basic Grey
Twine: The Twinery
Ink: Clearsnap
Paint: Delta
Corner Rounder: EK Success
Wool Fabric and Burlap


user posted image

1. Paint corrugated board with white acrylic paint.

2. Cut two pieces of patterned paper to size for your corrugated board. Layer with contrasting papers. Round the corners of some of the papers and machine stitch in place. Edge blocks with brown ink and adhere to the base.

3. Adhere strips of Stitched Ruffle Paper. Wrap twine around the ruffle paper and tie into simple bows.


user posted image

4. Embellish with cardstock stickers, chipboard, brad, and buttons. Adhere some of the pieces with Glue Arts U Cut It Foam Adhesive for dimension. Use Extreme Adhesive squares to attach others.

5. Roll small strips of wool fabric into flower rosettes and adhere using adhesive squares. Adhere small strips of burlap fabric for texture.


user posted image

6. Punch two small holes in the top corners of the corrugated board. Tie with Twine to create a hanger. 


So tell us...are you are love with this amazing collection yet?


Our incredibly generous (did we say generous?/!!) friends at American Crafts were kind enough to send an amazing kit filled with the Dear Lizzy Neapolitan collection. It's filled with papers, stickers, buttons, alphabet stickers...and on and on. We'd like to send this to you...so please post us a comment. We'd love to hear how many of you are using GlueArts Adhesives. And if not...what is first on your list to try.

Then we'll select one random winner from this week's comment and post their lucky name right here next Monday. All it takes is one comment and it might be YOU!

Do stop by tomorrow...we have so many beautiful projects to share with you this week that we know you will not want to miss a day!
You have read this article Adhesive Squares / Audrey / Dear Lizzy / Glue Gilder Pro / High Tac / Kristen / Pro+ / U Cut It Foam with the title May 2012. You can bookmark this page URL http://skinnyminny22.blogspot.com/2012/05/lizzyyou-are-delightful-said-gluearts.html. Thanks!

The ScrapCake: May Kitchen Feature

We have been cooking up some ScrapCake paper crafting treats for you over on The ScrapCake blog.
  
As much as I love to indulge in making and of course eating something of the sweet variety; I also love the decorations that one will dress a cake with. So today I have decided to share something a little different.  I have taken my scrap supplies to the kitchen.  My mother in law is an avid cake decorator and I am always constantly amazed at what she will come up with.  It truly is amazing what one can create with icing.  Anyway, it got me thinking about making a cake topper of my own created from the One Moment In Time patterned paper variety. 

 I started with a round chipboard base which I covered with patterned paper.  A pretty die cut paper doily was attached to the bottom so that the delicate lace edges peek around the edges.  Some hand out and punched elements were added along with some other embellishments. A little 3 dimensional dome/cone element was created to sit at the back and a flower created from punched die cuts and patterned paper sits at the front. 
A little 'love'tag is the perfect sentimental touch.
One Moment In Time collection
You have read this article Altered Projects / Prima / The ScrapCake with the title May 2012. You can bookmark this page URL http://skinnyminny22.blogspot.com/2012/05/the-scrapcake-may-kitchen-feature.html. Thanks!

Dear Lizzy....Crafts, Creations & More!


A pinch of pink, a dash of cute and a sprinkle of sweet all mixes up into the every so lovely Neapolitan line from Dear Lizzy!

If you adore soft and feminine with alot of fun...you must pick up some of this sweet collection!


All this week our talented team of Designers created with this fun line....just you wait till you see what all they've made.... 


user posted image

user posted image

user posted image

user posted image

Supplies Used:


Pattern papers, chipboard shapes, stickers, ribbon, buttons, rubon, premade embellishments – Neopolitan, Dear Lizzy, American Crafts
Twine- Pink Sorbet, Twinery
Die cut machine- Spellbinders, Cricut
Cartridge- Storybook, Cricut, Provo Craft
Dies- Classic Scallops large, Spellbinders

I loved everything about this new line from American Crafts and Elizabeth Kartchner. It’s so sweet and all the premade embellishments are well layered that all you had to do was place them on your projects. I decided to play with ALL of the products by layering them into a framed art. With the help of the Glue Arts adhesives, I was able to create texture and dimension and bring all the goodies to life in this art. 

Here’s the instructions to make your own framed art…


user posted image


First off pick six patterns that you will cut your butterflies from. Using the Cricut die cut machine with the Storybook cartridge, cut out 6 butterflies measuring 2 ½”. 


user posted image 


Next, pick 6 more pattern papers to cut out scallop circles to go behind the butterflies. Run them through the Grand Calibur die cut machine using the Classic Scallops large die from Spellbinders. 


user posted image


Arrange the pieces on the paper background and lay some trims and papers BUT don’t adhere them yet, so you can move them around if necessary. 


user posted image


After that you can start putting together the layers of scallop circle to the butterfly cut and then other embellishments you want to add on top of that. This is where the fun begins and using the U cut it foam, Raisen’s, Extreme and Mini Squares will make the process easier and more efficient. 


user posted image

user posted image

user posted image 


After you have embellished the butterflies, you start adhering the trims. Start with the sequin border using the ribbon adhesive. 


user posted image 


Then add the paper border strip and pink trim on the bottom. Use Perma tac for the paper border and more ribbon adhesive for the trim. 


user posted image 


Wrap some twine with the layered border strip on the bottom and adhere the ends to the back of the paper. Tie a bow from the blue number ribbon and adhere that to the left edge of the border strip using mini square adhesive. Finish off the bow with a button and some more twine. 


user posted image
Gift Box & Card Set
GlueArts Designer: Ania Lexander


Glue Arts supplies:


Other:
American Crafts Dear Lizzy collection
Maya Road Kraft Owls
Sewing Machine
Doodlebug bling

I truly adored what we got to work with from American Crafts, and whipped up three cards in no time! The huge array of premade embellishments makes it so easy for the busy scrapper to put together a card that isn't only fast to create, but actually looks thoughtfully put together! Love that!


user posted image
2x Cards:
I needed a card for a colleauge who turned 40. This is what I came up with:

user posted image
Adhere a square of the fun ruffled cardstock to the card base.
user posted image
Use the U Cut it 3d foam to create dimension on the card.
user posted image
And for real stickiness & subtle dimension, use the adhesive squares in your crop&glue high tack pack for the embellishments.

user posted image
The second card's for a newborn babygirl. Love the modern flair to this babycard!

user posted image
I couldn't help but slipping these Kraft Owls on the inside of the card by the way. The babygirls' parents are bird lovers (both working in the field of ornithology as far as I know tongue.gif).

user posted image
Now, this box takes admittedly a little longer time to create than the regular cards, but it's still very quick to whip up and especially quick to embellish with the premade embellishments from AC.

user posted image
First: Create your base. I made mine so that I could use 3" squares of patterned paper to create the sides of the box. Score the sides according to the picture if you want the same sized box as mine. Cut out the outer corners so that you get a "cross" for your actual box.

user posted image
I've seen an increasing popularity in creating such folders for giftcards or money in regular cards, but it wasn't until I saw this idea by Zuzia (LINK:http://blog.thescrapcake.com/2012/05/amazi...-idea-by-zuzia/ or to my pin: http://pinterest.com/pin/71424344060697834/) I realized I should combine these two ideas into this one.

user posted image
To do so, start with a sheet of patterned paper in the same pattern as the inner pages. If you're following my measurements, these are the measurements for this one (see picture).

user posted image
Fold...
user posted image
..and cut w/a circle puncher.

user posted image

And as for the box topper, just cut a square and score as following in the picture.
Snip/cut in the sides, fold and adhere so you get a little box.


user posted image

user posted image

user posted image


So how would you like to win this amazing collection?


Our incredibly generous (did we say generous?/!!) friends at American Crafts were kind enough to send an amazing kit filled with the Dear Lizzy Neapolitan collection. It's filled with papers, stickers, buttons, alphabet stickers...and on and on. We'd like to send this to you...so please post us a comment. We'd love to hear how many of you are using GlueArts Adhesives. And if not...what is first on your list to try.


Then we'll select one random winner from this week's comment and post their lucky name right here next Monday. All it takes is one comment and it might be YOU!


Speaking of winners...it's time to announce last week's Want2Scrap/GlueArts winner and that is..


 Annette said...
LOVE THESE...the Sweet Treats is so pretty and totally love the shape of that super fun Hockey Cheer Chipboard album...thanks for sharing...very inspiring..
May 22, 2012 10:07 AM

Congrats to you Annette! Please email me at Gluegirl@gluearts.com with your information. Do stop by tomorrow...we have so many beautiful projects to share with you this week that we know you will not want to miss a day!
You have read this article Ania / Crop and Glue / Dear Lizzy / Extreme Adhesive Squares / Glue Gilder Pro / Grace / High Tac / Mini Adhesive Squares / Perma Tac / U Cut It Foam with the title May 2012. You can bookmark this page URL http://skinnyminny22.blogspot.com/2012/05/dear-lizzycrafts-creations-more.html. Thanks!