As the end of the school year winds down, every searches for that special way to thank a teacher, coach, classroom helper...and the list goes on.
Today Designer Patti Mliazzo has a beautiful way to do just that thanks to Lily Bee products, Epiphany Crafts Tools and Bubble Caps...and GlueArts of course! And our talented gal, Andrea Budjack offers us a beautiful layout based on the Lily Bee sketch (see yesterday's blog post) celebrating her children!


Be sure to stop by the Lily Bee blog to see what they're up to with this sketch and how you can get involved!! Remember to use your GlueArts adhesives on your layout too!!

Today Designer Patti Mliazzo has a beautiful way to do just that thanks to Lily Bee products, Epiphany Crafts Tools and Bubble Caps...and GlueArts of course! And our talented gal, Andrea Budjack offers us a beautiful layout based on the Lily Bee sketch (see yesterday's blog post) celebrating her children!
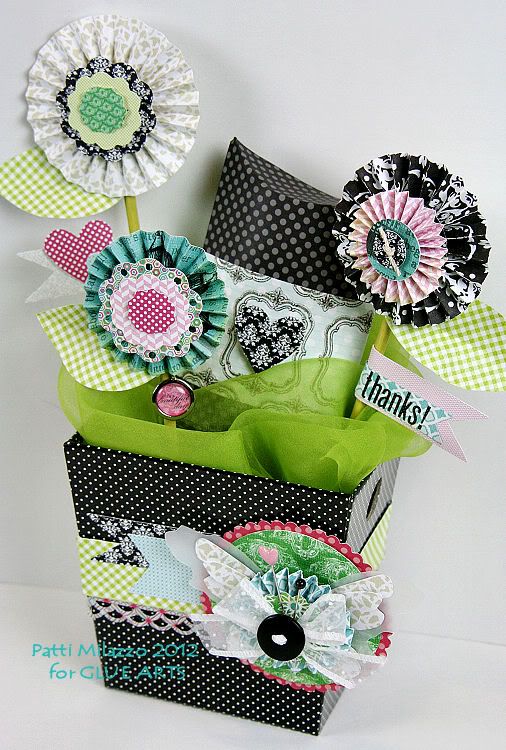
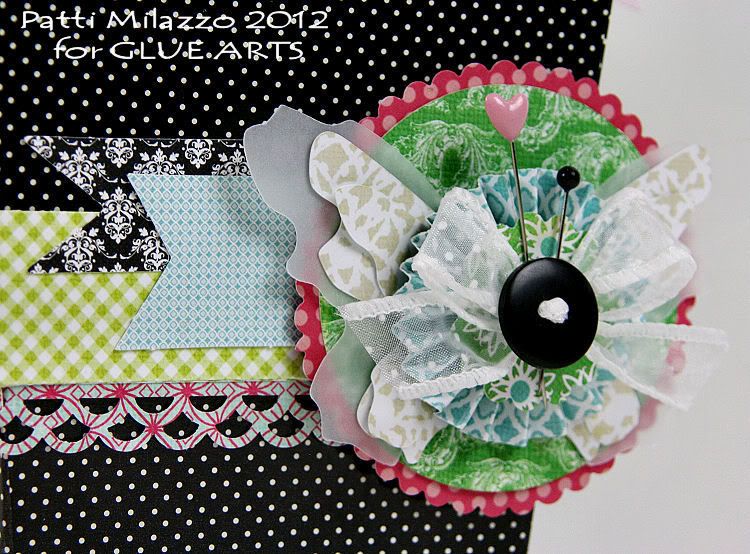
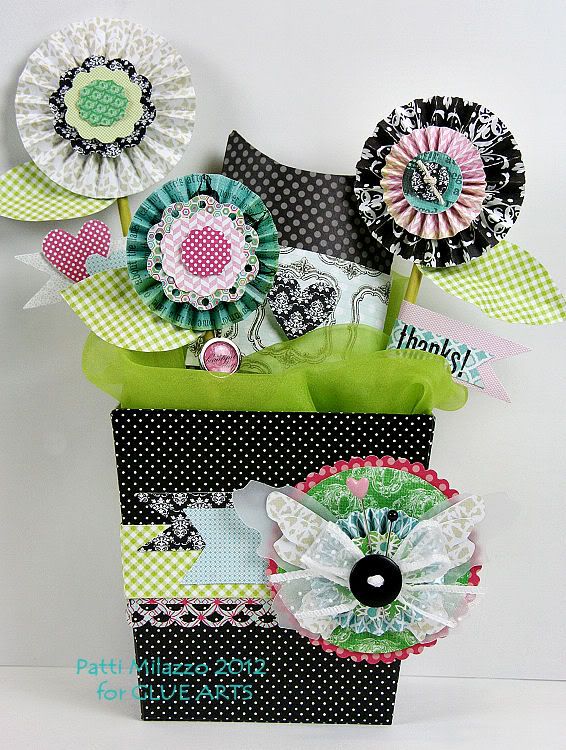
"Thanks!" Gift Tote with Rosettes
GlueArts Designer: Patti Milazzo
Supply List:
Glue Arts-
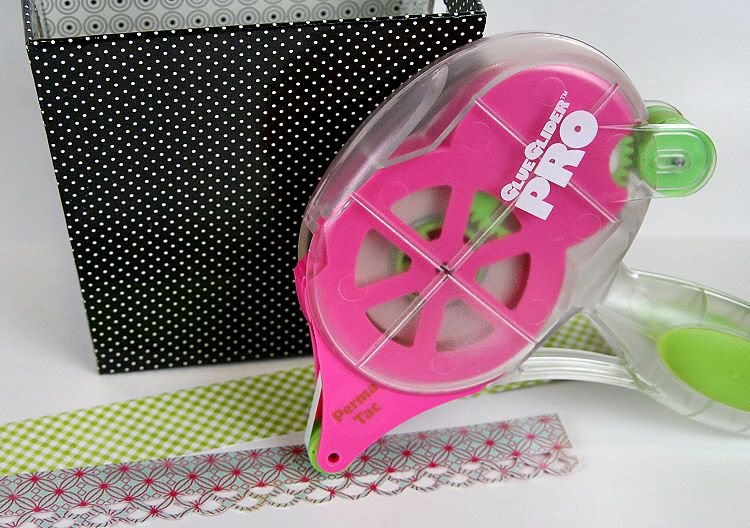
Glue Glider Pro
U-Cut-It Adhesive Foam
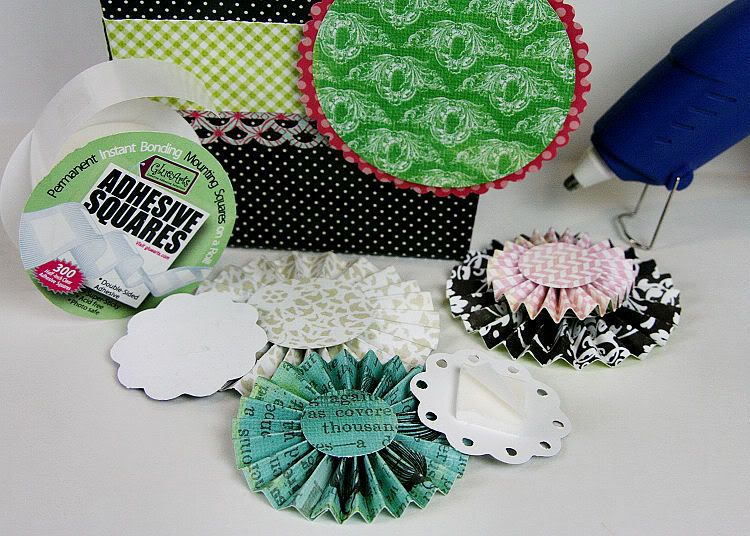
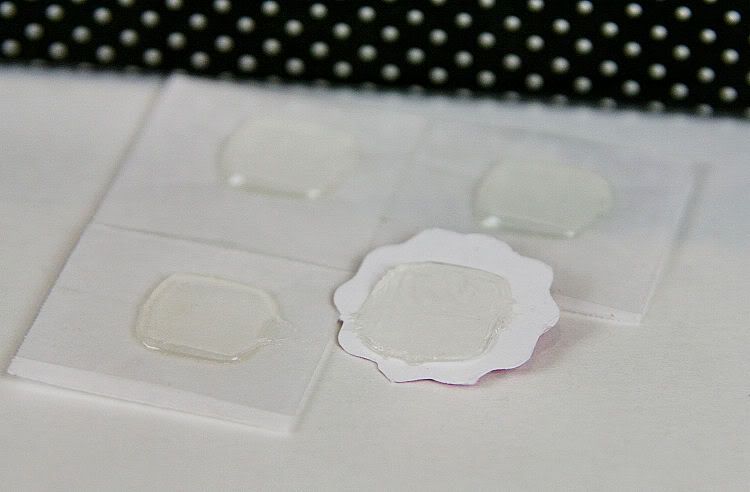
Adhesive Squares
Extreme Adhesive Squares
Glue Gun
Glue Gun Stick Refills
Lily Bee:
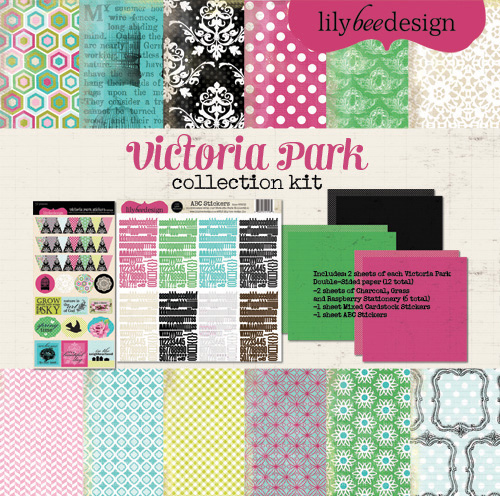
Victoria Park Collection Kit
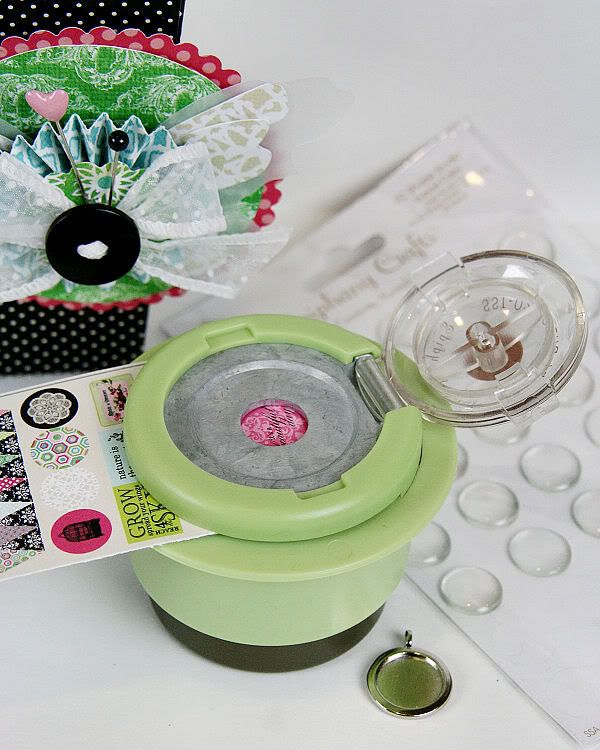
Epiphany Crafts:
Round 14 punch tool
Bubble Caps – Clear Round 14
Charm
Other: dollar bin black pattern tote box, ribbon, pins, button, vellum, hemp
Instructions:
Prepare the inside of the container by using the Glue Gun to adhere a piece of floral foam to the bottom of the box. Set aside.
I started by cutting and adhering a decorative paper strip around the cardboard container I had for this project. I used the Glue Glider Pro with Perma Tac Adhesive and added Extreme Adhesive Squares on the ends of the strips to secure them in place. Cut a 3.5” circle from green and another 4” circle from pink. Layer these and trim the larger with scallop scissors. Adhere this to the right front of the container with a piece of U-Cut-It Adhesive Foam.
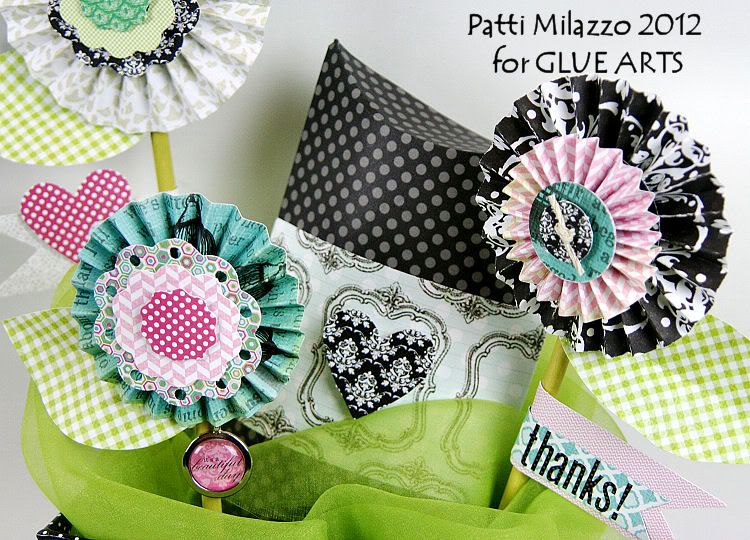
Next, I made assorted rosettes for the embellishment accenting the front of the container as well as the flowers inserted into the box using Lily Bee’s Victoria Park collection. For these, I prefer to use the Glue Gun to secure the rosettes with circle punches.
Layer multiple rosettes on top of each other with hot glue and apply the Bag of Bits Die Cuts with Adhesive Squares, U-Cut-It Adhesive Foam or Raise ‘Ns for just a bit of dimension.
Once the rosettes for inside the container are complete, use the Glue Gun to attach them to the inked (green) craft dowels. Cut a few leaves from green pattern paper, crumple a bit and also attach these just below the rosette flowers on the dowels. Apply the pennant/banner die cuts with either Adhesive Squares or hot glue. Arrange the rosette stemmed flowers in the floral foam. Add a bit of hot glue to secure if needed.
When creating the rosette to accent the front of the container, adhere a small bow and button to the front of the rosette using Extreme Adhesive Squares. Then tuck a couple of decorative pins just behind the bow.
Using the Glue Glider Pro with Perma Tac Adhesive apply adhesive to the ends of the pennant/banner Bag of Bits Die Cuts and tuck under the left side of the scalloped circle, as shown.
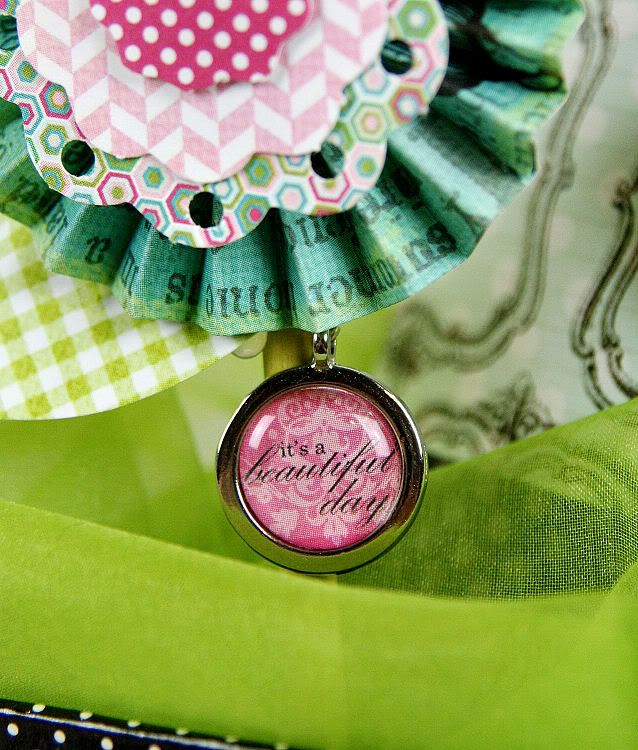
For the Epiphany Craft charm on the smallest flower I used the punch tool on the collection kit cover sheet where the “It’s a beautiful day” sentiment happened to be the perfect fit for this accent. Once I added the Clear Bubble Cap with the tool, I adhered this piece inside the charm with a Micro Extreme Adhesive Square.
To complete the gift box, I filled the bottom with a bit of tissue paper to cover the floral foam. This can be glued in place also. Then I topped it with a small strip of sheer green fabric. I created a decorative gift box from Lily Bee’s Charcoal Stationary (cardstock) and embellished it with a bit of pattern paper and a Bag of Bits heart die cut. I tucked this into the container after filling it with a gift card and a few treats and my gift tote was complete.
One Sweet Smile Layout
GlueArts Designer: Andrea Budjack
Glue Arts Supplies:
Additional Supplies:
Lily Bee - paper, tags, stickers
Tim Holtz - paper clip
Prairie Bird Boutique - ribbon
Maya Road - chipboard
thread
stick pin
buttons

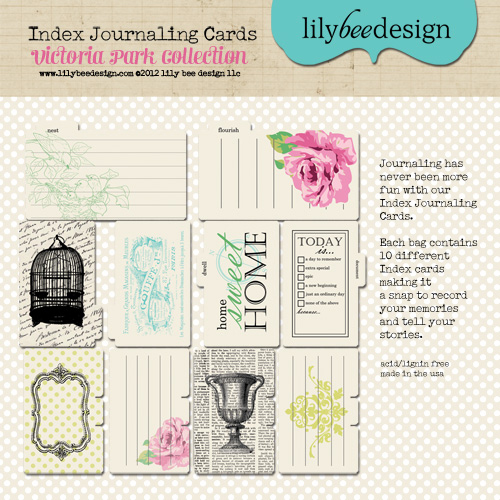
Our friends at Lily Bee have kindly offered to one of our lucky fans their new Victoria Park Collection kit along with a pack of their Index Journaling Cards. All you have to do is post a comment and you're entered to win. The more comments you post this week (one per day) the more chances you have to win!

Want even more ways to win?? Our friends at Epiphany Crafts are offering their Epiphany Crafts Studio Shape Star Tool and matching Bubble Caps. (not shown) All you have to do to win is to stop by the Lily Bee Facebook Wall and Epiphany Crafts Facebook Wall and say hello!! Then pop back here post a comment and you're not only entered to win the Victoria Park Collection, you'll also be entered to win the EC Tool too!
Want even more ways to win?? Our friends at Epiphany Crafts are offering their Epiphany Crafts Studio Shape Star Tool and matching Bubble Caps. (not shown) All you have to do to win is to stop by the Lily Bee Facebook Wall and Epiphany Crafts Facebook Wall and say hello!! Then pop back here post a comment and you're not only entered to win the Victoria Park Collection, you'll also be entered to win the EC Tool too!
You have read this article Adhesive Squares /
Andrea /
Extreme Adhesive Squares /
Extreme Adhesives Mini Sqaures /
Glue Arts Glue Gun /
Glue Gilder Pro /
Lily Bee /
Patti /
Perma Tac /
Raisen's /
U Cut It Foam
with the title Extreme Adhesives Mini Sqaures. You can bookmark this page URL http://skinnyminny22.blogspot.com/2012/05/say-special-thanks-with-lily-bee.html. Thanks!