Just a few days until we gather together at church and home with our family to celebrate the religious holiday of Easter and the family holiday of egg hunts, Easter baskets and more!
The Glue Girls have been creating all sorts of wonderful treats and today is another amazing feast for you eyes.
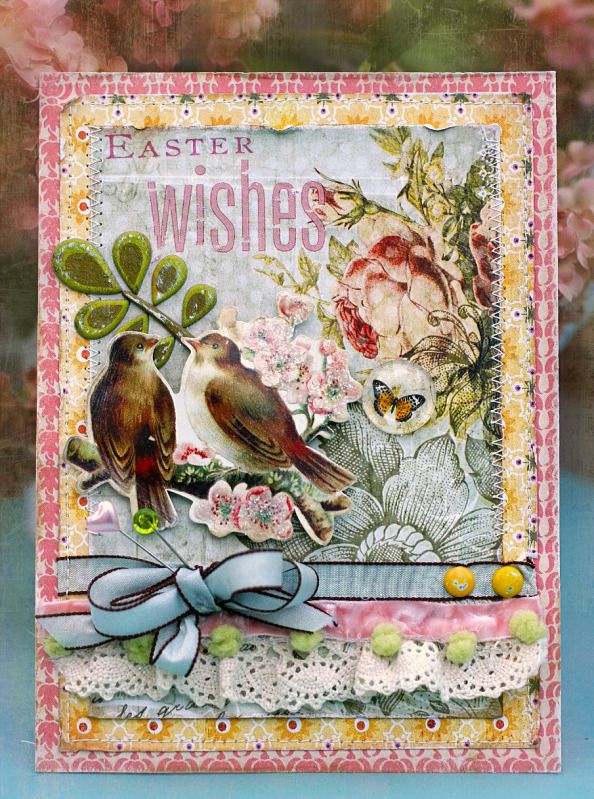
A beautiful card from Linda that is pretty enough to set out as part of your home decorations! And a fun treat from Designer Andrea Budjack all come together with GlueArts Glue Glider PRO+ and our must have U Cut It Foam!
Other:
Bird die cut and butterfly embellishment- Pink Paislee
Patterned papers- Pink Paislee, BasicGrey & Webster's Pages
Ribbon and Trims- Maya Road, Martha Stewart & Melissa Frances
Chipboard leaves diecut and Brads- BasicGrey
Decorative Pins- Maya Road & Making Memories
Clear Glitter


 2. Die cut scallops and circles, assemble and add to gift boxes using Glue Arts UCut-It Foam.


The Glue Girls have been creating all sorts of wonderful treats and today is another amazing feast for you eyes.
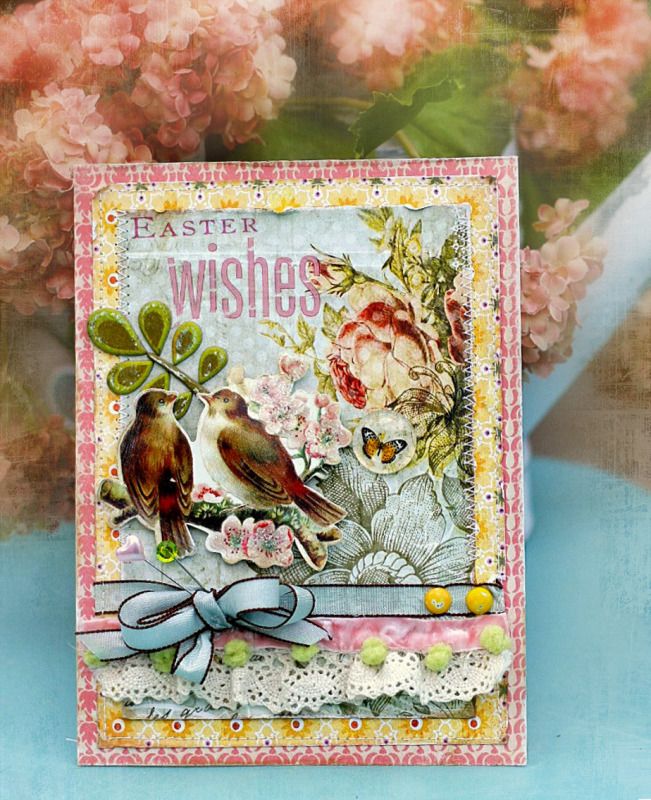
A beautiful card from Linda that is pretty enough to set out as part of your home decorations! And a fun treat from Designer Andrea Budjack all come together with GlueArts Glue Glider PRO+ and our must have U Cut It Foam!

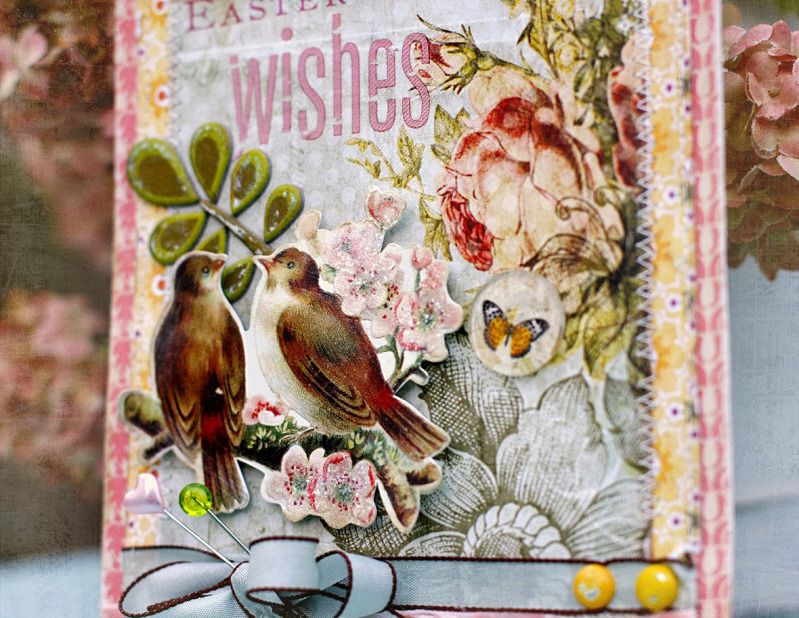
"Easter Wishes" Card
GlueArts Designer: Linda Albrecht
Supplies:
Glue Arts High Tac Crop & Glue Adhesive
Glue Arts Hot Glue Gun and sticks
Other:
Bird die cut and butterfly embellishment- Pink Paislee
Patterned papers- Pink Paislee, BasicGrey & Webster's Pages
Ribbon and Trims- Maya Road, Martha Stewart & Melissa Frances
Chipboard leaves diecut and Brads- BasicGrey
Decorative Pins- Maya Road & Making Memories
Clear Glitter
Instructions:
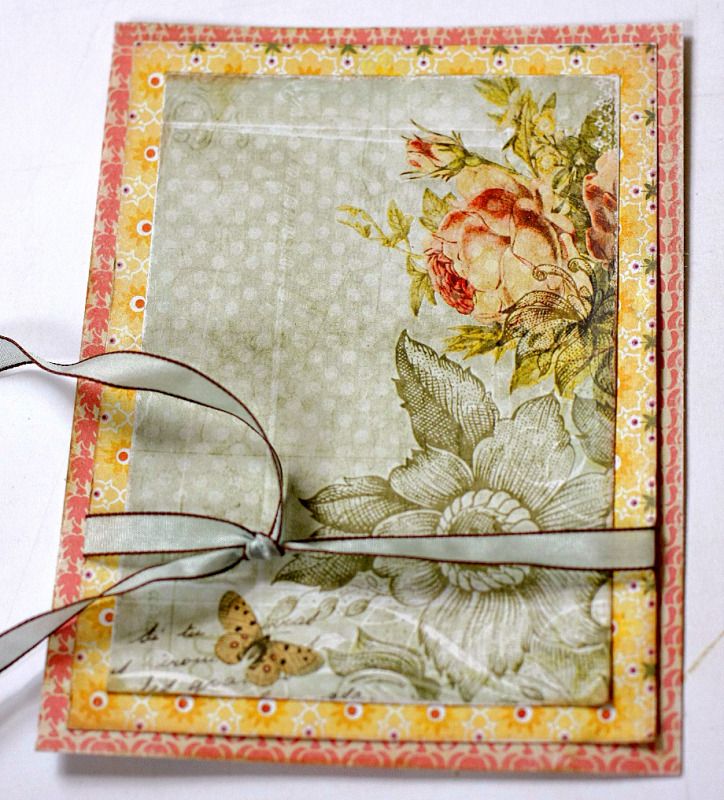
1. Layer 3 patterned papers for front of card, wrapping a length of ribbon around the 1st and 2nd layer before adhering them to the 3rd paper layer.

2. Machine sew stitching around outside edges of papers and tie bow to ribbon ends. Attach 2 brads to the right side on ribbon on card front. Apply rub on words sentiment to top left of card.
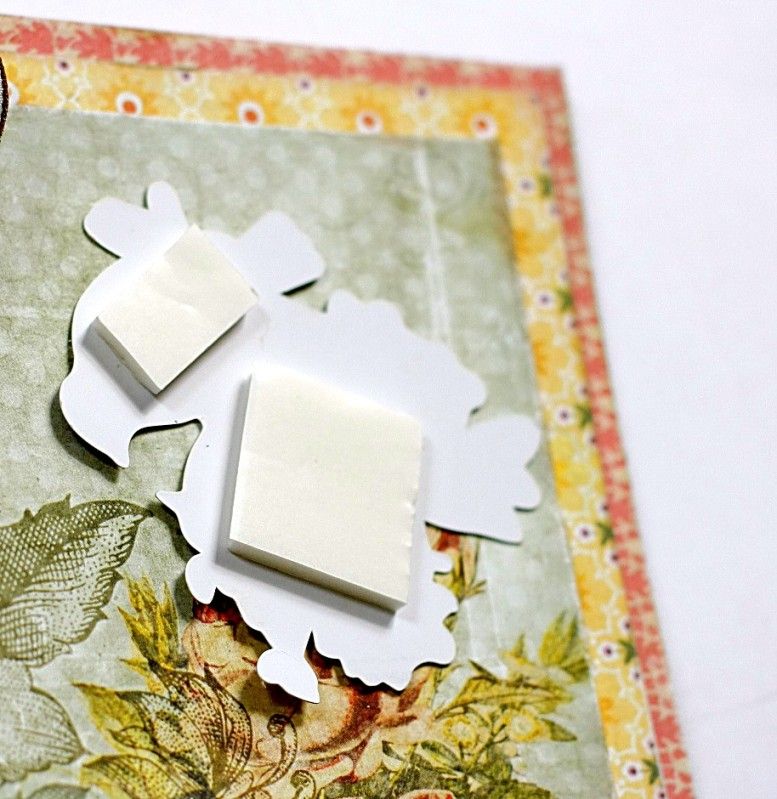
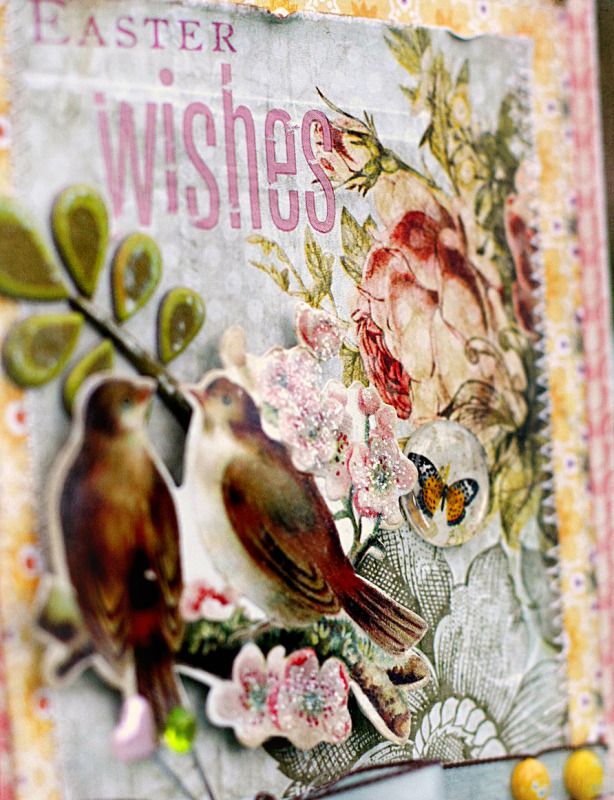
3. Apply chipboard leaves to card front then apply U-Cut-It-Foam to the backside of the bird diecut and apply to card on top of chipboard leaves.

4. Apply glitter to flowers on the die cut bird piece and add decorative pins to the ribbon bow. Apply butterfly embellishment near bird die cut.

5. Sew cotton trim below ribbon on card and adhere pink velvet ribbon above it.
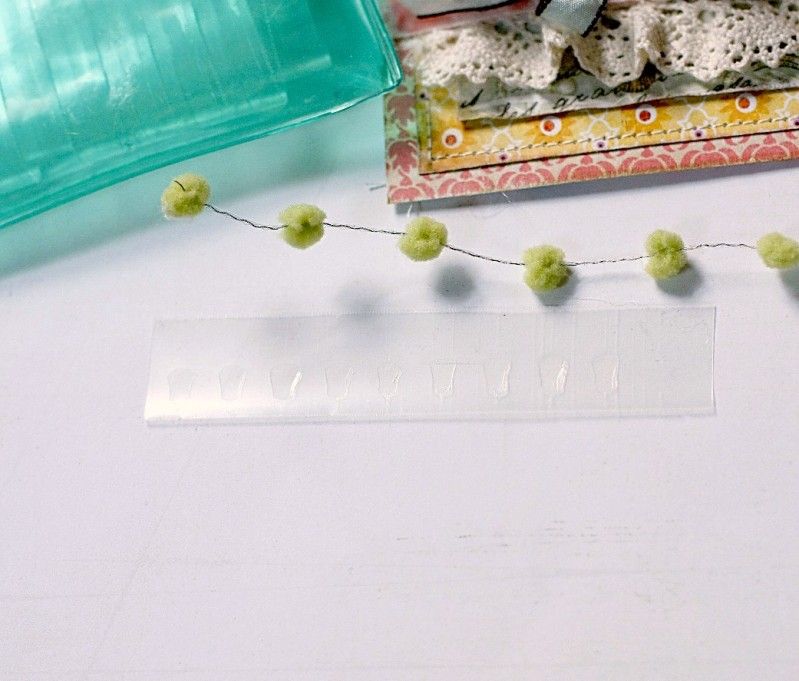
6. Add High Tac Crop & Glue Adhesive (micro mini's) to the backside of pom poms on trim and adhere to card.


Just Hatched Treat Baskets and Card
GlueArts Designer: Andrea Budjack
Glue Arts Supplies:
Perma Tac
Additional Supplies:
Pink Paislee - paper, stickers
Melissa Frances - crepe paper
Papertrey Ink - dies, stamps, ink, buttons, ribbon
Epiphany Crafts - vintage settings
Prairie Bird Boutique - ribbon
Heidi Swapp - paper
Spellbinders - label die
stick pins
threads
plastic eggs
1. Die cut and assemble gift boxes using Glue Arts Perma Tac.


3. Die cut labels and stamp. Add to gift boxes using UCut-It Foam.

4. Add buttons to gift box using Glue Arts Extreme Adhesive Squares.
5. Cut crepe paper strips and add to gift box.
6. Add your favorite goodies!
Note: Use remaining paper for a card while your at it!
Did you hear the news??
GlueArts is having an Egg Hunt!!!
Simply find the five letters posted Monday through this Friday to reveal your promotion code for 20% off your entire online order! The code will be active April 7 & 8th! And even better...we're offering free shipping as well!
So put your sleuthing skills to work and find those eggs we've hidden for you!! Then unscramble and you've got your promotion code for some shopping fun!
You have read this article Andrea /
Extreme Adhesive Squares /
Glue Gilder Pro /
Patti /
Pro+ /
U Cut It Foam
with the title Just Hatched Treats from GlueArts!. You can bookmark this page URL http://skinnyminny22.blogspot.com/2012/04/just-hatched-treats-from-gluearts.html. Thanks!


