Today's blog post is filled with colorful projects that will surely entice you to want to create and craft!
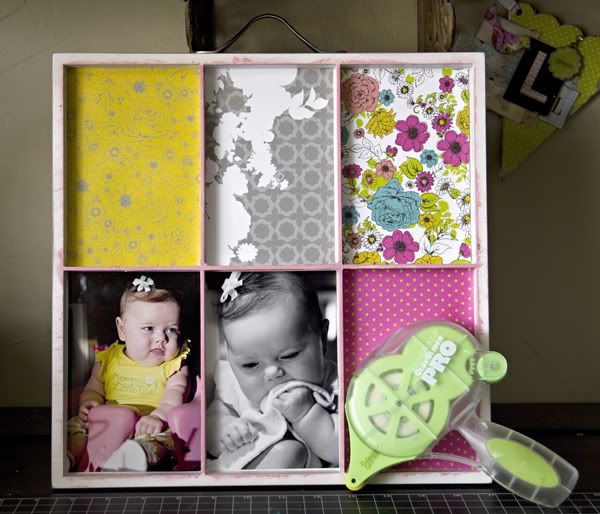
has made a special keepsake box filled with precious photos! This box comes together with the Pink Paislee Soiree collection and
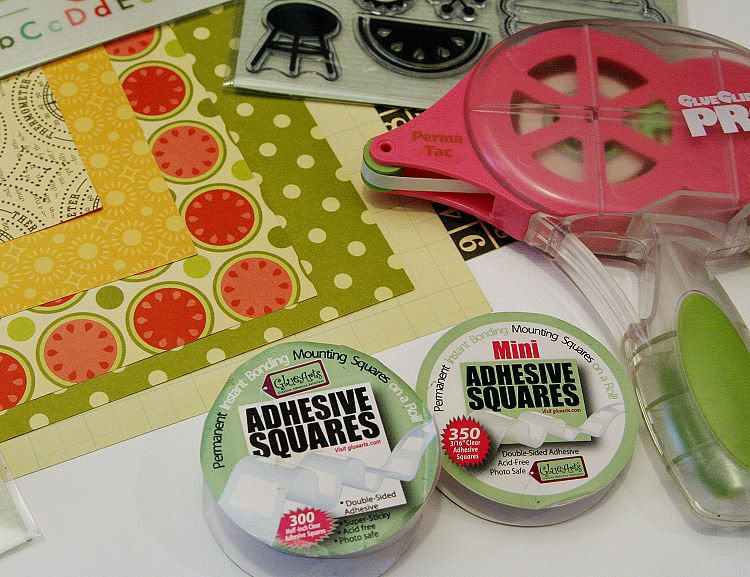
Glue Glider Pro along with our U Cut It Foam. GlueArts U Cut It Foam comes in 2 sheet sizes making it the perfect product to give dimension just where needed!
has not one but two spectacular projects for you today! Her first project uses the Brand New just released Nantucket line! This line is just gorgeous and perfect for capturing memories from this time of the year! Seaside, soft colors...and Lynn's gift box will leave you wishing it was being sent to you! She also has a fun Hometown Summer bucket that would look fun on an entry hall table or perhaps your kitchen too!
Keepsake Box
GlueArts Designer: Leslie Ashe
Glue Arts Supplies:
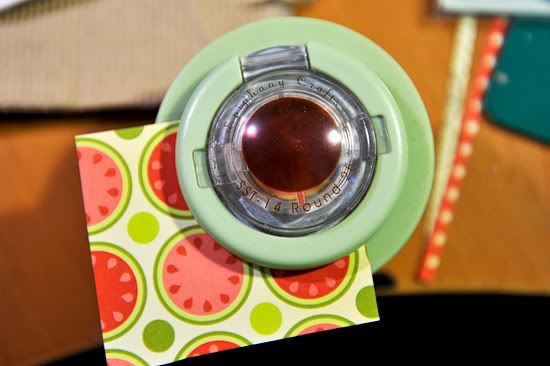
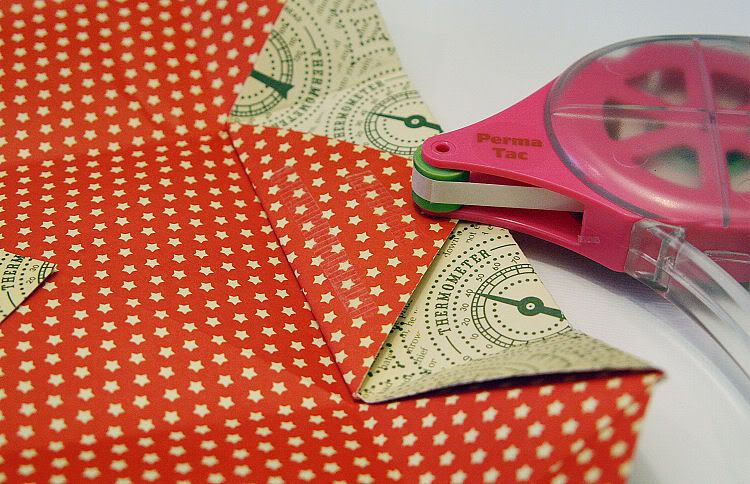
Glue Glider Pro with Extreme Tac cartridge
Glue Gun
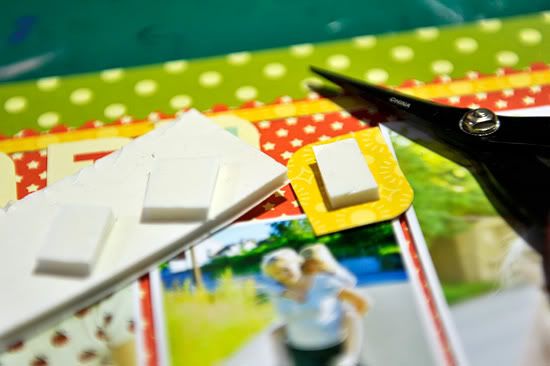
3D U Cut It Foam
Pink Paislee Soiree
other:
flowers, trim, butterfly, jewels: Prima
letters: American Crafts
paint: Claudine Helmuth
chipboard banner pieces: Jenni Bowlin
Directions:
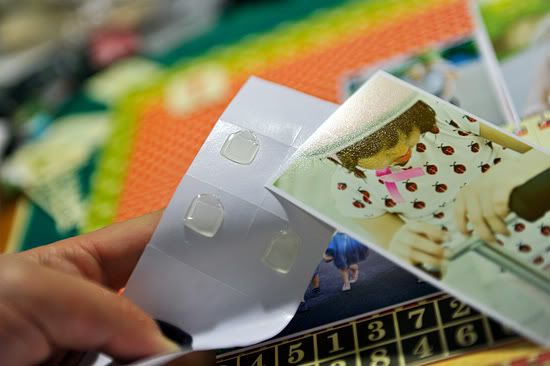
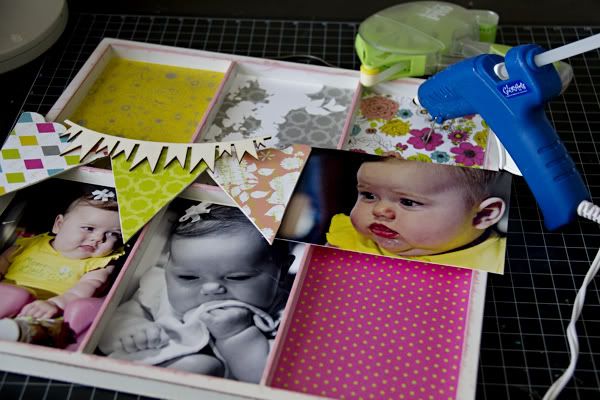
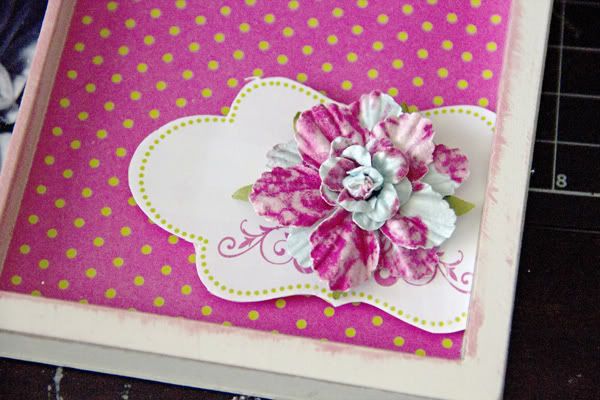
-paint edges of photo tray with pink paint
-trim pictures and patterned paper 4x6
-adhere paper and photo's into slots of your choice
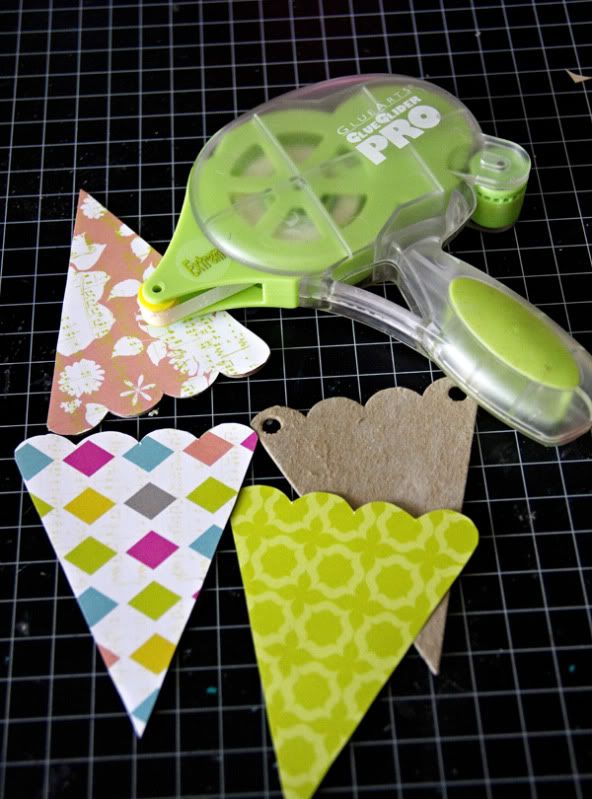
-trim & cut patterned paper using a chipboard banner piece as your guide
-adhere them to your chipboard banner pieces
-adhere another photo to top right of tray (if desired)
-using your glue gun, adhere chipboard banners to your tray
-also using your glue gun, adhere small wooden banner to big banner
(but paint yours before you glue it down, I was a dork and forgot to!)
-add pins with flags wrapped around to top
-add flowers under picture and on picture
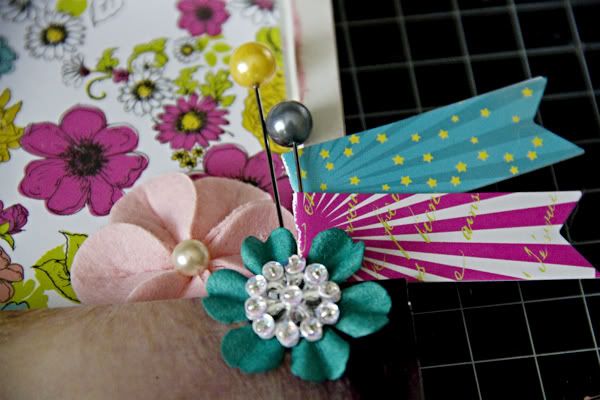
-add another flower and butterfly to banner
-add tiny flowers next to flower on banner
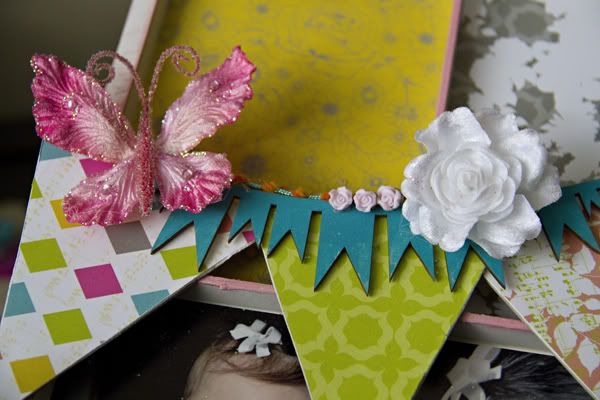
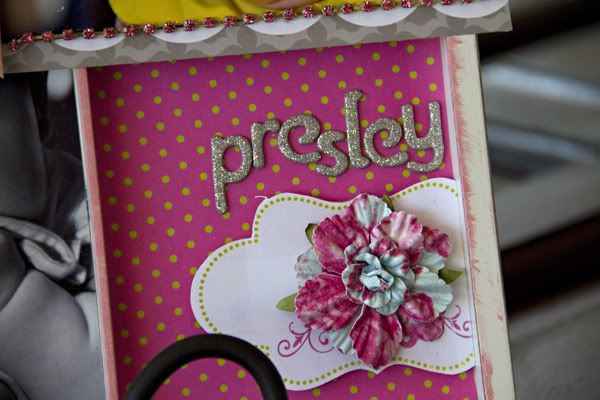
-add journaling card to bottom right with flower in center
-spell out name or sentiment just above:


Nantucket Altered Gift Box
GlueArts Guest Designer: Lynn Ghahary
Supplies:
Pink Paislee Nantucket 12x12 Paper Pack
Pink Paislee Nantucket 6x6 Petite Paper Pack
Pink Paislee Nantucket Chipboard Tiles
Pink Paislee Nantucket Trading Cards
Pink Paislee Nantucket Wood Shapes
Pink Paislee Nantucket Mini Tassels
Pink Paislee Nantucket Bling Stickers
Pink Paislee Nantucket Ribbon Trims
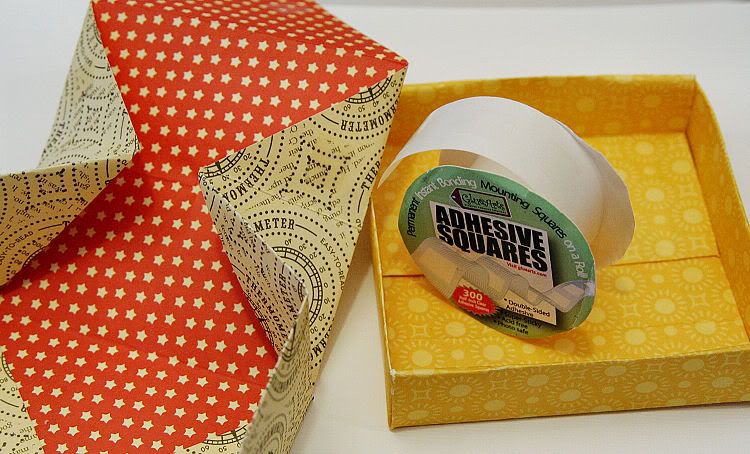
Craft Supply Gift Box
American Crafts Cardstock
Tattered Angels Glimmer Mist
Sizzix Big Shot Stampin' Up! Bigz Die
Stampin' Up! Button
Stampin' Up! Border Punch
Technique Tuesday Stamps
Jenni Bowlin Dye Ink
Instructions:
Make gift giving even more special with a personalized gift box like this one I created using the gorgeous Nantucket collection by Pink Paislee.
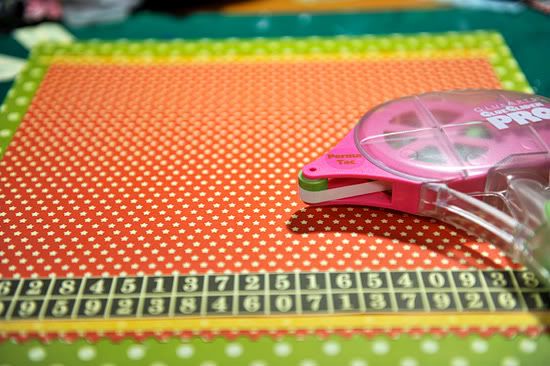
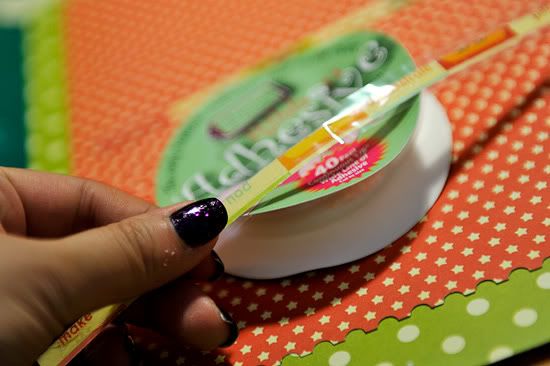
1)To create this altered gift box I began by cutting the Clam Chowder patterned paper from the Nantucket collection to size and adhering it to the base of my gift box using Glue Arts Glue Glider High Tac Adhesive. This adhesive is strong enough to hold the papers to my gift box perfectly with no concerns of it coming loose or warping.
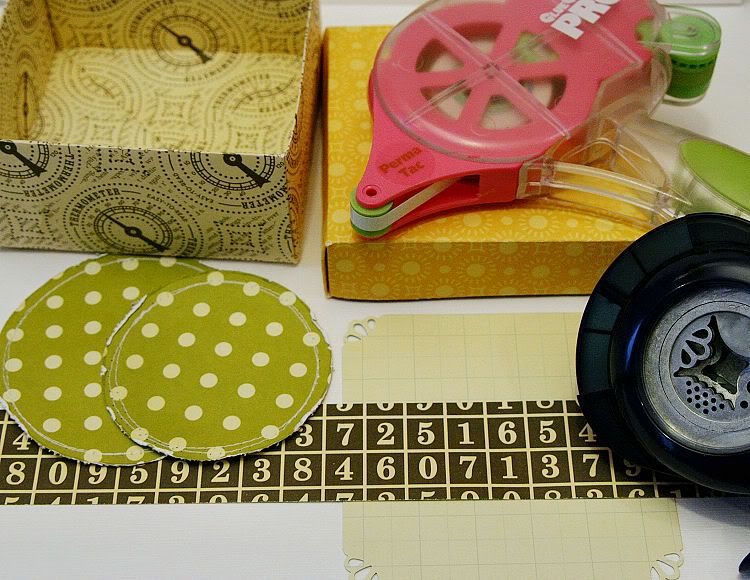
2)Next I cut a piece of the Clam Bake patterned paper from the Nantucket 6x6 Petite Paper Pack and adhered it to the top of my gift box lid. I trimmed strips from the Crab Cakes patterned paper (this time using the B side) along with a punched border from brown cardstock and adhered this to the edges of my lid again using Glue Arts Glue Glider High Tac Adhesive.
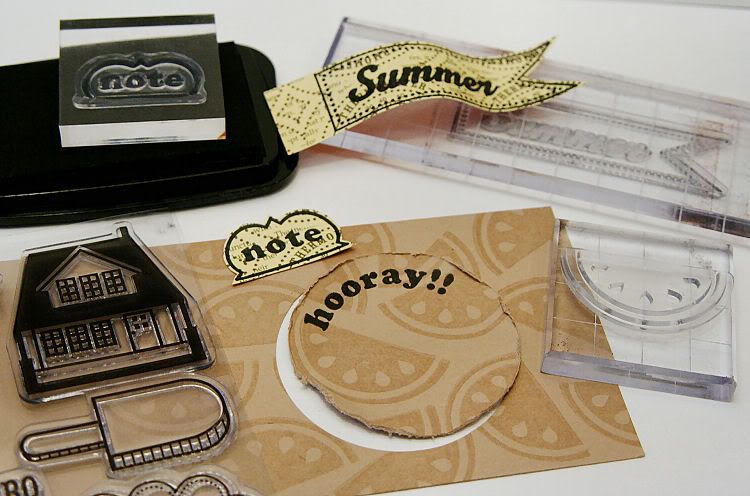
3)I created a tag using using the Lobster Bisque patterned paper and a Bigz Die from Stampin' Up! To the front of the tag I adhered a few Chipboard Tiles along with a starfish Wood Shape I had spritzed with Glimmer Mist.
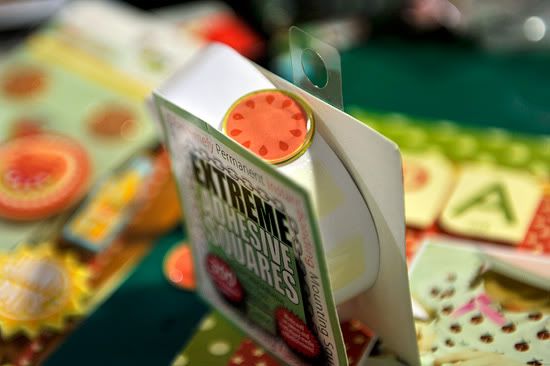
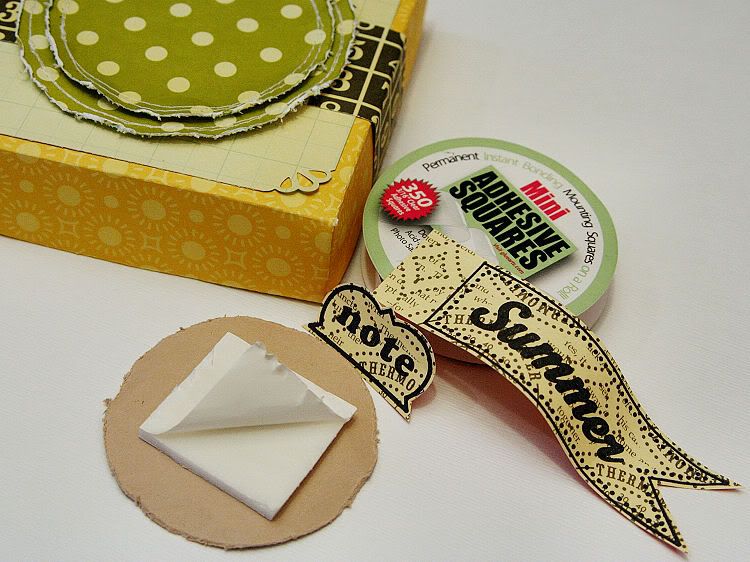
4)I used the Glue Arts U Cut It Foam Adhesive to adhere the starfish to the tag and give it some extra dimension. To the front of the starfish I adhered a button using Glue Arts Extreme Adhesive Squares and topped with a few Bling Stickers.
5)I added a gold Mini Tassel to my tag, tied everything up with the yellow and creme striped ribbon, and tucked one of the Nantucket Trading Cards underneath.
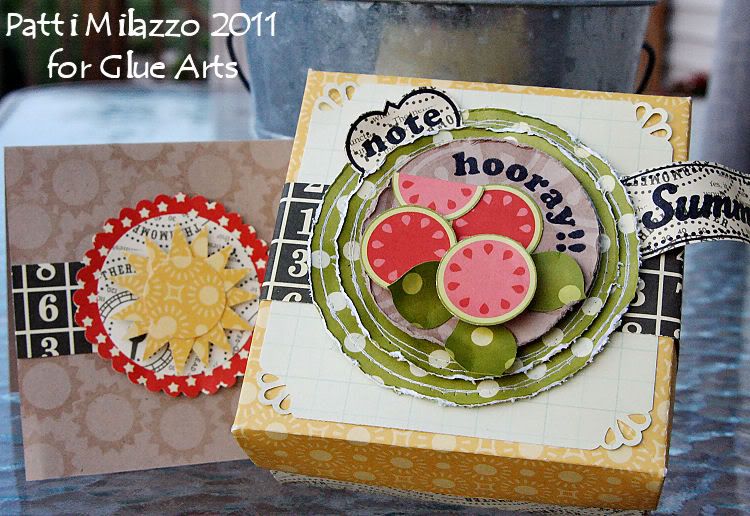
Hometown Summer Bucket
GlueArts Guest Designer: Lynn Ghahary
Supplies:
Pink Paislee Hometown Summer Paper Collection
Pink Paislee Hometown Summer Baubles