Don't you??
We do!
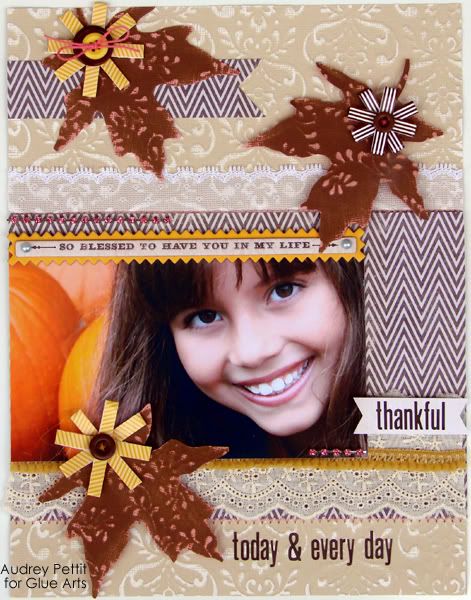
It's hard not to fall in love with the products when you see projects using Webster's Pages collections
and GlueArts adhesives.
You're just going to love them! (hey...you can't say we didn't warn you!)

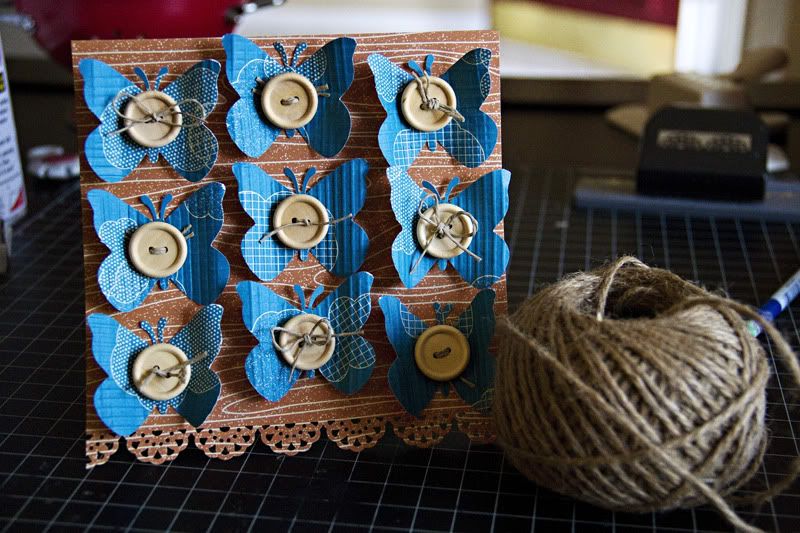
I love love LOVE to Love You - 6" x 6" Card
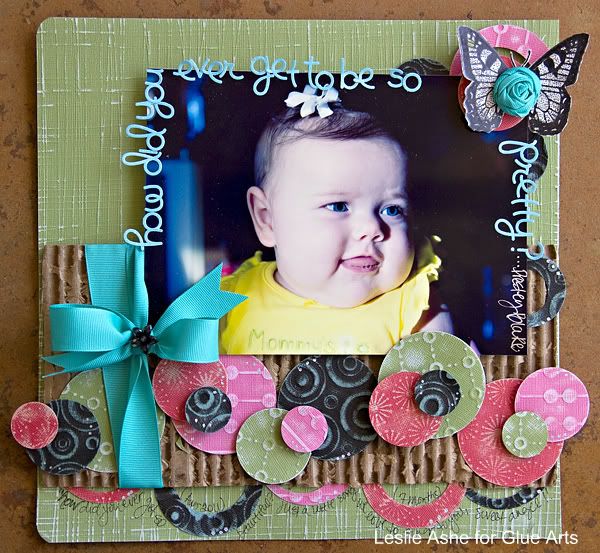
GlueArts Designer: Leslie Ashe
Glue Arts Supplies:
Glue Glider pro w/Extreme Tac
3D U Cut It FoamRaise n's
Webster's: Your Life Beautiful
Directions:
-trim cardstock 6" x 6" fold & score
-trim patterned paper 5.5" x 5.5"
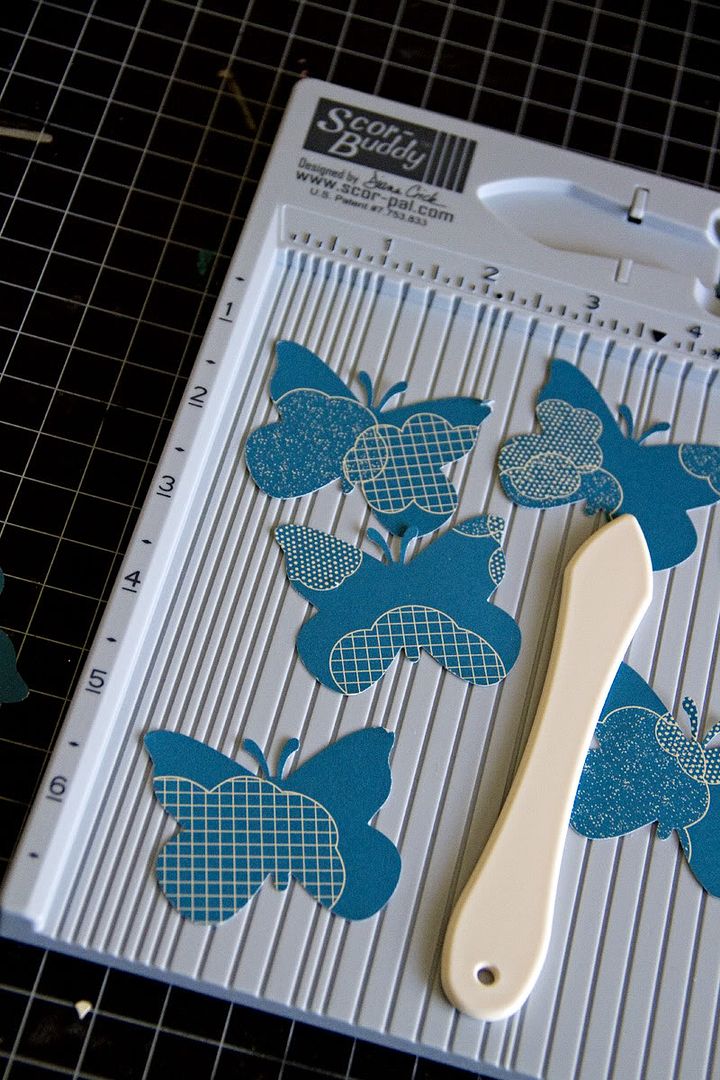
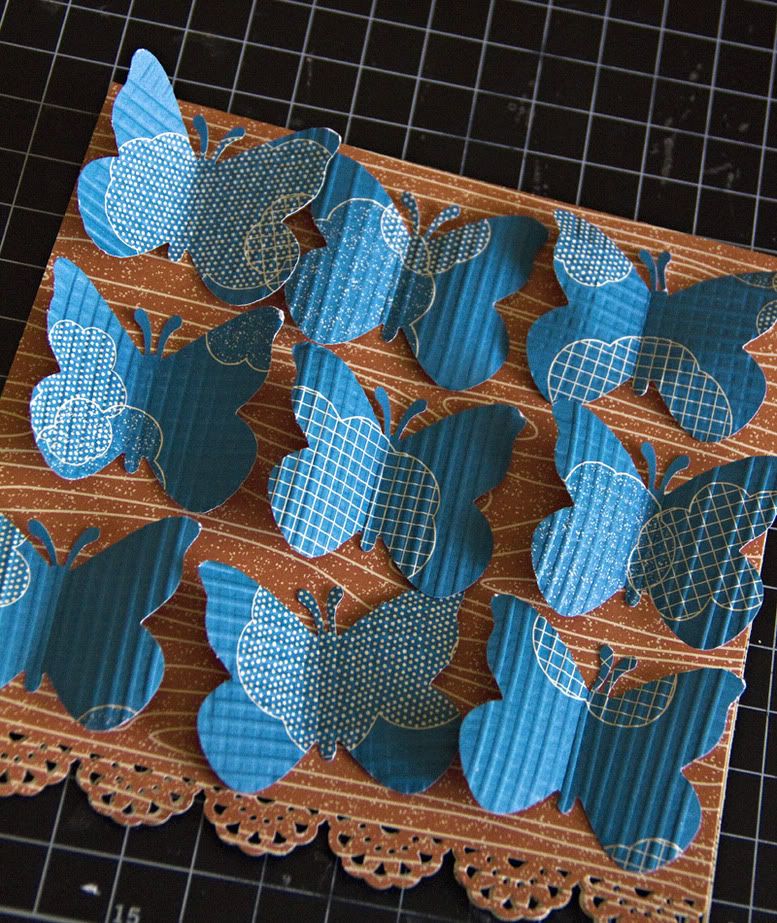
-cut shape from die cut patterned paper and adhere to card, trim around edges
-trim strip 2" x 6" and adhere to center of die cut shape
-cut another strip from die cut patterned paper and add to bottom of card
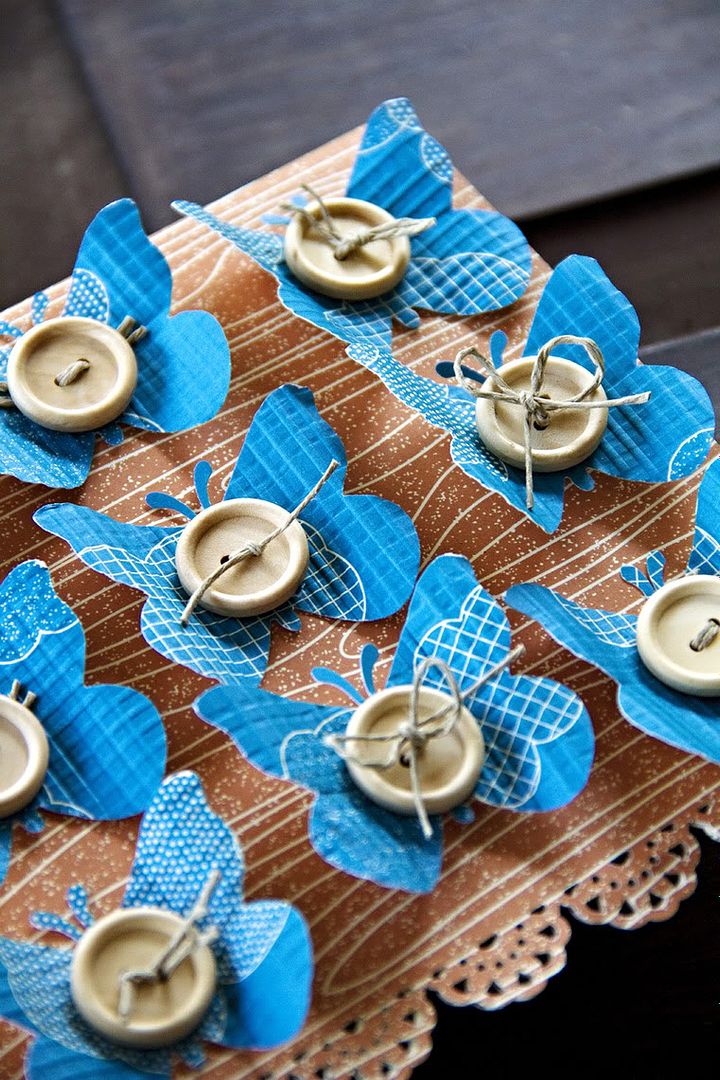
-add rose ribbon trim to center
-hand cut tiny heart from patterned paper and using 3D adhesive, adhere to right side of card
Glue Glider pro w/Extreme Tac
3D U Cut It FoamRaise n's
Webster's: Your Life Beautiful
Directions:
-trim cardstock 6" x 6" fold & score
-trim patterned paper 5.5" x 5.5"
-cut shape from die cut patterned paper and adhere to card, trim around edges
-trim strip 2" x 6" and adhere to center of die cut shape
-cut another strip from die cut patterned paper and add to bottom of card
-add rose ribbon trim to center
-hand cut tiny heart from patterned paper and using 3D adhesive, adhere to right side of card

-cut words from patterned paper and back on red paper, then adhere to center of heart
-cut letters from patterned paper to spell out "you" and add to bottom of card, just under heart
-cut letters from patterned paper to spell out "you" and add to bottom of card, just under heart

-using letter stickers, spell out "i love, love, love" and add to middle of card
-using a pen, doodle around card & add hearts to center of word on heart
-using a border punch, punch along bottom of card
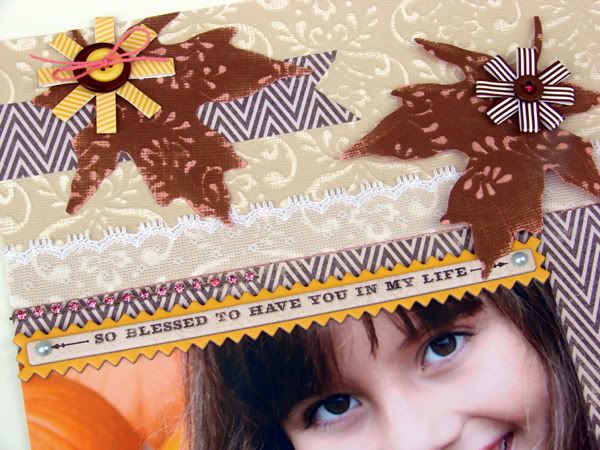
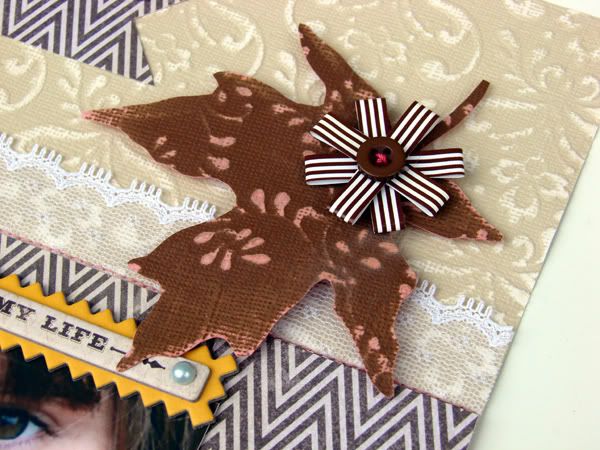
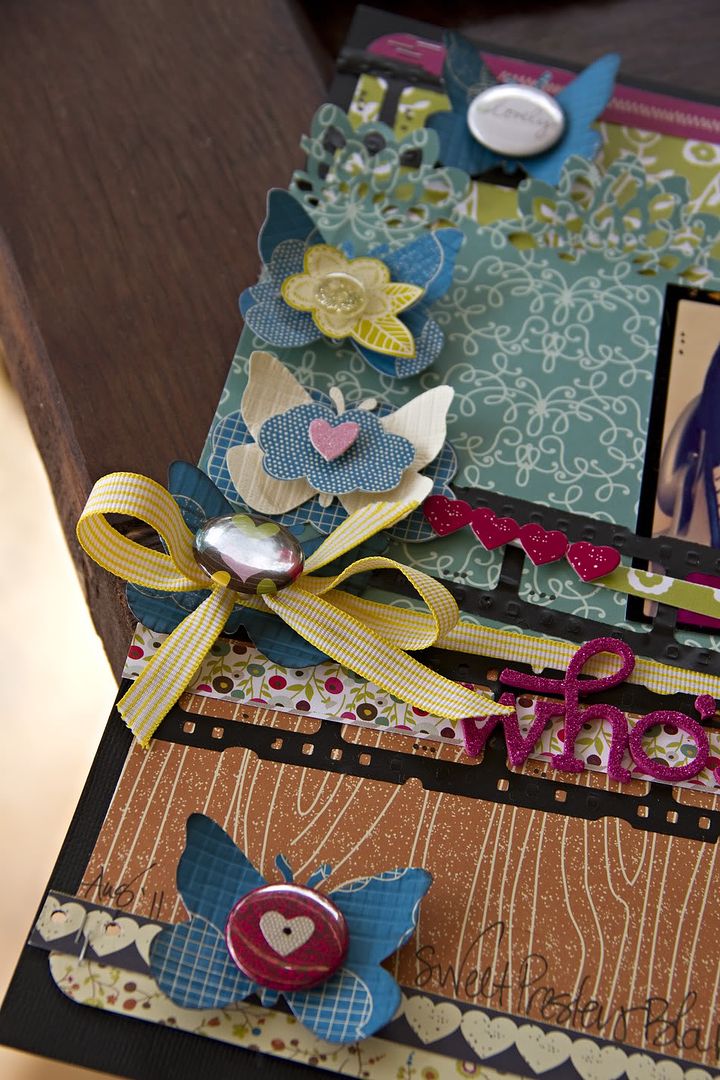
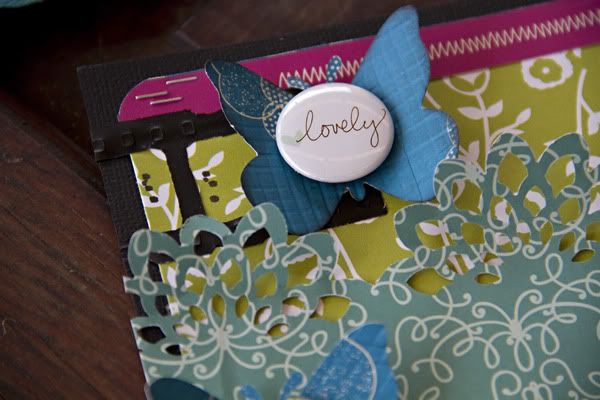
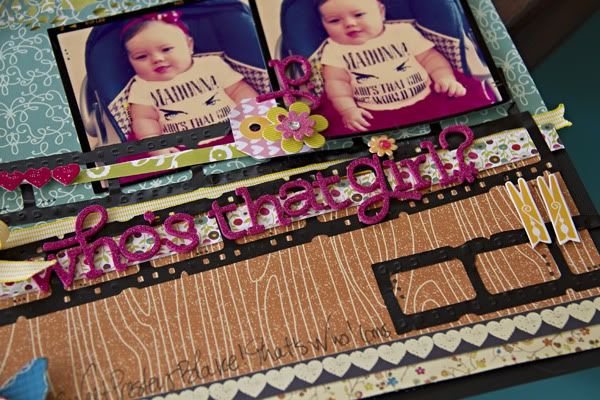
here's some close ups:
-using a pen, doodle around card & add hearts to center of word on heart
-using a border punch, punch along bottom of card
here's some close ups:


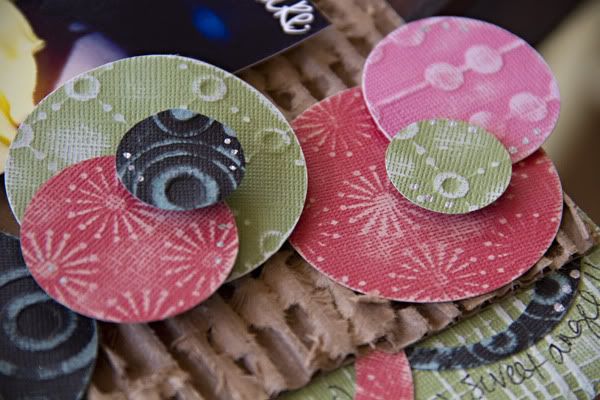
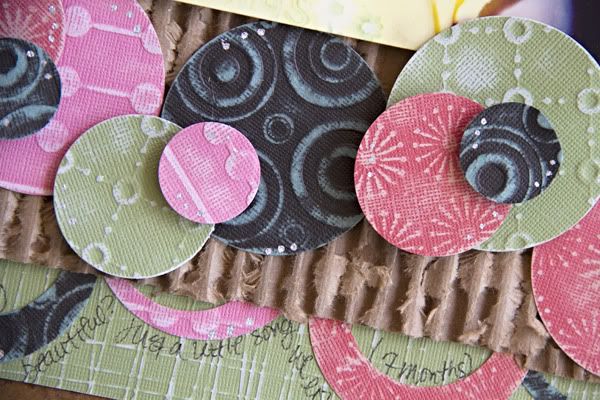
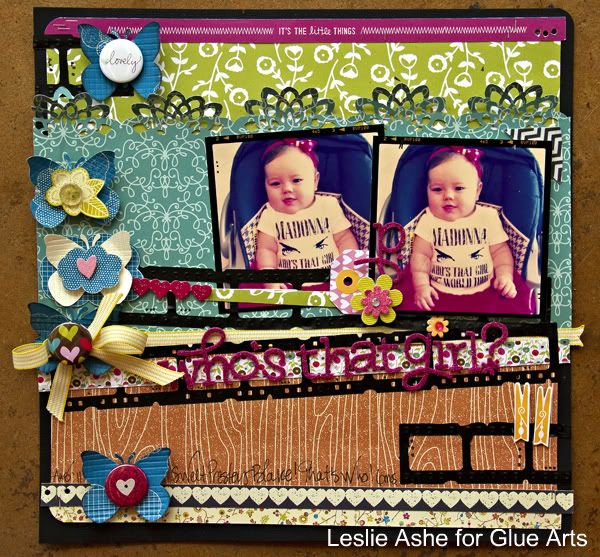
Laughter is Love Blocks
GlueArts Designer: Leslie Ashe
Supplies:
Glue Arts Glue Gun
Glue Arts U Cut It Foam
Glue Arts Perma Tac
Webster's Pages - paper, fabric tag, trim
Pink Persimmon - stamp
Technique Tuesday - stamp
Martha Stewart - glitter
Ceramcoat - paint
Provo Craft - scallop square die cut
Quickutz - circle die cut
eyelet
felt
fabric
ribbon
stick pin
blocks
glass pearl
flower
twigs
1. Paint blocks and wrap in fabric to join them all together.

2. Cut pieces of cardstock, felt and Webster's Pages paper which will be placed onto the front of the blocks. Using Glue Arts Perma Tac Adhesive, adhere paper and felt to block. Add stamped circle on top of felt using Glue Arts UCut It 3d foam.

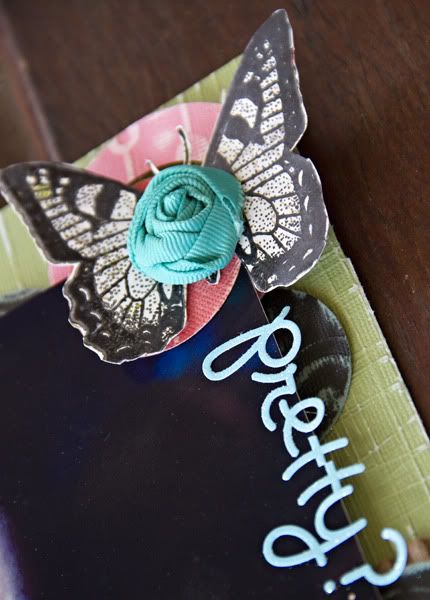
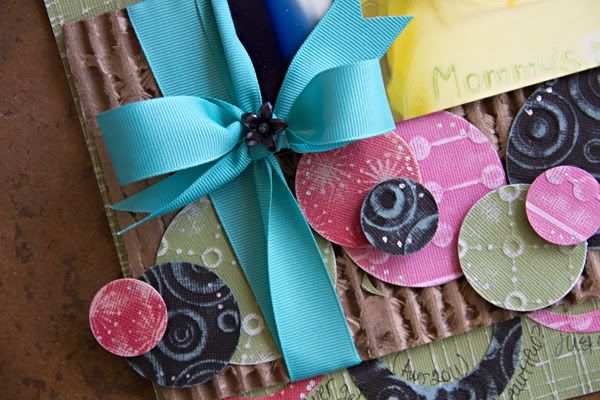
3. Add ribbon to blocks.
Glue Arts Glue Gun and stick pins.
5. Using Glue Arts Glue Gun, add flowers and embellishments to complete set.

We would like to invite you to visit the Webster's Pages InspireMe site! It's the perfect place for you to visit to find inspiration, share your Webster's Pages creations and more!
http://websterspages.ning.com/
To help you get started on beautiful home decor and cards like you see here today, we would like to invite you to post a comment today! We'll not only enter you to win this beautiful Western Romance kit

collection..but we're also including our PRO Handle and our NEW PRO+ PermaTac cartridge!

And to help make those projects look just like our talented team of designers..we're including our 3D Combo Pac and our Ribbon Adhesive!! Simply post a comment and we'll select one random winner next Monday! Who knows...it may be YOU!
Be sure all week long to take plenty of time to visit the beautiful Webster's Pages blog and website and INSPIRE Me site! Their talented team of gals is working with our outstanding lineup of adhesives! We're positive you'll find more inspiring ideas and chances to win too!
Would you like another chance to win? Then here's a challenge to you...visit the Webster's Pages Facebook wall and post a big GlueArts hello and let them know we sent you over! Then visit our GlueArts Facebook wall and post on our wall letting us know you've done so. We'll enter you to win their beautiful All About Me Collection Kit along with YES...our Glue Glider Pro and our new PRO+ Perma Tac Cartridge.
Last for the day...a special note of thanks to Designer Leslie Ashe. This was her final assignment with us as a Glue Girl!! It's hard to put into words how much Leslie and her beautiful projects will be missed. We wish her all the best!
If you've been wanting to try out our new PRO+ Cartridges...they're officially available for sale today! You can order directly from our GlueArts website or tell your favorite Retailer you'd like them to place an order!!
You have read this article Andrea /
Leslie /
Webster's Pages
with the title Leslie. You can bookmark this page URL http://skinnyminny22.blogspot.com/2011/10/we-love-love-love-webster-page-gluearts.html. Thanks!