

How many of you always begin a layout with a base of cardstock?
How many of you always use cardstock to matte your photos?
How many of you have ever sanded your cardstock?
Did you answer yes to any of those questions today?
Well do we have the projects for you! Both Designers Leslie Ashe and Audrey Pettit have designed beautiful layouts of some awfully pretty girls! Both have used cardstock not only as a background for their layouts but also as an embellishment! GlueArts Adhesives helps it all come together perfectly!!
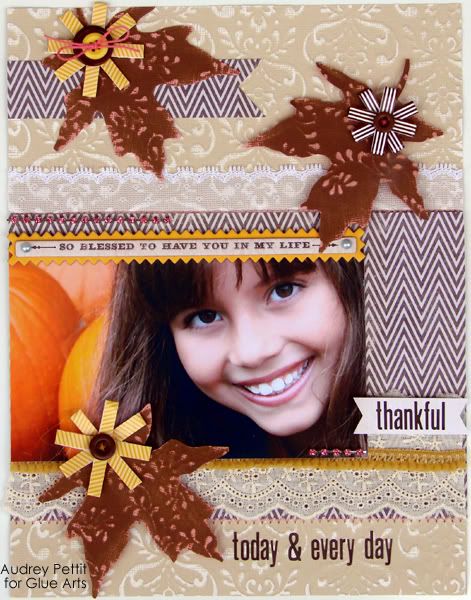
Today & Every Day
GlueArts Designer: Audrey Pettit
Glue Arts Supplies:
Glue Glider Pro with High Tac Adhesive
Ribbon Adhesive
Extreme Adhesive Squares
U Cut It Foam Adhesive
Core-dinations Basic Grey ColorCore Cardstock
Core-dinations Sand It Gadget
Other Supplies:
Lily Bee Designs Alpha Stickers
My Mind's Eye Lost And Found 2 Sunshine Chipboard Embellishment
My Mind's Eye Stella & Rose Patterned Paper
American Crafts Remark Flowers
Webster's Pages Trims
Pink Paislee Rhinestone Chain
Foofala Buttons
vintage twine
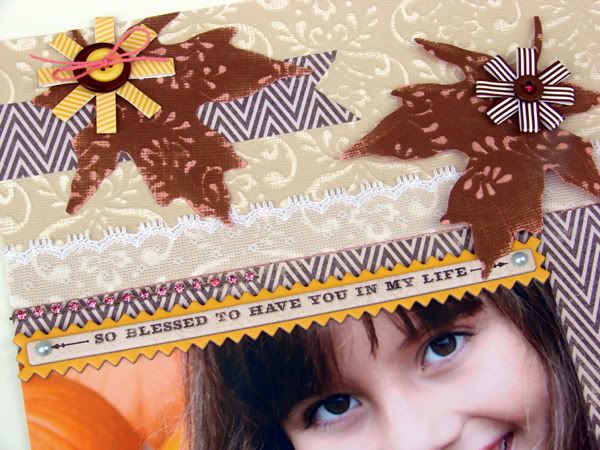
2. Cut a strip of patterned paper that is approximately 6" high to span the center of the layout. Adhere with Glue Arts High Tac Adhesive. Add layered trims to the top and bottom seam using Glue Arts Ribbon Adhesive, and machine stitch in place.
3. Embellish with chipboard stickers and rhinestone chain. Create title from small alpha stickers. I did my title in two parts, with one part cut into a banner strip and popped up with Glue Arts U Cut It Foam Adhesive.


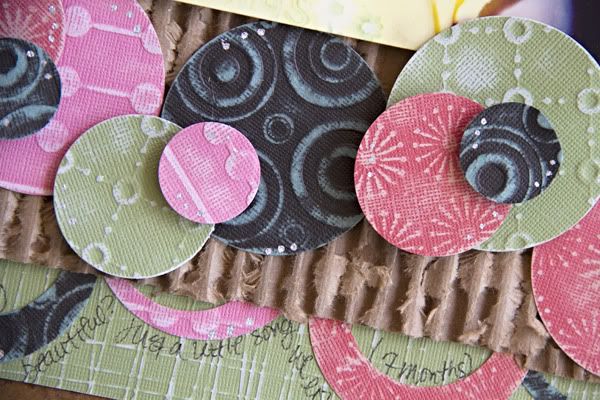
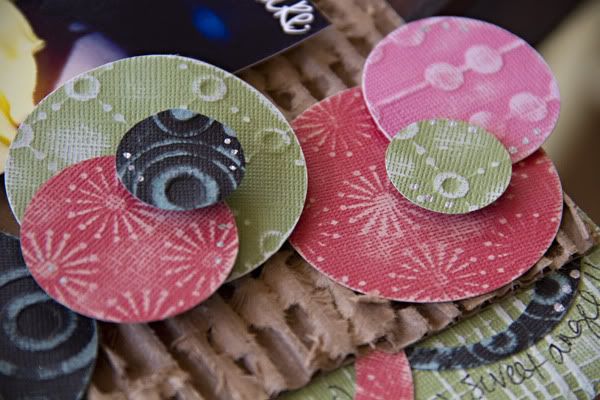 -now start placing your different sized circles below the photo, onto the cardboard -do the same with the smaller size
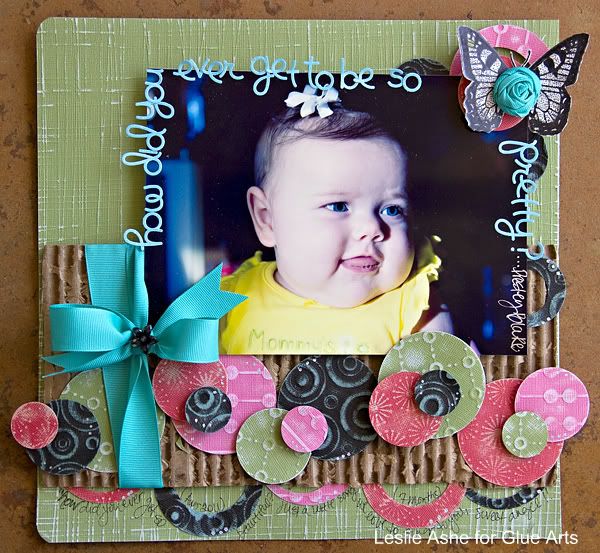
 -and the same with the even smaller size (I used 3 different sized circles)-stamp a butterfly onto patterned paper-trim around the butterfly and place at top right of your layout.-take a strip of ribbon (about 6 ") and make a small knot at the left. then start slowly twisting and turning to make a knotted rose to add to the center of your butterfly. It's okay if you don't get it the first time, this one took me 3 tries to get it the way I wanted it.
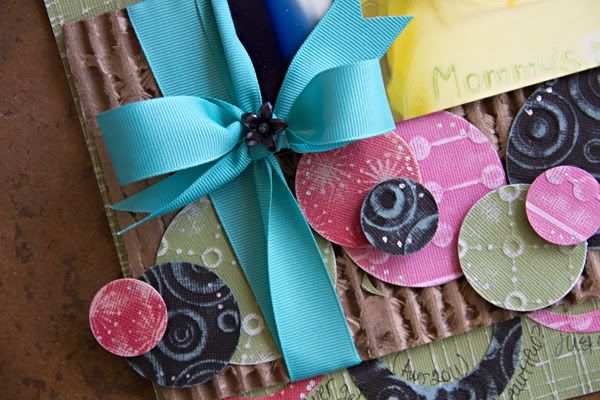
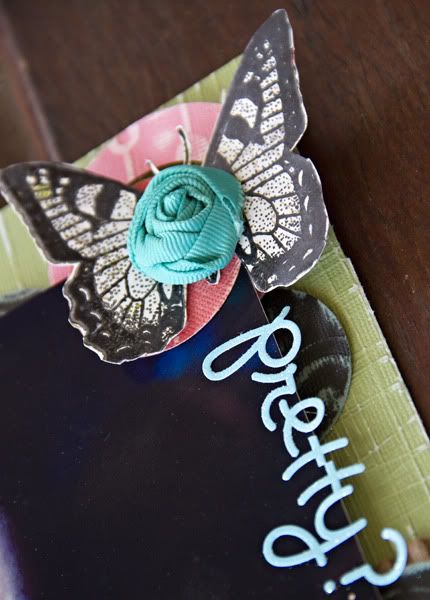 -using letter stickers, spell out "how did you ever get to be so pretty" around the photo, framing your subject's face-journal along bottom of layout.-add subject's name to side of photo-add a small flower to center of bow


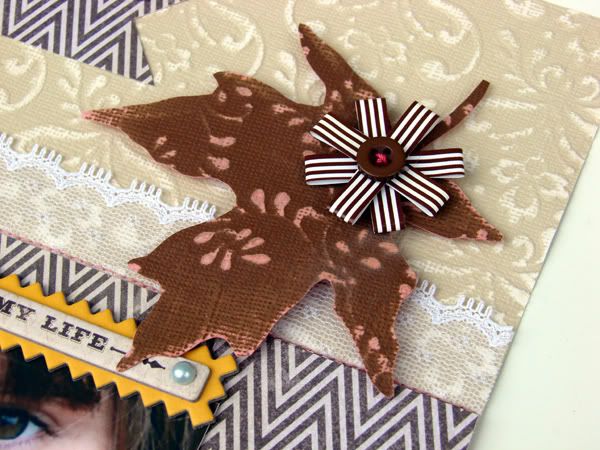
4. Die cut or hand cut 3 large leaves from Mezzo ColorCore Cardstock and sand the embossed areas and edges with the Sand It Gadget. Adhere one leaf, along with a patterned paper banner strip, to the top left corner of the layout. Adhere the remaining two leaves using Glue Arts U Cut It Foam Adhesive, as shown.
5. Adhere flowers, bow, and buttons to the leaves using Glue Arts Extreme Adhesive Squares.
How Did You Ever Get To Be So Pretty?
GlueArts Designer: Leslie Ashe
A little about my project:
my title is just a little song that's been passed along for YEARS to babies in our family. This is the newest babe in our family so she's donned the sweet song every time we see her...
I made the circles different sizes to represent the tune of this little song.
I'd sing it to you - but you'd rather me not...so let me just say that it's a sweet little song that makes babies smile big!
(I can't even tell you what tune it is...kinda a mix of a french childrens song called Alouette and another one, Frere Jacques.)
Glue Arts Supplies:
Glue Glider Pro w/Extreme Tac cartridge, 3D U Cut It Foam, Mini Extreme Adhesive Squares
Core'dinations Cardstocks: Essentials & Black Magic Collections, Sanding Block
Other:
Circle Punches: EK Success & Marvy
Ribbon: Offray
Letters: Doodlebug Designs
Stamp: Jenni Bowlin
Ink: American Crafts
Pen: Zig (silver and black)
cardboard: misc....
Directions:
-sand Core'dinations slightly on entire 12 x 12 sheet-peel a sheet of cardboard in half to reveal the middle ripple core
-take a ribbon and wrap it around twice towards the left of your cardboard before tying it in a bow-glue it using a strong adhesive (Extreme Tac ROCKS!!!) towards bottom of page, leaving about 1.5" at bottom.-punch several different sized circles from different colors/patterns of cardstock
-use the sanding block to reveal the core of the cardstock-place your photo (I used an 8x10, just cut it down a bit to frame this sweet baby's face) towards right top of your layout. It will lie down on the cardboard, this is what you want. (use 3D foam for placement)
-punch smaller circles from some of the circles you punched above.-using the negatives from above circles
- place under cardboard at bottom of pageand at top right, just under photo.

We're having a blast this week sharing projects with you that use Core-dinations Cardstock and tools!
We'd like for YOU to be able to join in and make these projects and more! So we're giving away some of their outstanding Core Impression Cardstocks!

Simply post a comment here and we'll enter you to win the Core Impressions Jillibean pack along with the Core Impressions Basic Grey pack! (that 40 sheets of cardstock!!) Plus we're also including a Glue Glider Pro with our Perma Squares Cartridge and our Adhesive Squares! We'll select one random winner next Monday!
 We also have another way for you to win! We'd like to invite you to go Like Core-dinations on their Facebook wall and leave them a big friendly hello on their wall.
Then post on our GlueArts Facebook wall you've gone and liked them.
We'll enter you to win this fantastic Core-dinations Tim Holtz Distress paper pack!
We also have another way for you to win! We'd like to invite you to go Like Core-dinations on their Facebook wall and leave them a big friendly hello on their wall. Then post on our GlueArts Facebook wall you've gone and liked them.
We'll enter you to win this fantastic Core-dinations Tim Holtz Distress paper pack!

Have you heard the new about our new PRO+ Cartridge system?
Our new PRO+ cartridges offer the same superior adhesive strength! PLUS+ Enhanced glideability! And best...uses the same GlueGlider PRO handle!!
Have you entered to win one before you can buy it??
We're excited to announce GlueGlider PRO+ MultiDirectional Flip Cartridges! That's right!
With just a flip of the wrist...you can go from pulling your adhesive to pushing! It's actually good to be pushy with the new PRO+! We'd like to invite you to enter to win! Simply click this link then follow the prompt to "Enter to Win"! It's just that simple! We're giving away 10 Glue Glider PRO handles and PRO+ cartridges each day through October 10th! It just takes one entry to win!! So what are you waiting for?!
You have read this article Audrey /
Extreme Adhesive Squares /
Glue Gilder Pro /
High Tac /
Leslie /
Ribbon Adhesive /
U Cut It Foam
with the title Layouts Come Together Perfectly with Core-dinations & GlueArts!!. You can bookmark this page URL http://skinnyminny22.blogspot.com/2011/10/layouts-come-together-perfectly-with.html. Thanks!


