Showing posts with label Patti. Show all posts

Dear Lizzy...Neapolitan is Oh So Sweet!

Happy Thursday to you!

It's hard not to be happy when you work with the sweet Dear Lizzy Neapolitan collection.

We heard time and time again from the designers just how much they enjoyed working with this collection.

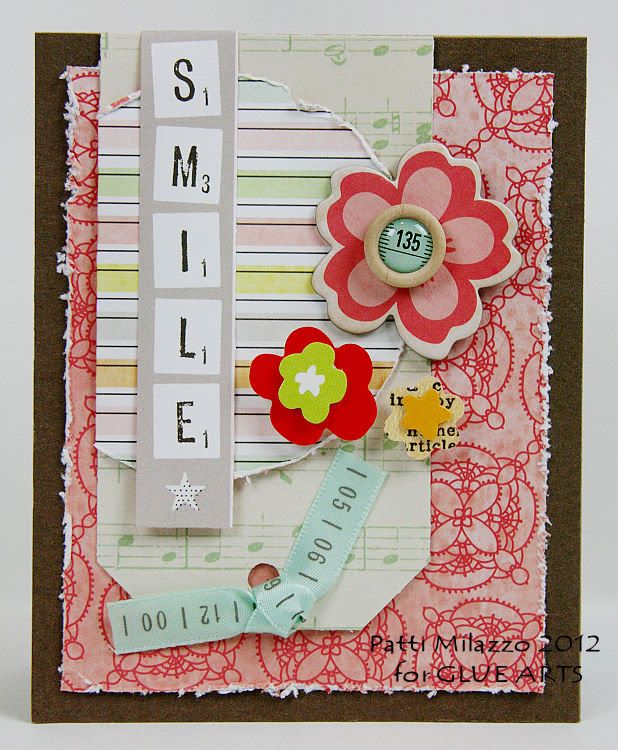
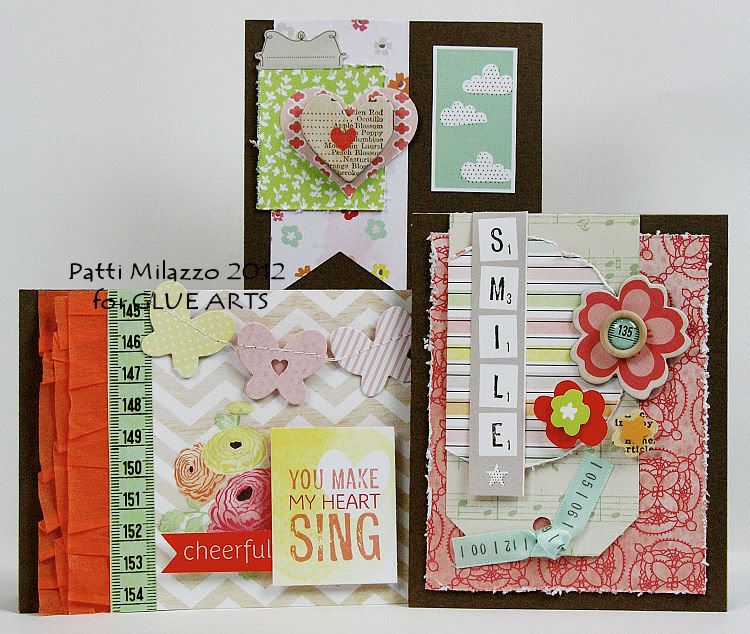
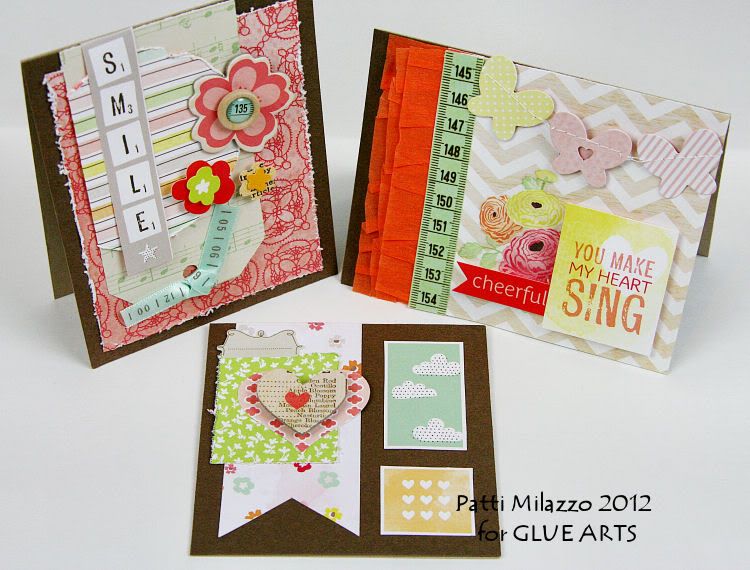
As they say...proof is in the pudding and Designers Patti Milazzo and Glue Girl Julia Sandvoss...are swimming in it!lol Patti has a trio of cards that will definitely "make your heart sing" and GlueArts Adhesives play a key role in helping Patti create!!

user posted image
Greeting Card Trio


GlueArts Designer: Patti Milazzo

Supply List: 

Glue Arts- 


U-Cut-It Adhesive Foam
Raise ‘Ns

American Crafts:
Dear Lizzie Pattern Paper
Dear Lizzie Chipboard Shapes
Dear Lizzie Rub-Ons
Dear Lizzie Buttons & Accents
Dear Lizzie Accent & Phrase-Sticker Sheet & Sticker Book
Dear Lizzie Ribbon
Neapolitan Paper Garland
Neapolitan Stitched Ruffle Paper

Instructions:
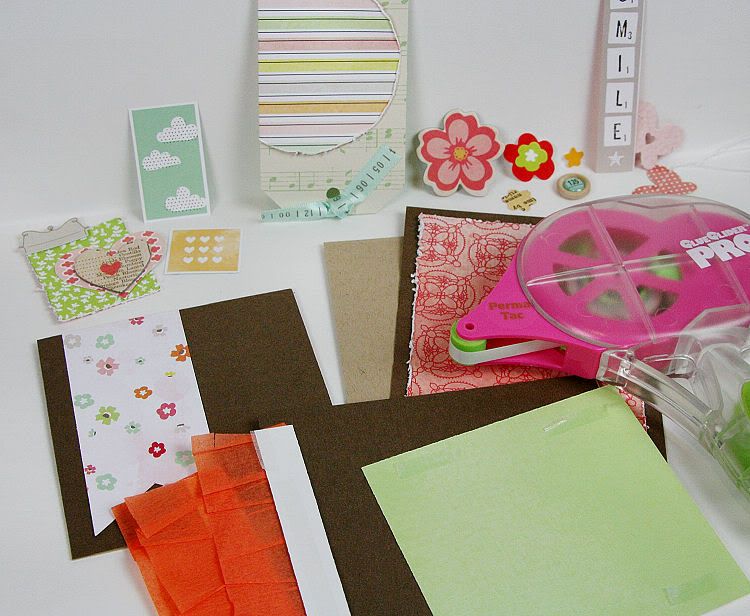
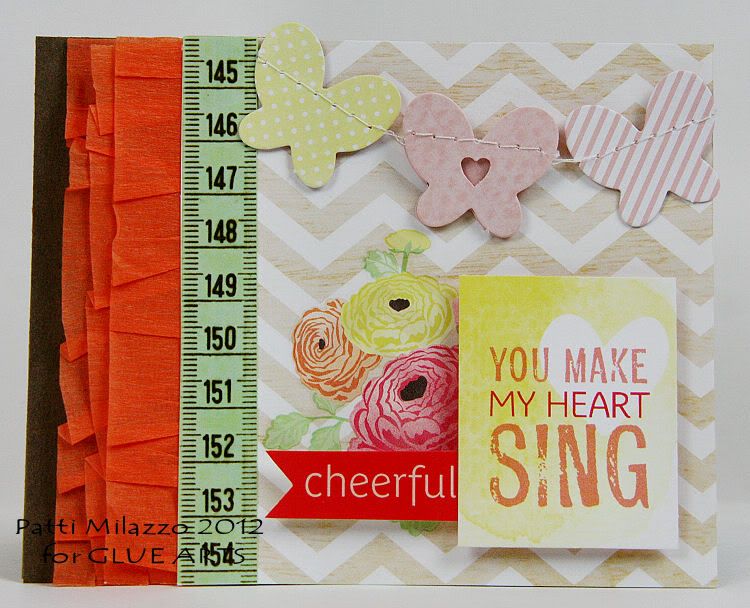
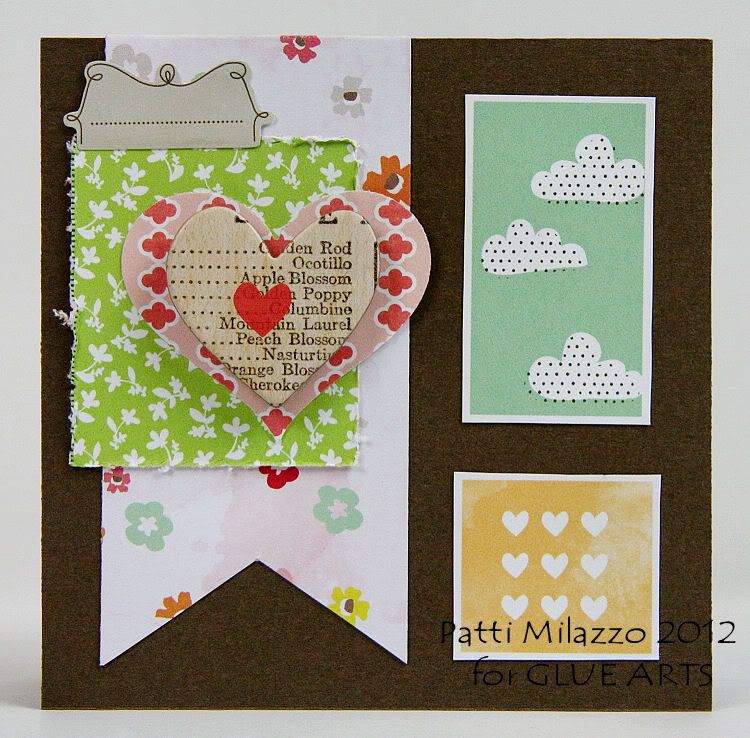
To create these quick greeting cards, start by making 3 small (2-4x6 and 1-4x4) cards from cardstock. Use the Glue Glider Pro to adhere background pattern paper to the front of the card for your designs. I also used the Glue Glider Pro with Perma Tac Adhesive to layer the Dear Lizzie Stitched Ruffle Paper before adhering it to the left of the chevron pattern paper on one card.


user posted image

user posted image

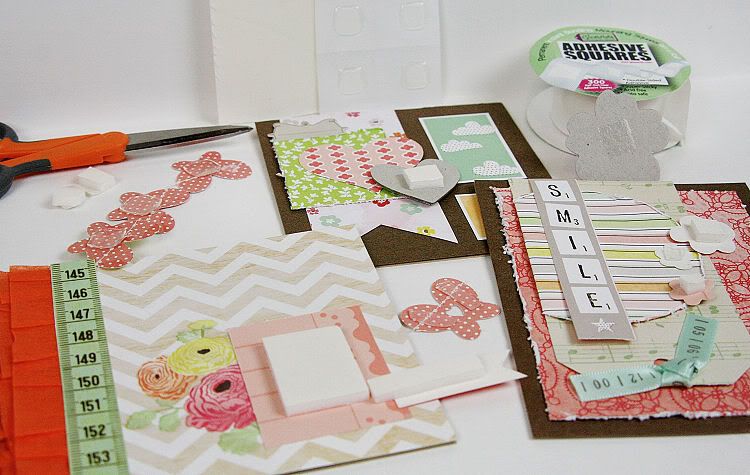
Use both Raise ‘Ns and U-Cut-It Adhesive to give dimension to the accents you choose to add to each card. I added an extra butterfly (with a heart punch in the center) on top of the stringed banner by layering in small cut pieces of Raise ‘Ns. To attach the Dear Lizzie chipboard flower, I applied an Adhesive to the back.
user posted image

user posted image

user posted image

user posted image


Bottle You Up Layout 
Glue Girl: Julia Sandvoss

Supplies:

GlueArts Adhesive Squares
Dear Lizzy Neapolitan Papers, Vellum & Alphabet Stickers
Doodlebug Cardstock
Fiskars Cloud Punches
Epiphany Crafts Studio Shape Star Tool & Bubble Caps
My Little Shoebox Yellow Alphabet Stickers
Creative Imaginations Color Mist


Dance Time Layout
Glue Girl: Julia Sandvoss

Supplies:

Adhesive Squares
Dear Lizzy Neapolitan Papers, Vellum, Stickers, Chipboard & Alphabet Stickers
Maya Road Pin
May Arts Ribbon
Fiskars Scallop Border Punch
Marvy Scallop Heart Punch

Designer Note: I layered a strip of the dotted vellum over my ribbon for a fun look!


So how would you like to win this amazing collection?


Our incredibly generous (did we say generous?/!!) friends at American Crafts were kind enough to send an amazing kit filled with the Dear Lizzy Neapolitan collection. It's filled with papers, stickers, buttons, alphabet stickers...and on and on. We'd like to send this to you...so please post us a comment. We'd love to hear how many of you are using GlueArts Adhesives. And if not...what is first on your list to try. Already shared with us this week...well heck...how about what is YOUR favorite flavor of ice cream then!lol

Then we'll select one random winner from this week's comment and post their lucky name right here next Monday. All it takes is one comment and it might be YOU!

Do stop by tomorrow...we have so many beautiful projects to share with you this week that we know you will not want to miss a day!
You have read this article 3D Combo Pac / Adhesive Squares / Dear Lizzy / Glue Gilder Pro / Julia / Patti / U Cut It Foam with the title Patti. You can bookmark this page URL http://skinnyminny22.blogspot.com/2012/05/dear-lizzyneapolitan-is-oh-so-sweet.html. Thanks!

GlueArts Welcomes Want2Scrap!!

Happy Monday to you! 


We hope you all had a fantastic weekend and enjoyed last week with our friends at Lily Bee and Epiphany Crafts!


We have another fantastic week lined up for you and would like to welcome you to the Glue Arts and Want2Scrap Spring into Summer Blog Hop...


AND


Want2Scrap specializes in blingchipboard albums, laser designs, iPhone 4 cases and ribbons and much more! Be sure to visit their online store to see all their products. This week our talented Glue Girls have a variety of projects for you. Cards, albums, altered arts and we hope you'll be sure to stop by each day to visit our site, enter to win and hop to our Designers blog and our friends at Want2Scrap! It's one amazing week of inspiration...that we can promise! 


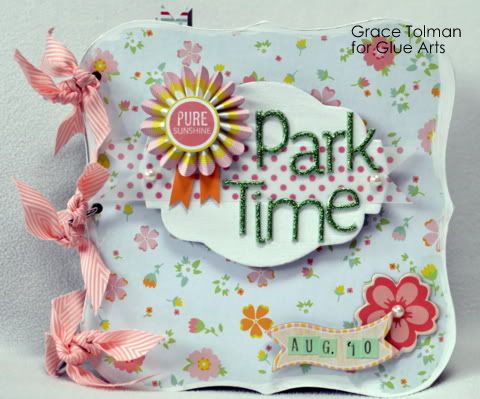
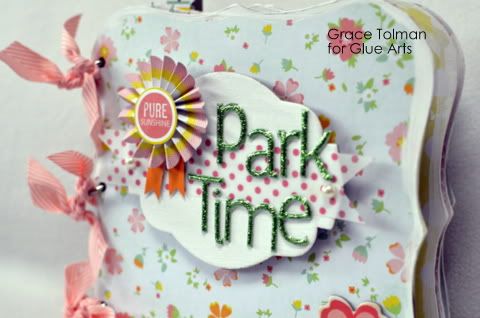
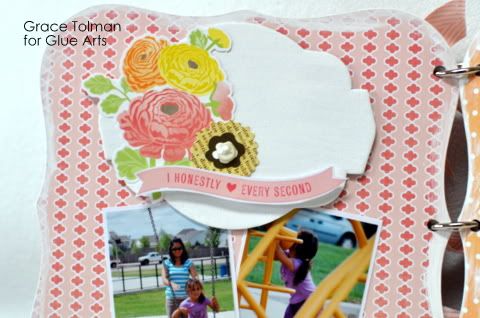
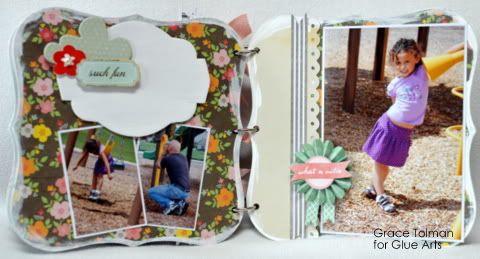
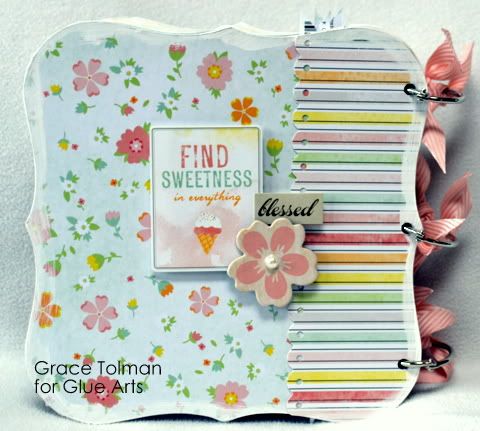
Up first..two talented ladies... Grace Tolman with an adorable mini book and Patti Milazzo with a beautiful card. (To see the full projects...please visit their individual blogs!)

user posted image
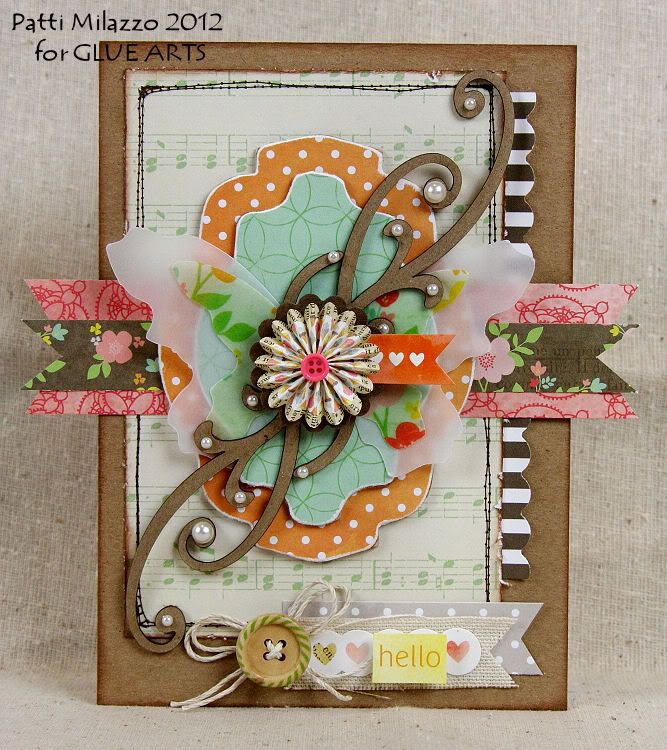
Hello Card
GlueArts Designer: Patti Milazzo


Supply List: 
Glue Arts- 


Mini Adhesive Squares
Adhesive Squares
Extreme Micro Adhesive Squares


Want 2 Scrap:

ATC Canvas Tags (cut)
Chipboard Shapes – Style C (Kathie flourish)
Chipboard Shapes – (journal shapes)
Self Adhesive Pearls – white


Other: 

American Crafts – Dear Lizzie Pattern Paper & Vellum, Stickers, Buttons/Accents


user posted image

user posted image

user posted image

user posted image

user posted image
Park Time Mini Book
GlueArts Designer: Grace Tolman

Supplies Used:
Glue Arts Glue Glider PRO+ Perma Tac
Glue Arts Mini SquaresGlue Arts Extreme Squares
Glue Arts U Cut It Foam
Mini album, chipboard pieces and pearls- Want2Scrap
Cardstock- WorldWin
Pattern papers, embellishments and stickers- Neopolitan, Dear Lizzy, American Crafts
Ribbon- May Arts
Paint- White, Plaid Enterprises
Border punch- Fiskars
Pen- Creative Memories

Here's where you can find all of today's projects and inspiration!


Before you go...please be sure to post a comment and enter to win a GlueArts prize package of... 

a Glue Glider PRO+ and one PermaTac Cartridge, our Adhesives Squares and our 3D Combo Pac! Be sure to post a comment each day this week for more chances to win.

It's also time to announce last week's Lily Bee and Epiphany Crafts Winners and they are:

Lily Bee..

  Charlotte Ann said...


What a cool "thanks" gift tote! LOVE the colors, and the way you incorporated so many different (and wonderful) elements/embellishments into this project! And, the page is adorable! It's so fun and happy!
And our Facebook winner of the Epiphany Tool is... Kari Zimmer Cosentino

Congrats to both of our winners. Please email me at Gluegirl@gluearts.com with your information! 

Be sure to stop by the Want2Scrap Blog in addition to the Designers on today's blog hop! We'll see you right back here tomorrow with more ideas and inspiration from GlueArts and Want2Scrap! 
You have read this article Grace / Patti / Want2Scrap with the title Patti. You can bookmark this page URL http://skinnyminny22.blogspot.com/2012/05/gluearts-welcomes-want2scrap.html. Thanks!
Say A Special Thanks with Lily Bee & GlueArts

As the end of the school year winds down, every searches for that special way to thank a teacher, coach, classroom helper...and the list goes on.

Today Designer Patti Mliazzo has a beautiful way to do just that thanks to Lily Bee products, Epiphany Crafts Tools and Bubble Caps...and GlueArts of course! And our talented gal, Andrea Budjack offers us a beautiful layout based on the Lily Bee sketch (see yesterday's blog post) celebrating her children!

user posted image
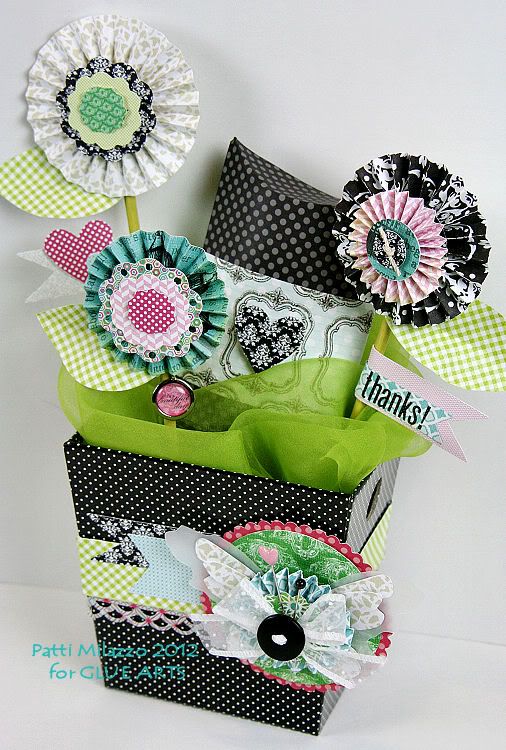
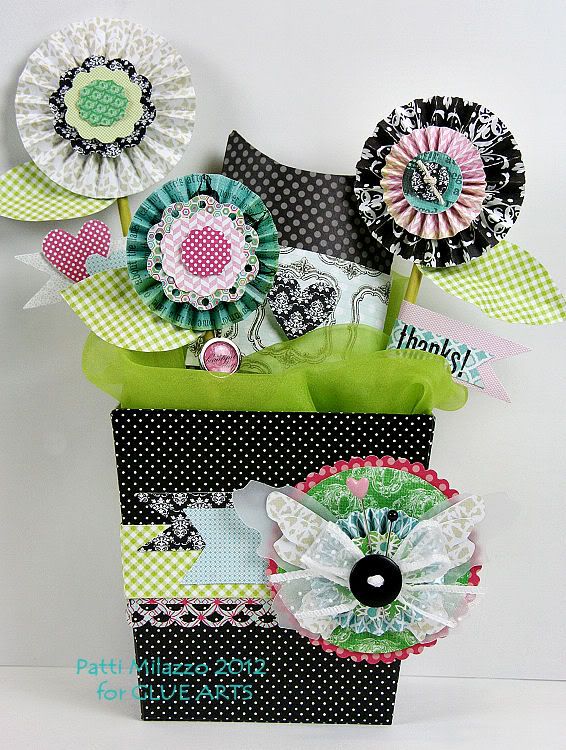
"Thanks!" Gift Tote with Rosettes
GlueArts Designer: Patti Milazzo

Supply List: 

Glue Arts- 
Glue Glider Pro 
U-Cut-It Adhesive Foam
Adhesive Squares
Extreme Adhesive Squares
Glue Gun
Glue Gun Stick Refills

Lily Bee:
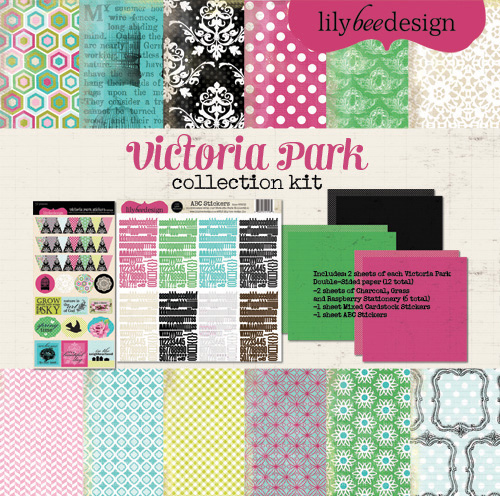
Victoria Park Collection Kit

Epiphany Crafts:
Round 14 punch tool
Bubble Caps – Clear Round 14
Charm

Other: dollar bin black pattern tote box, ribbon, pins, button, vellum, hemp

Instructions:
Prepare the inside of the container by using the Glue Gun to adhere a piece of floral foam to the bottom of the box. Set aside.

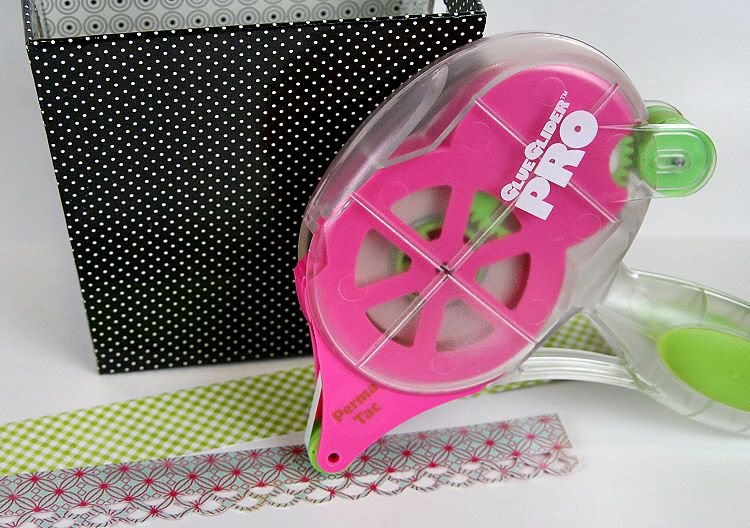
I started by cutting and adhering a decorative paper strip around the cardboard container I had for this project. I used the Glue Glider Pro with Perma Tac Adhesive and added Extreme Adhesive Squares on the ends of the strips to secure them in place. Cut a 3.5” circle from green and another 4” circle from pink. Layer these and trim the larger with scallop scissors. Adhere this to the right front of the container with a piece of U-Cut-It Adhesive Foam.


user posted image

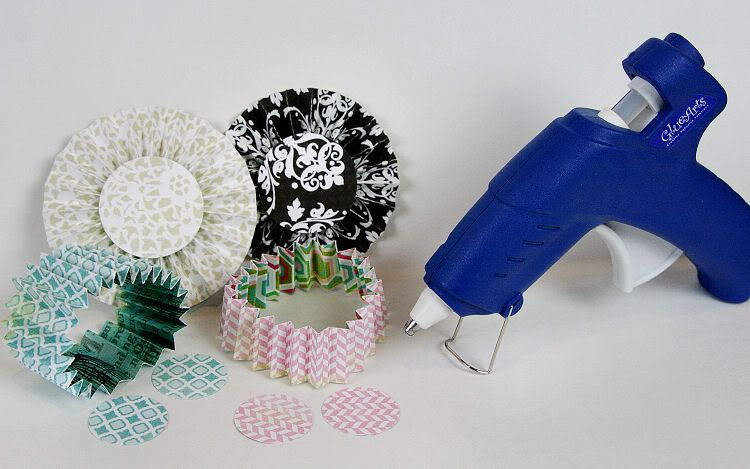
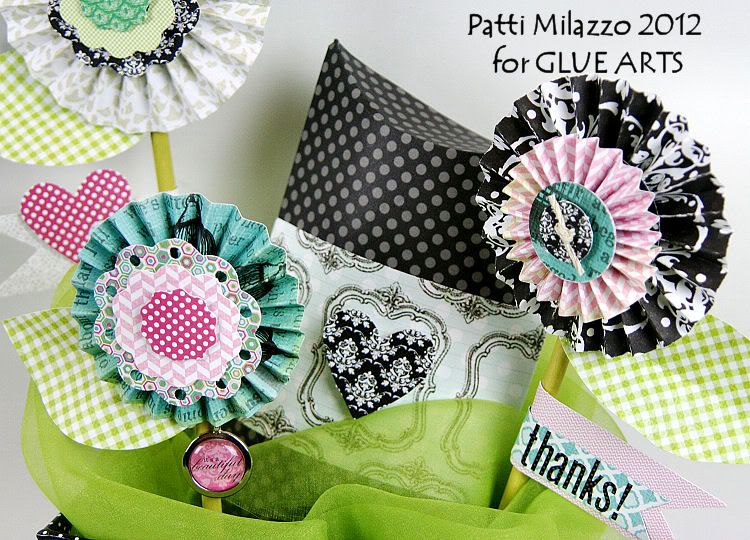
Next, I made assorted rosettes for the embellishment accenting the front of the container as well as the flowers inserted into the box using Lily Bee’s Victoria Park collection. For these, I prefer to use the Glue Gun to secure the rosettes with circle punches. 

user posted image

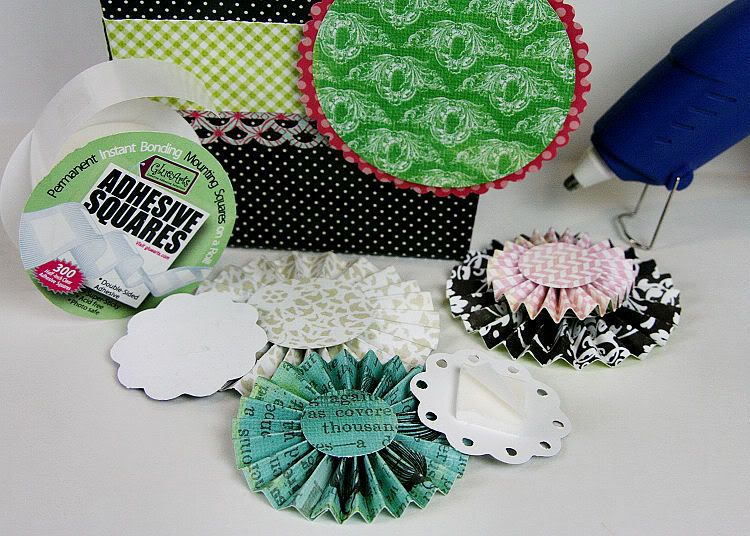
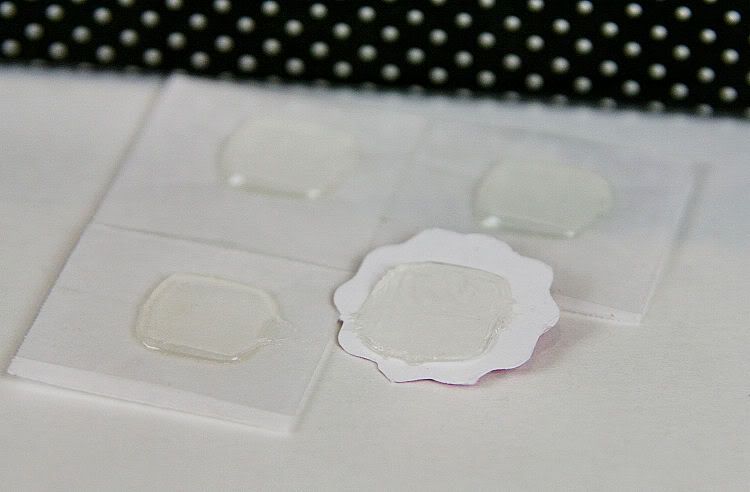
Layer multiple rosettes on top of each other with hot glue and apply the Bag of Bits Die Cuts with Adhesive Squares, U-Cut-It Adhesive Foam or Raise ‘Ns for just a bit of dimension.

user posted image

user posted image

Once the rosettes for inside the container are complete, use the Glue Gun to attach them to the inked (green) craft dowels. Cut a few leaves from green pattern paper, crumple a bit and also attach these just below the rosette flowers on the dowels. Apply the pennant/banner die cuts with either Adhesive Squares or hot glue. Arrange the rosette stemmed flowers in the floral foam. Add a bit of hot glue to secure if needed.


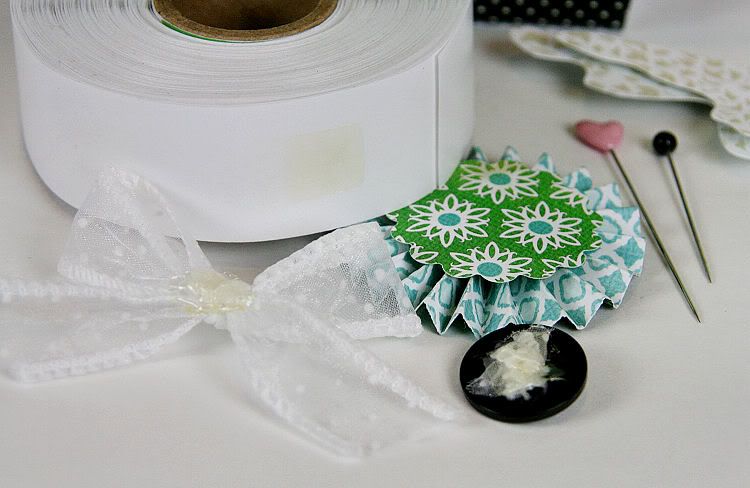
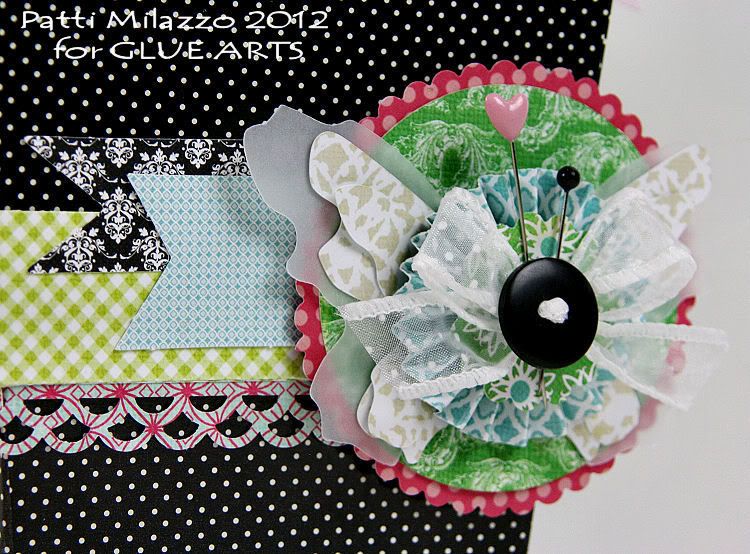
When creating the rosette to accent the front of the container, adhere a small bow and button to the front of the rosette using Extreme Adhesive Squares. Then tuck a couple of decorative pins just behind the bow.


user posted image

Using the Glue Glider Pro with Perma Tac Adhesive apply adhesive to the ends of the pennant/banner Bag of Bits Die Cuts and tuck under the left side of the scalloped circle, as shown.

user posted image

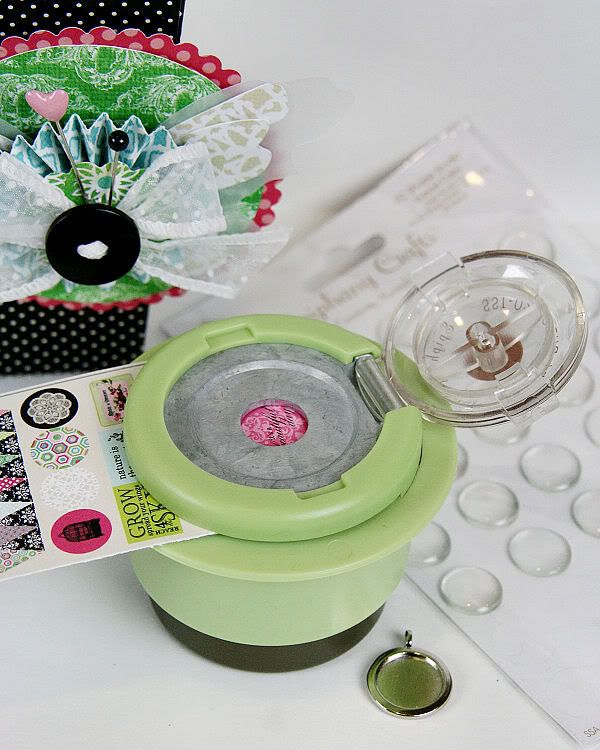
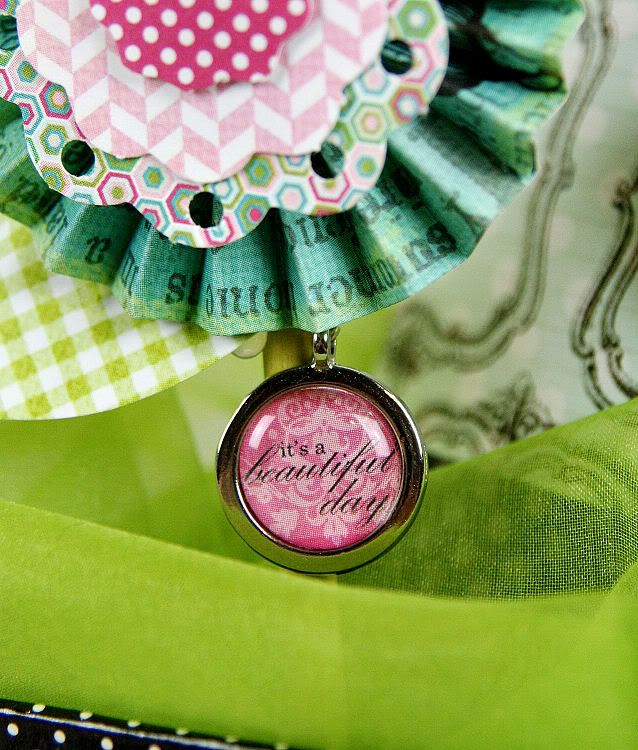
For the Epiphany Craft charm on the smallest flower I used the punch tool on the collection kit cover sheet where the “It’s a beautiful day” sentiment happened to be the perfect fit for this accent. Once I added the Clear Bubble Cap with the tool, I adhered this piece inside the charm with a Micro Extreme Adhesive Square.

user posted image

user posted image

To complete the gift box, I filled the bottom with a bit of tissue paper to cover the floral foam. This can be glued in place also. Then I topped it with a small strip of sheer green fabric. I created a decorative gift box from Lily Bee’s Charcoal Stationary (cardstock) and embellished it with a bit of pattern paper and a Bag of Bits heart die cut. I tucked this into the container after filling it with a gift card and a few treats and my gift tote was complete. 

user posted image

user posted image


user posted image
user posted image
One Sweet Smile Layout
GlueArts Designer: Andrea Budjack 


Glue Arts Supplies:

Additional Supplies:
Lily Bee - paper, tags, stickers
Tim Holtz - paper clip
Prairie Bird Boutique - ribbon
Maya Road - chipboard
thread
stick pin
buttons


Be sure to stop by the Lily Bee blog to see what they're up to with this sketch and how you can get involved!! Remember to use your GlueArts adhesives on your layout too!!


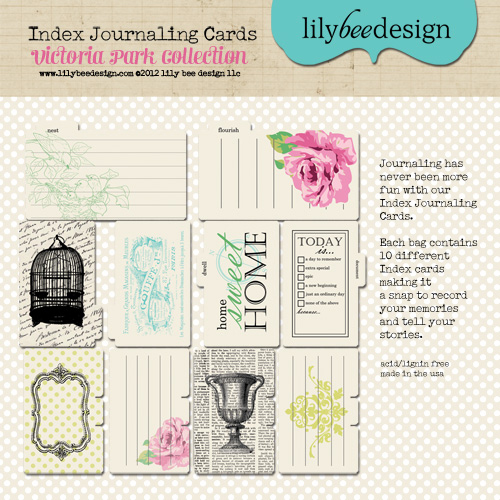
Our friends at Lily Bee have kindly offered to one of our lucky fans their new Victoria Park Collection kit along with a pack of their  Index Journaling Cards. All you have to do is post a comment and you're entered to win. The more comments you post this week (one per day) the more chances you have to win!


Want even more ways to win?? Our friends at Epiphany Crafts are offering their Epiphany Crafts Studio Shape Star Tool and matching Bubble Caps. (not shown) All you have to do to win is to stop by the Lily Bee Facebook Wall and Epiphany Crafts Facebook Wall and say hello!! Then pop back here post a comment and you're not only entered to win the Victoria Park Collection, you'll also be entered to win the EC Tool too!  
You have read this article Adhesive Squares / Andrea / Extreme Adhesive Squares / Extreme Adhesives Mini Sqaures / Glue Arts Glue Gun / Glue Gilder Pro / Lily Bee / Patti / Perma Tac / Raisen's / U Cut It Foam with the title Patti. You can bookmark this page URL http://skinnyminny22.blogspot.com/2012/05/say-special-thanks-with-lily-bee.html. Thanks!
From GlueArts To You...Happy Crafting!

Happy Crafting!

 Usually those words bring a smile to the face and a million ideas that run through the mind for the next craft project! We're wrapping up this week with Nikki Sivils and her team and sending out good vibes to everyone for some happy crafting. And when you craft...be sure to chose GlueArts Adhesives so you too can make what Designer Audrey Pettit and Patti Milazzo share with us today!

user posted image

user posted image

user posted image

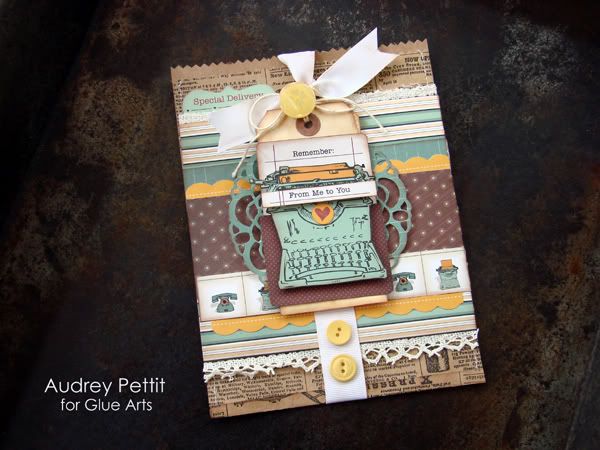
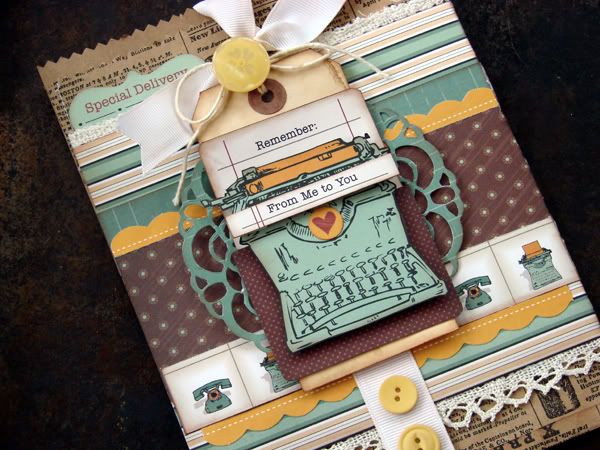
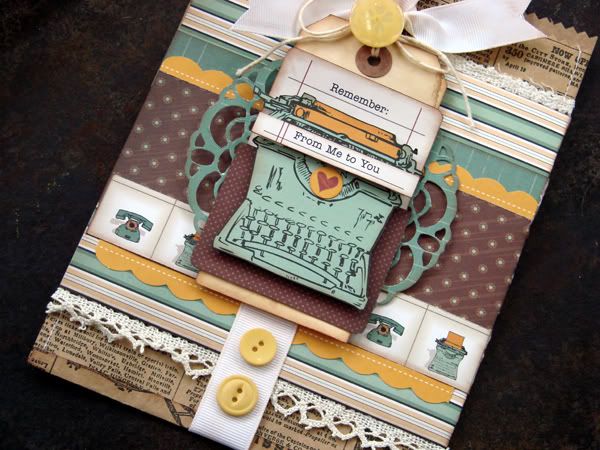
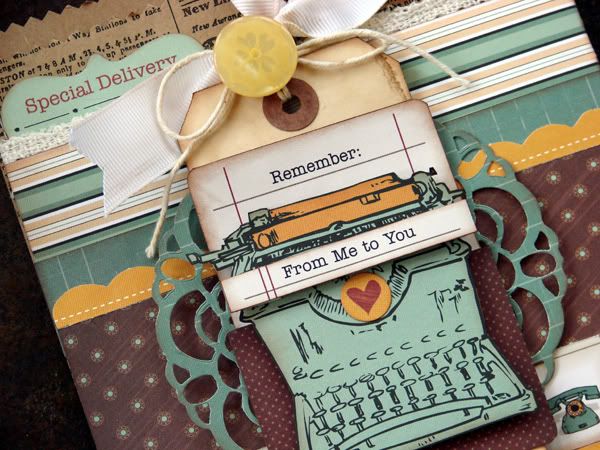
From Me to You Gift Bag 
GlueArts Designer: Audrey Pettit


Supplies:

Nikki Sivils Messages Collection:
Patterned Papers and Die Cut Sheet
Tag: The Kraft Outlet
Doily Die: Sizzix
Trim: Craft Supply
Buttons: Foofala
Ink: Clearsnap
Recycled Kraft Printed Shopping Bag
Pinking Scissors

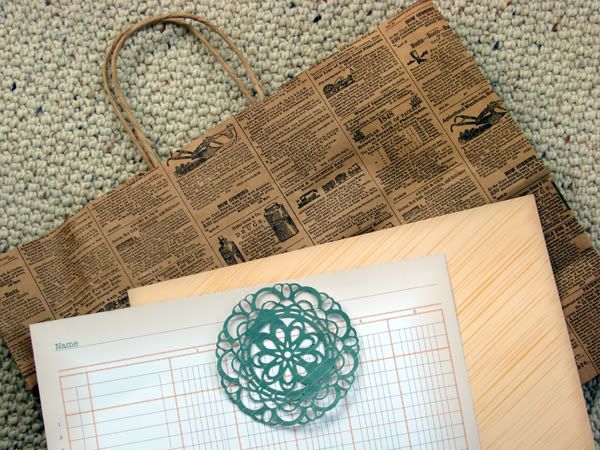
Recently, while out shopping, I received a very fun kraft shopping bag with a vintage-ad print, which was way too cool to throw away. Although the bag was a bit too big for an average gift bag, I've saved it and cut it apart to create all new bags, like the one here. It's super easy to make your own bags, and it's earth-friendly and budget-friendly, too.

Instructions:

1. To get started, cut open the kraft shopping bag. Then cut two rectangles from the paper in the desired size of your finished new bag. Cut both pieces to the same width, but allow an extra 1/2" in height on the second piece. For my bag, I cut my two pieces at 6" x 8" and 6" x 8.5".


user posted image

2. Cut the tops of both pieces of printed kraft paper with pinking scissors. Lay the wrong sides of the paper together and then machine stitch down both sides. Fold up the bottom 1/4" of paper, edge with brown ink, and adhere flap using Glue Arts High Tac adhesive.


3. Cut various strips of 12" patterned paper in different widths. Adhere strips together. Add die cut scalloped border. Adhere lace trim to the top and bottom edge using Glue Arts Ribbon Adhesive.

4. Fold finished strip in half and adhere to the center of the bag using High Tac adhesive.

5. Tie inked ribbon around the center of the gift bag.


user posted image

6. Fussy cut a journaling card from patterned paper and adhere to the center of a shipping tag. Die cut a doily from patterned paper and adhere behind the tag. Fussy cut a typewriter from the patterned paper and adhere to the tag with U Cut It Foam adhesive.


7. Embellish with a sentiment strip cut from the paper, Messages die cuts, and matching yellow buttons.


user posted image
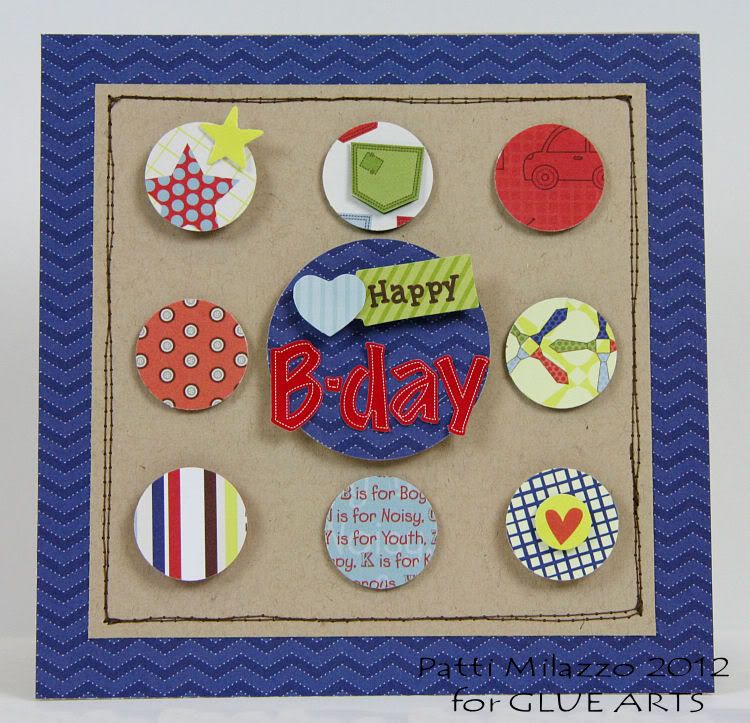
Happy Bday Card
GlueArts Designer: Patti Milazzo

Supply List: 
Glue Arts- 
Glue Glider Pro 1/4 Perma Tac Cartridge Refill - Pro
U-Cut-It Adhesive FoamRaise ‘Ns

Nikki Sivils: Noah Collection Kit


Instructions:
Create a 6" square card from kraft and set aside.

Cut a 6" square of blue pattern paper. Also cut a 5" square of kraft cardstock and adhere it to the front of the blue paper using the Glue Glider Pro with Perma Tac Adhesive. Machine stitch around the border of the kraft square twice.

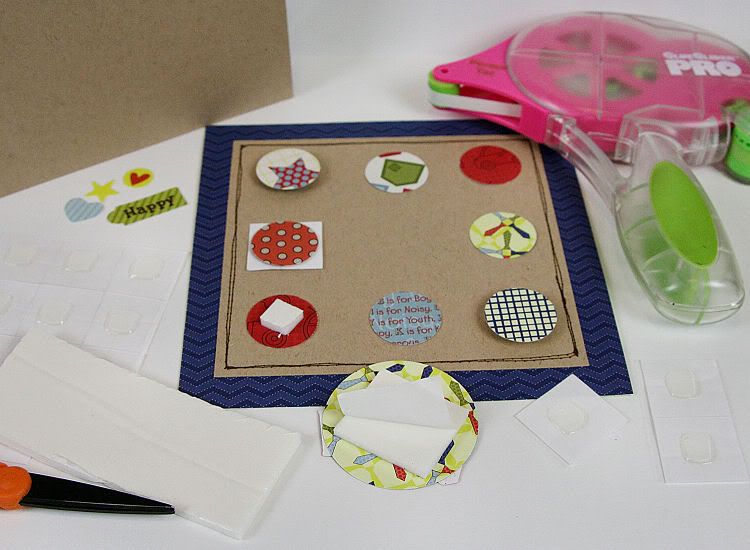
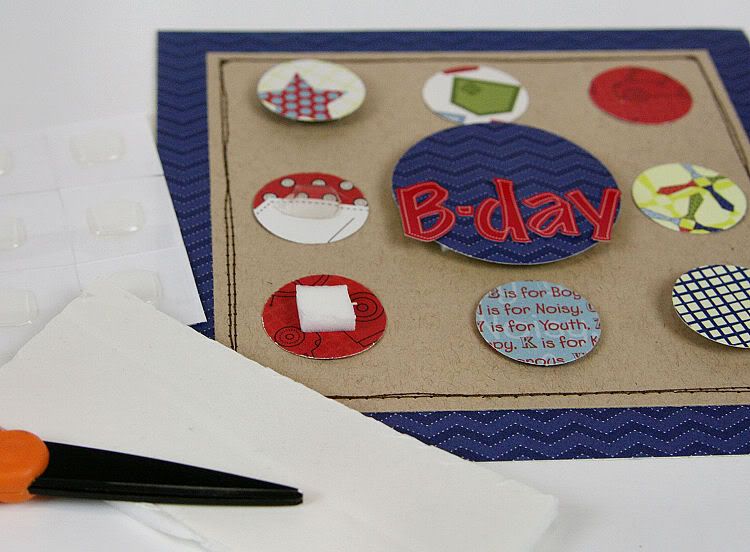
Punch 9 circles from a mix of patterned paper. I used 1" circles around the outside and a 2.5" circle in the center. 


user posted image

Cut pieces of U-Cut-It Foam Adhesive to fit behind the center circle and a few of the smaller circles as well. Apply Raise 'Ns to the remaining circles for just a bit of dimension.

user posted image

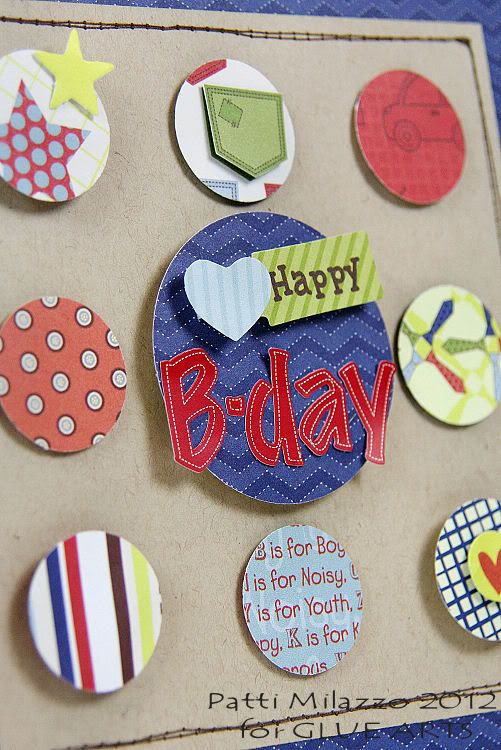
Apply letter stickers for the sentiment on the center circle. Use more U-Cut-It Adhesive Foam to add the "Happy" tag and heart die-cut.

user posted image

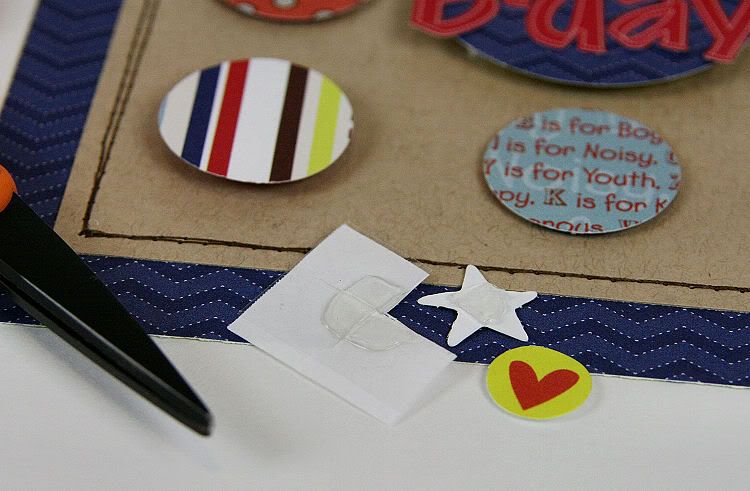
Add additional tiny die-cuts to the circles by cutting the Raise 'Ns - leave the paper and clear plastic backing on to cut the Raise 'N into 4 small pieces.

Use the Glue Glider Pro again to adhere the embellished card front to the 6" kraft card to complete.


user posted image


We hope you've enjoyed our week with Nikki Sivlis!!


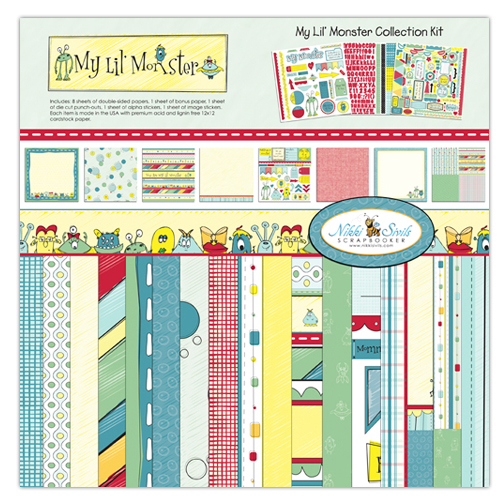
We're giving away this fun My Lil' Monster Kit from Nikki Sivlis...perfect for Father's Day, cute kids, grandkids...you name it...we're sure you'll find just the right things to use it for! 

Simply post a comment and we'll enter you to win this fun collection kit filled with paper, stickers and much more! And to help you with your crafting, we're going to include our Glue Glider PRO Handle (already own one...no problem we'll offer you a second cartridge!) and our PRO+ Perma Tac Cartridge plus we'll tuck in our must have 3D Combo Pac. It's filled with our GlueArts U Cut It Foam (used here today!) along with our Raisen's! Now that's a giveaway!
We'll collect all the comments and pick one random winner next Monday! Please remember to visit the Nikki Sivlis Blog and her talented Doghouse Diva's to see what they've created this week with GlueArts products! Be sure to visit the Nikki Sivils page on Facebook and give them a like!! Let them know GlueArts sent you by! If you would!  

We'd also like to extend a sincere thank you to Nikki and her team for working with us!!
You have read this article Audrey / Extreme Adhesive Squares / Glue Gilder Pro / High Tac / Nikki Sivils / Patti / Pro+ / Ribbon Adhesive / U Cut It Foam with the title Patti. You can bookmark this page URL http://skinnyminny22.blogspot.com/2012/04/from-gluearts-to-youhappy-crafting.html. Thanks!