How can it not be a Happy Day when you combine Pebbles Happy Go Lucky Collection and GlueArts adhesives???
Pebbles Happy Go Lucky Collection is filled with cheery colors and embellishments. Add our Glue Glider Pro, Adhesive Squares, Ribbon Adhesive and throw in some U Cut It Foam and you're unstoppable!
Today Designer Lesley Langdon shows how GlueArts adhesives are not just for adults....in fact our adhesive are Kid Friendly as Lesley's daughter shows. And we think she too looks...dare we say...Happy?!
You'll be happy as can be after you take a peek at what Designers Kristen Swain and Jenny Chesnick have made for us today too!

Happy Day Canvas Set
GlueArts Designer: Jenny Chesnick
Supplies:
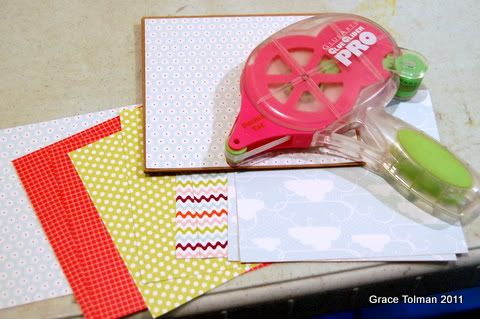
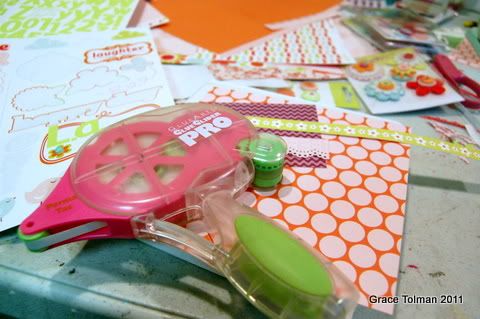
Glue Glider Pro High Tac
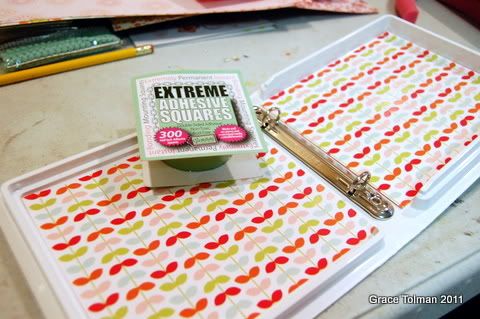
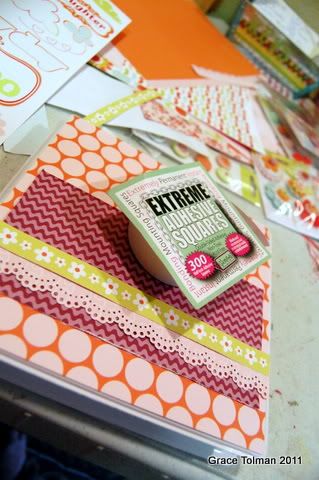
Mini Extreme Squares
U-Cut it Foam
Pebbles Happy Go Lucky Paper & Embellishments
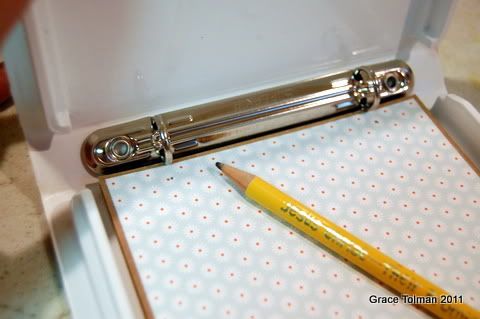
Canvas Squares
Tattered Angels Mist
Silhouette SD

2. Next cut down your paper to fit your canvas, these are 5x5. Then attach using High Tac straight to your canvas.

3. Using my Silhouette I cut out the background shape to layer onto my background paper. I used Mini Extreme Squares to attach the small pieces.


4. Next using U-Cut foam layer the backside of your embossed stickers to make them solid.

5. To finish I applied my large stickers then layered all the fun embellishments that came with the line to my pieces.


MARCH
GlueArts Designer: Lesley Langdon
Designer Fun: My daughter was eager to help with this layout, especially since she is the star. She helped adhering all the circles onto the 12x12 background and she has become a master at using the Glue Glider Pro. It's smooth operation makes it a breeze for kids to get crafty with Glue Arts!
Supplies:
Glue Arts Glue Glider Pro Perma Tac Adhesive
Pebbles Inc Happy Go Lucky (patterned paper, alphas, chipboard flowers, embossed stickers, dimensional stickers, blue candy dots)
Bazzill Black Textured Cardstock
Spellbinders Dies (Standard Circles SM and LG)
The Grand Calibur Die Cut Machine by Spellbinders
Instructions:1. Die cut all different sizes of Pebbles Happy Go Lucky patterned paper circles, mat onto darker color.
Supplies:
Glue Arts Glue Glider Pro Perma Tac Adhesive
Pebbles Inc Happy Go Lucky (patterned paper, alphas, chipboard flowers, embossed stickers, dimensional stickers, blue candy dots)
Bazzill Black Textured Cardstock
Spellbinders Dies (Standard Circles SM and LG)
The Grand Calibur Die Cut Machine by Spellbinders
Instructions:1. Die cut all different sizes of Pebbles Happy Go Lucky patterned paper circles, mat onto darker color.

2. Adhere the circles in random pattern across the black cardstock with the Glue Glider Pro.

3. Adhere photo and embellishments, and journal block sticker.

4. Add journaling.
5. As a final touch, add blue Candy Dots.

Just Be Gift Frame
GlueArts Designer: Kristen Swain
Materials:
Pebbles- Happy Go Lucky Collection
Pearl swirls- Pebbles
GLue Arts- UCutIt foam and Perma Tac adhesive
Crinkled Ribbon- www.scrapinkris.etsy.com
Wooden Frame
punch- eksuccess
Instructions:
1. Cover frame with red checked paper, adhering to frame with Perma Tac adhesive.
GlueArts Designer: Kristen Swain
Materials:
Pebbles- Happy Go Lucky Collection
Pearl swirls- Pebbles
GLue Arts- UCutIt foam and Perma Tac adhesive
Crinkled Ribbon- www.scrapinkris.etsy.com
Wooden Frame
punch- eksuccess
Instructions:
1. Cover frame with red checked paper, adhering to frame with Perma Tac adhesive.

2. Add strip of striped paper across middle of frame, then add punched scallops on both edges, overlapping two strips.

3. Create scene in frame opening with blue paper and torn green paper, adhering with Perma Tac. Then add UCutIt foam to back of Just Be sticker, and adhere in center of frame.

4. Adhere crinkled ribbon along side of punched pieces, then tie bow and adhere chipboard stickers in place, using UCutIt foam to pop some pieces up.


That's it! Today wraps up our week with Pebbles and their fun, colorful collection....Happy Go Lucky!
We invite you for the final day to join in and post a comment for a chance to win this amazing collection and kit filled with papers, embellishments and more!


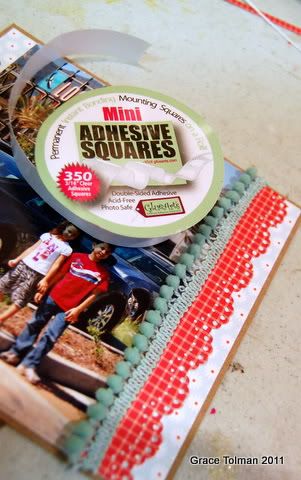
And that's NOT ALL! We're also including our Glue Glider Pro...which is simply the best! Yes...we think so and so will you! The Glue Glider Pro will come with a Perma Tac Cartridge, along with our Mini Adhesive Squares and our Ribbon Adhesive!

We'll announce one random winner on Monday! Be sure to join us then for a new week of ideas!!
Our sincere thanks to Pebbles for providing the products this week and their generous gifts for our giveaways!!! We can't thank you enough!!
Have a safe and fun Labor Day Weekend!
You have read this article Glue Gilder Pro /
High Tac /
Jenny /
Pebbles
with the title Pebbles. You can bookmark this page URL http://skinnyminny22.blogspot.com/2011/09/its-happy-day-with-pebbles-gluearts.html. Thanks!