
Today we have three new projects using Fancy Pants Beach Babe and Beach Bum collections!
Designer Andrea Budjack has made the sweetest mini book! Love how she tucked the diecuts into the pages for special spots to journal. Our GlueArts U Cut It Foam helps give added dimension to the fun fishes!!!
Designer Linda Albrecht used the Beach Babe collection with a new twist showing it's not just for beachy photos!!
Last Designer Lisa Day shows how you can have fun with the Fancy Pants Beach Bum collection! She added some machine stitched details along with our must have U Cut It Foam to give the perfect lift to clouds and more!


Play Day Mini Book
GlueArts Designer: Andrea Budjack

Glue Arts Pro Glide High Tac
Glue Arts Mini Extreme Adhesive Squares
Glue Arts Extreme Adhesive Squares
Glue Arts Vellum Adhesive
Glue Arts UCutIt Foam
Fancy Pants - paper, die cuts, stickers
Dies - Spellbinders (square), Quickutz (circle)
Adhesive Pearls - KaiserCraft
Glitter/Glitter Glue - Martha Stewart
Craft Supplies - fabric, baker's twine
Instructions:
1. Cut pieces of paper to cover mini book. Distress edges with ink.

2. Using baker's twine, cut out fish from paper, Glue Arts mini extreme adhesive squares and Glue Arts vellum sheet create bookmark. Attaching one end of twine to book spine and other between fish cut outs. Stitch fish using sewing machine.

3. Stitch together papers for cover of mini book. Distress edges (I used the backside of a craft knife to do so here).

4. Adhere paper cover to mini book using Glue Arts High Tac adhesive.

5. Embellish front cover as desired using a variety of Fancy Pants die cuts and stickers and Glue Arts UCutIt 3D Foam.

6. Using Glue Arts High Tac adhesive add Fancy Pants journal tag die cuts to pages of mini book, leaving a little showing on the edge.

7. Using Glue Arts Extreme Adhesive Squares, add fabric ties to keep mini book closed. (I frayed the edges of the fabric slightly.)


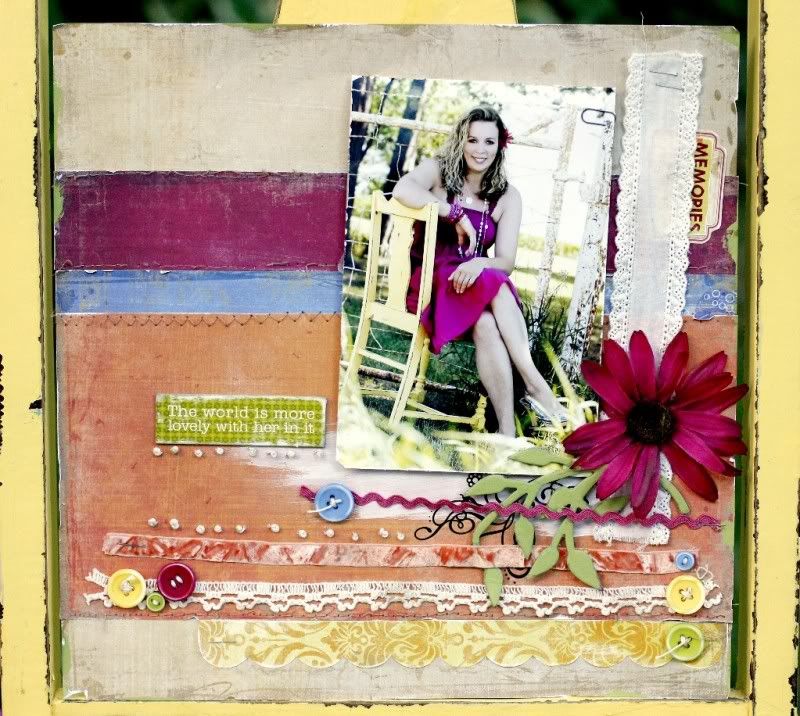
"The World is more Lovely" 12x12 layout
GlueArts Designer: Linda Albrecht
Supplies:Glue Arts Glue Glider Pro with Perma Tac Adhesive
Glue Arts Ribbon Adhesive
Glue Arts U-Cut-It foam blanks adhesive
Glue Arts Hot glue gun
Fancy Pants "Beach Bum" patterned papers, Sticker Elements (scalloped border & word), Buttons
Miscellaneous lace and trims
Chipboard leaf stem- Maya road
Black Rub On- BasciGrey
Staples & Cotton string for embroidering and buttons
5x7" photo
mini paper clip
Acrylic paint (white & green)
Instructions:
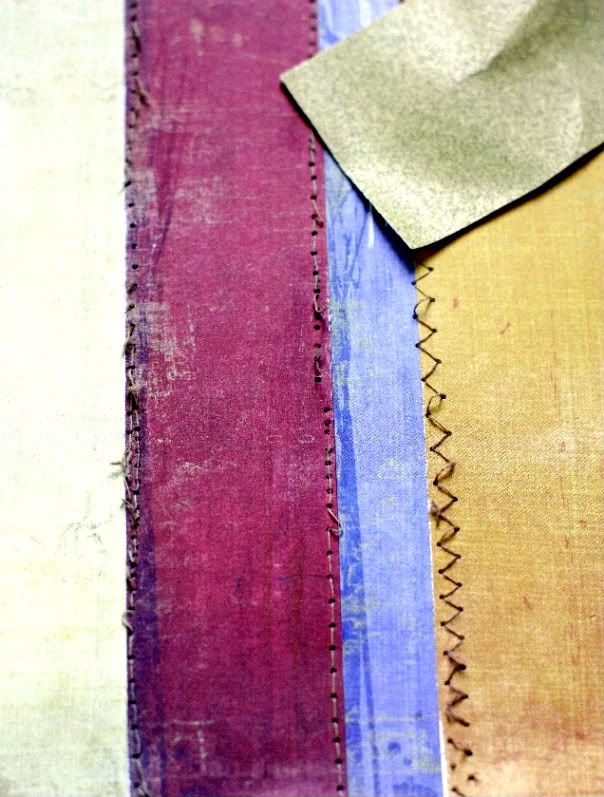
1. Cut papers into strips as desired. I used the Tan color as a base then used a 1 3/4" strip of the red, 3/4" strip of the blue, 5 12" strip of the orange.

2. Apply Perma Tac Adhesive to the backside of the paper strips, keeping it slightly away from the edges to allow for machine stitching.
3. Machine sew stitches as desired then use sandpaper to lightly sand on the stitches to create an old & worn effect. If you like perfection-- skip this step!;-)
4. Use acrylic paint to apply a white strip on the layout where the bottom edge of your photo will be placed.

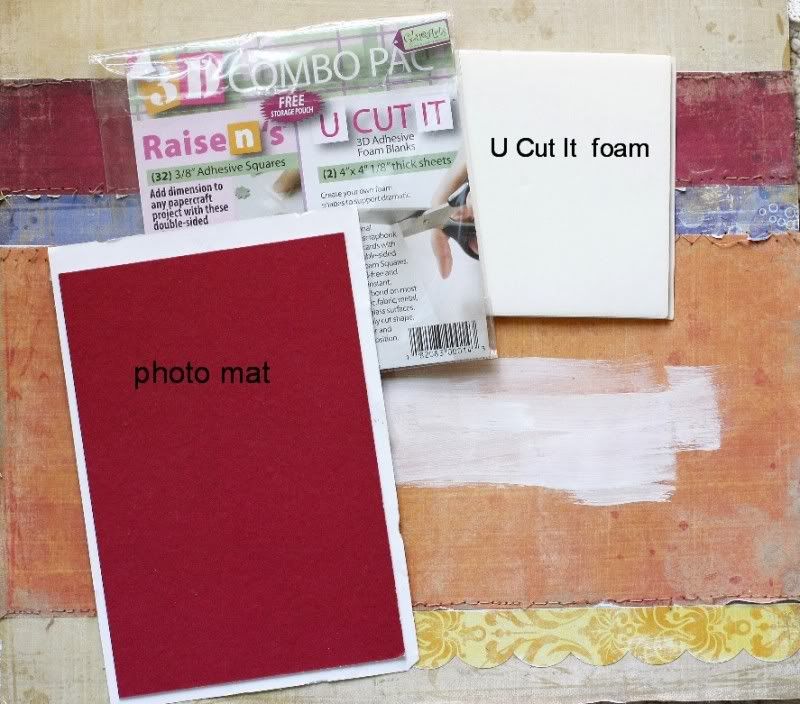
5. Distress the edges of a 5x7" photo then adhere a piece of chipboard to the backside of the photo to reinforce it. I do this so that when it is placed in an album with all of the lumpiness of my layouts, it helps to prevent it from bending or getting wavy.
6. Apply pieces of U-Cut-It foam blanks to the backside of the matted photo to raise it off of the page and make it pop.
7. Apply Ribbon Adhesive to the backside of the trims for teh layout.

8. Apply a rub on ear the lower right corner of the photo then adhere chipboard leaf stem and a silk flower using Hot Glue.
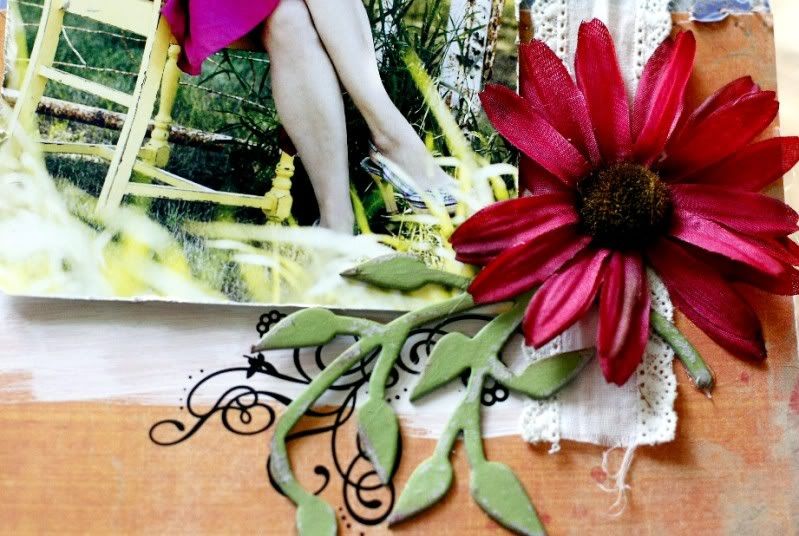
9. Apply scalloped border sticker near the bottom of the layout. Adhere remaing trims to the bottom portion of the layout as desired. Hand sew buttons to the ends of the trims or add a staple as shown.
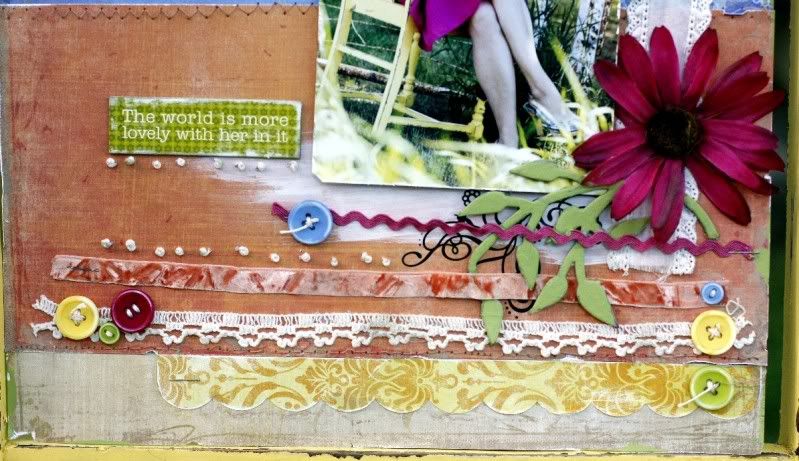
10. Hand embroider 'french Knots' on the layout as shown. I like to make my rows imprefect for that handmade touch.
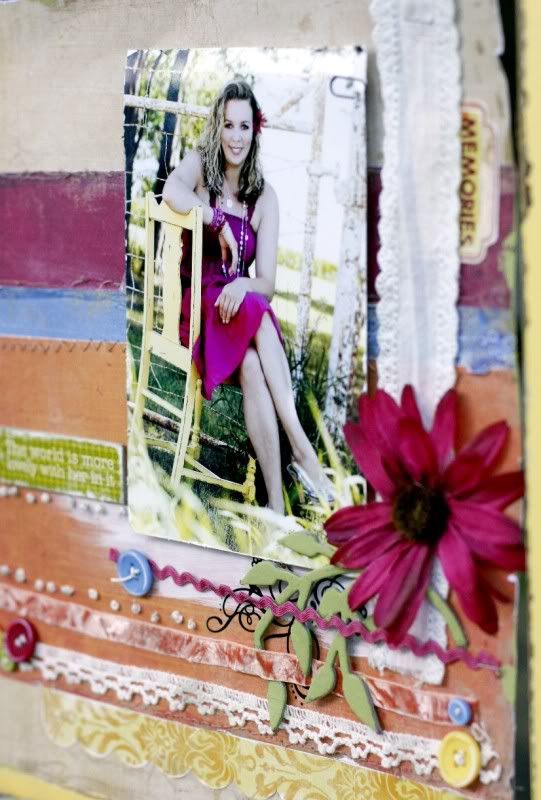
11. Distress buttons slightly with sandpaper, if desired. Add a sentiment and the "Memories" sticker along side the lace that runs vertically along the right side of the photo.
1. Cut papers into strips as desired. I used the Tan color as a base then used a 1 3/4" strip of the red, 3/4" strip of the blue, 5 12" strip of the orange.
2. Apply Perma Tac Adhesive to the backside of the paper strips, keeping it slightly away from the edges to allow for machine stitching.
3. Machine sew stitches as desired then use sandpaper to lightly sand on the stitches to create an old & worn effect. If you like perfection-- skip this step!;-)
4. Use acrylic paint to apply a white strip on the layout where the bottom edge of your photo will be placed.
5. Distress the edges of a 5x7" photo then adhere a piece of chipboard to the backside of the photo to reinforce it. I do this so that when it is placed in an album with all of the lumpiness of my layouts, it helps to prevent it from bending or getting wavy.
6. Apply pieces of U-Cut-It foam blanks to the backside of the matted photo to raise it off of the page and make it pop.
7. Apply Ribbon Adhesive to the backside of the trims for teh layout.
8. Apply a rub on ear the lower right corner of the photo then adhere chipboard leaf stem and a silk flower using Hot Glue.
9. Apply scalloped border sticker near the bottom of the layout. Adhere remaing trims to the bottom portion of the layout as desired. Hand sew buttons to the ends of the trims or add a staple as shown.
10. Hand embroider 'french Knots' on the layout as shown. I like to make my rows imprefect for that handmade touch.
11. Distress buttons slightly with sandpaper, if desired. Add a sentiment and the "Memories" sticker along side the lace that runs vertically along the right side of the photo.

Moments Like This...Layout
GlueArts Designer: Lisa Day
GlueArts Designer: Lisa Day
 Supplies:
Glue Arts Extreme Tac adhesive and applicator
Glue Arts 3D combo pack
Fancy Pants Beach Bum Collection
The Twiner Bakers Twine - Lemondrop
Lily Bee Designs Happily Lost - ABC Stickers
Kraft Cardstock
Sewing Machine & Thread
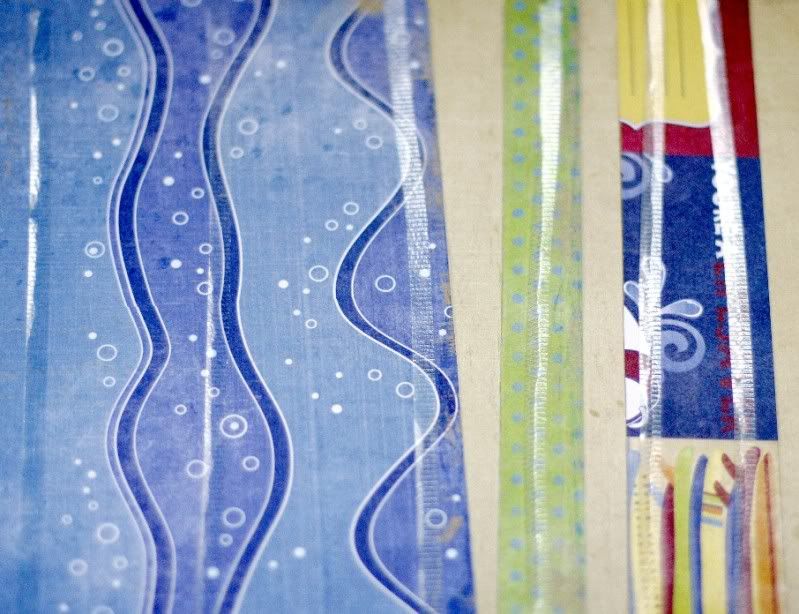
Step 1: Cut the Fancy Pants - Hammock paper to 8.5 x 11 and then adhere a piece of 7.5 x 10 of Kraft cardstock to the center using a little Extreme Tac adhesive only in the center of the page. (You don't want to have adhesive where you are going to be sewing or it will gum up your needle) Then sew a couple of wavy lines to the inside edge of the kraft cardstock.

Step 2: Cut out the wavy part and the banner from the Fancy Pants - Strips paper and adhere to the page using Glue Arts Extreme Adhesive.

Step 3: Take the cloud out of the Fancy Pants Design Embellishments pack and print out a 3x4 picture, then apply some Glue Arts U-Cut it foam to the back of both and add to the page.
Step 4: Take 3 fishes of different sizes out of the Fancy Pants Design Embellishments pack and add some Glue Arts U-Cut it foam to the back of the big fish and Glue Arts Raisens to the back of the two smaller fish and add to the page. Stitch some twine from the end of the fishing pole to the mouth of the big fish!

Step 5: Add some Glue Arts U-Cut it foam to the first half of the Banner from the Fancy Pants Design Embellishment and some Glue Arts Extreme Adhesive to the other half and then adhere it to your page overlapping the picture.

Step 6: Add your title to the banner and then add a Glue Arts Raisen to the back of fish and add to the end of the title.

Now you have a cute summer layout with some great dimension!

So have you been to the beach this summer? Plans to go? We invite you to post a comment here for a chance to win the Fancy Pants Beach Bum collection.
And to ensure you have the proper adhesives to make those layouts, cards and more we're going to include ourGlue Glider Pro with Perma Tac adhesive, our Extreme Adhesive Squares and our 3D Combo Pack of Adhesives. We'll select one random winner next Monday!!

Be sure to stop by again tomorrow for more ideas and ways to win!!
You have read this article 3D Combo Pac /
Andrea /
Extreme Adhesives Mini Squares /
Fancy Pants /
Glue Gilder Pro /
High Tac /
Hot Glue Gun /
Linda /
Lisa /
U Cut It Foam
with the title It's a Play Day with GlueArts & Fancy Pants!. You can bookmark this page URL http://skinnyminny22.blogspot.com/2011/07/it-play-day-with-gluearts-fancy-pants.html. Thanks!


