

Add in GlueArts Adhesives and it's a perfect day!
Designer Lisa Day has made our day with her adorable Pink Paislee project!
Lisa used the bright and colorful Hometown Summer collection to made a special layout about her sweet son! We love the dimensional clouds that rise off the page with our U Cut It Foam and all the tiny details! (don't you?!) We also like how she cut the Raisen's to fit better behind her title letters and give it some lift too!

Silly Boy Layout
GlueArts Designer: Lisa Day
Supplies:
Glue Arts - ExtremeTac Adhesive and Applicator
Glue Arts - 3D Combo Pack
Glue Arts - Micro Extreme Adhesive Squares
Pink Paislee Hometown Summer - Paper, Stamps, Press Ons and Embellishments
Ink - Jenni Bowlin Studios
Border Punch - EK Success
Cloud Punch - Fiskars
Alphas - American Crafts and Jenni Bowlin Studios
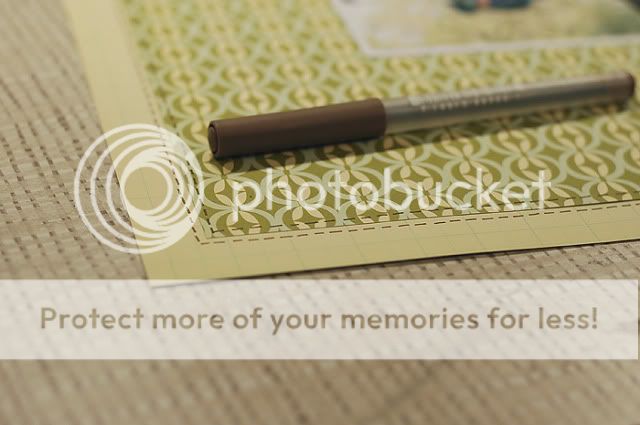
Pen - American Crafts
Instructions:
Step 1 - Hand cut out a tree trunk and the top of the tree. Then using the cloud punch, punch out 3 green clouds.

Step 2 - Adhere a 10.5 square piece of paper to the center of your background paper using Glue Arts ExtremeTac Adhesive. Then add the tree trunk and the large tree top to the right side of your layout.

Step 3 - Adhere your picture to the layout using ExtremeTac Adhesive and then add some u-cut it foam to the back of the 3 'clouds' and then layer them on top of the tree.


Step 4 - Then do what I call 'lay summer stitching' and doodle on some hand-stitcing on the page.
Step 5 - Add some Pink Paislee Press-Ons to your page. I placed mine over the picture, in the lower left hand corner and on the left outside edge. I added more to the photo later in the process.

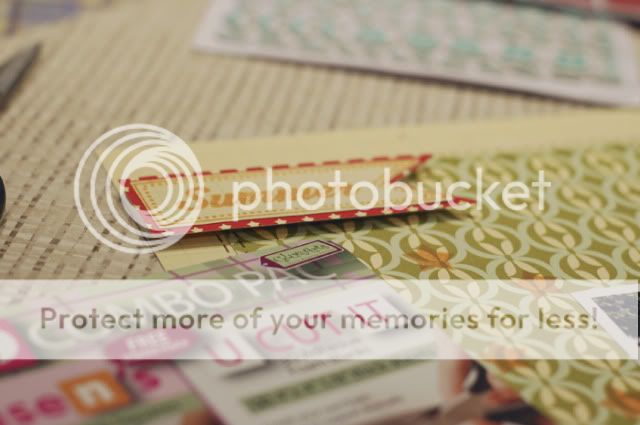
Step 6 -Cut 3 strips of paper to place under your photo to add your title to. I cut the ends of one piece to match the 'home' press-on that's on the picture and border punched another.

Step 7 - Then add your title. I added some Glue Arts Raisen's to the back of the 'silly' part of the title to give it some subtle dimension. If you use some fine tip scissors and cut really quick you can cut down the Raisen's while they are still in the liner.


Step 8 - Stamp some stars along the left edge of the photo.

Step 9 - Stamp the 'summer banner' onto the paper that matches your background paper and then layer on top of the red star paper.

Step 10 - Cut out the banner and add to your page using U-Cut it foam.
Step 11- Add your journaling. I like to use my typewriter and then cut out strips for my journaling. I recently learned that the Micro Extreme Adhesive Squares work perfectly for adhering my journaling to the page!

Step 2 - Adhere a 10.5 square piece of paper to the center of your background paper using Glue Arts ExtremeTac Adhesive. Then add the tree trunk and the large tree top to the right side of your layout.
Step 3 - Adhere your picture to the layout using ExtremeTac Adhesive and then add some u-cut it foam to the back of the 3 'clouds' and then layer them on top of the tree.
Step 4 - Then do what I call 'lay summer stitching' and doodle on some hand-stitcing on the page.
Step 5 - Add some Pink Paislee Press-Ons to your page. I placed mine over the picture, in the lower left hand corner and on the left outside edge. I added more to the photo later in the process.
Step 6 -Cut 3 strips of paper to place under your photo to add your title to. I cut the ends of one piece to match the 'home' press-on that's on the picture and border punched another.
Step 7 - Then add your title. I added some Glue Arts Raisen's to the back of the 'silly' part of the title to give it some subtle dimension. If you use some fine tip scissors and cut really quick you can cut down the Raisen's while they are still in the liner.
Step 8 - Stamp some stars along the left edge of the photo.
Step 9 - Stamp the 'summer banner' onto the paper that matches your background paper and then layer on top of the red star paper.
Step 10 - Cut out the banner and add to your page using U-Cut it foam.
Step 11- Add your journaling. I like to use my typewriter and then cut out strips for my journaling. I recently learned that the Micro Extreme Adhesive Squares work perfectly for adhering my journaling to the page!
What an amazing week of projects!
Please don't forget to post a comment here on the blog. We'll enter you to win Pink Paislee's Hometown Summer collection(photo does not represent actual prize).
And how would you like to win our Glue Glider Pro, a refill of your choice and our 3D Combo Pack?

You know the steps....just a post a comment here and we'll enter you to win! We'll select one random winner on Monday to enjoy this prize!!
Be sure to be our friend on Facebook as we have fun photos from CHA to share!!
You have read this article Glue Gilder Pro /
Lisa /
Pink Paislee
with the title Pink Paislee Kind of Day!. You can bookmark this page URL http://skinnyminny22.blogspot.com/2011/07/pink-paislee-kind-of-day.html. Thanks!


