

So tell us...have you have kept a binder of images, ideas, recipes and hairstyles. Fashion ideas, home decor, vacation destinations and more?
Well guess what? You're pinning? Well in the physical form!

Pinterest is just that concept...collecting visual ideas into a "binder" or pin board in this case, only without the paper! And even better...you can share you pins with others, and others can share their pins with you and it goes on and on. It's truly quite amazing (and wonderful!)
All this week we've asked our talented team of Designers to find images or pins on Pinterest that inspire them and use those images as the jumping off point for their projects.
We think you'll love what Designer Kristen Swain and Grace Tolman have for you today!

Link to original pin: http://pinterest.com/pin/96911651/

Paper Gift Pouch
GlueArts Designer: Kristen Swain
GlueArts Designer: Kristen Swain

Supplies:Glue Arts- UcutIt Foam, Glue Glider Pro with Perma tac and High Tac adhesives Extreme Adhesive Squares
Papers- DieCuts With a View, Imagine Vintage Papers Cartridge
Diecuts- Oct 31st Cartridge, Jubilee Cartridge ( using cricut machine)
Ribbon- www.scrapinkris.etsy.com
Buttons/twine/cheese cloth/pinking scissors- craft supply
flower- maya road
pearls- kaisercraft
tape- Pink Paislee
Papers- DieCuts With a View, Imagine Vintage Papers Cartridge
Diecuts- Oct 31st Cartridge, Jubilee Cartridge ( using cricut machine)
Ribbon- www.scrapinkris.etsy.com
Buttons/twine/cheese cloth/pinking scissors- craft supply
flower- maya road
pearls- kaisercraft
tape- Pink Paislee
Instructions:
1. Cut pouch from two layers of cardstock about 7x7 inches, trim edges with pinking scissors.
2. Cut block of music note paper, and sew cheesecloth on, then adhere to front of 7x7 paper. Sew the two layers together to create pouch- only sewing on three sides.
3. Punch circle of paper from top front of pouch to make getting items out easier.
4. Decorate pouch with quote blocks, die cut cat and spider, ribbon bow, twine and pearls.
Owl Card
1. Fold card to 5x7 inches, then cut block pf paper to fit card, mat with pinked mat in black, then sew strip of black cardstock, cheesecloth and decorative tape across card.
2. Cut out quote block, mount on card with UcutIt foam.
3. Punch circle of yellow, crumple and adhere to card with Extreme Adhesive Squares.
4. Diecut owl on branch, then adhere to card with UcutIt foam, adhere button and twine.

Moon card
1. Diecut frame with Cricut machine, adhere to card after mounting black cardstock to front of card with Perma Tac.
2. Adhere block of music paper to card, trimming corners with rounder and adhering ribbon vertically.
3. Use adhesive squares to add knot of cheesecloth to top of card.
4. Diecut moon from black cardstock and adhere to card with Extreme Adhesive Squares.
5. Cut out phrase and mount on card with UcutIt foam. Adhere button/twine with Adhesive Squares.


Pinterest Felt Rose Wreath Inspiration
Link to original pin: http://pinterest.com/pin/37261558/


Fall Wreath
GlueArts Designer: Grace Tolman
Supplies:
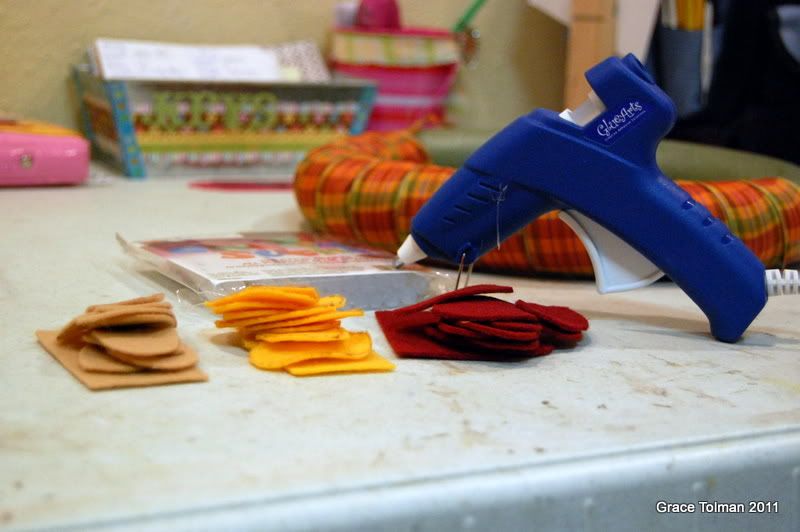
Glue Arts Glue Gun
Styrofoam wreath
Fall themed ribbon
Felt (use fall colors)
Chipboard tiles- Maya Road
Pattern paper- SEI
Letter Stickers- American Crafts
Pinking shears- Fiskars
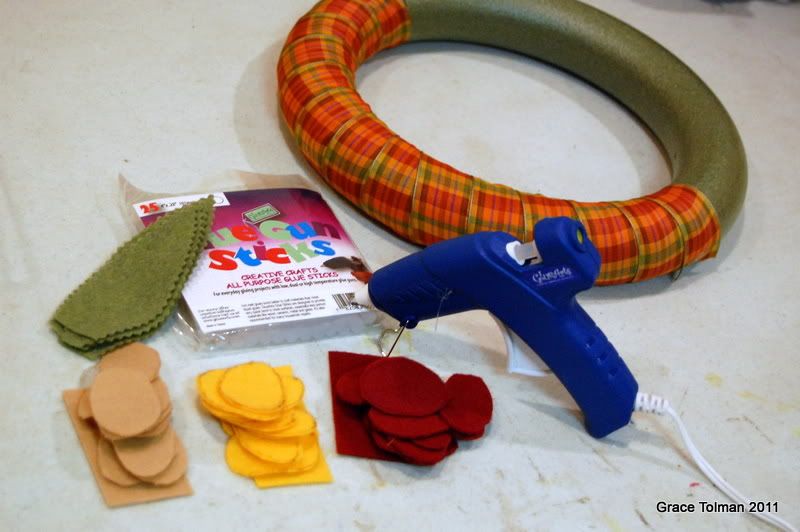
I was inspired to make this fall wreath with a flower tutorial that I pinned on Pinterest. The example she made was put into a wreath as well but the original one had more of a love/valentine theme. To make it adapt to the season, I wrapped fall themed ribbon and picked colors of felt that suited the theme as well.
The rose tutorial was so easy to follow and I made three here that I adhered to the wreath with Glue Arts glue gun. I initially just wanted the flowers to be my main focal point in the wreath but after some time looking at it, I decided to add a welcome sign which I made using chipboard tiles that I covered with pattern paper and letter stickers that spelled out my greeting.
In about an hour, I had a beautiful wreath that now adds the perfect “fall” touch to my front door.
Glue Arts Glue Gun
Styrofoam wreath
Fall themed ribbon
Felt (use fall colors)
Chipboard tiles- Maya Road
Pattern paper- SEI
Letter Stickers- American Crafts
Pinking shears- Fiskars
I was inspired to make this fall wreath with a flower tutorial that I pinned on Pinterest. The example she made was put into a wreath as well but the original one had more of a love/valentine theme. To make it adapt to the season, I wrapped fall themed ribbon and picked colors of felt that suited the theme as well.
The rose tutorial was so easy to follow and I made three here that I adhered to the wreath with Glue Arts glue gun. I initially just wanted the flowers to be my main focal point in the wreath but after some time looking at it, I decided to add a welcome sign which I made using chipboard tiles that I covered with pattern paper and letter stickers that spelled out my greeting.
In about an hour, I had a beautiful wreath that now adds the perfect “fall” touch to my front door.
So tell us...are you on Pinterest? Do you follow GlueArts on Pinterest?
Let us know as we would love to follow you and would appreciate if you followed us. Just post here so we know if you are...and we'll give you an extra entry to win our GlueArts Embellishment Kit! The Embellishment Kit is filled with our Ribbon Adhesive, Raisen Squares, Mirco Squares, Extreme Adhesive Squares, Vellum Adhesive and our U Cut It Foam! It's what every crafter needs!

Here's a peek at what's coming up tomorrow from Ania!
Now we know you won't want to miss this!
You have read this article Extreme Adhesive Squares /
Glue Gilder Pro /
Grace /
Kristen /
Perma Tac /
Pinterest /
U Cut It Foam
with the title Pinning with GlueArts & Pinterest. You can bookmark this page URL http://skinnyminny22.blogspot.com/2011/09/pinning-with-gluearts-pinterest.html. Thanks!


