

That's right!
Just 41 more days until Halloween! And we're getting in the spirit!
Designer Andrea Budjack has the cutest Halloween Treat pockets to fill with sweets and goodies!
Designer Grace Tolman has a sugary sweet gift set that the Scor-Pal makes a breeze to create!!! We'll sure you'll agree!

Halloween Treat Pockets
GlueArts Designer: Andrea Budjack
Supplies:
Glue Arts Pro Glide Perma Tac
Glue Arts Mini Extreme Adhesive Squares
Glue Arts UCut It Foam
Glue Arts Ribbon Adhesive
Scor-Pal
Basic Grey - paper
October Afternoon - paper
Bazzill Basics Paper - cardstock
SummertownSun Publishing - images
Really Reasonable Ribbon - lace and jute string
Papertrey Ink - stamps, twine, tag die cut, ink
Sizzix- label die cut
Quickutz - circle die cut
Vintage Buttons - craft supply
Treats
Instructions:
1. Die cut large circle from paper.
2. Using Scor-Pal, make one crease along three sides of circle (approximately one inch in on each side). Fold two opposite sides in and bottom up to create pocket.


7. Die cut tags, stamp and add jute string. Insert into pocket with treats.

Sweetheart Gift Set
GlueArts Designer: Grace Tolman
I love how we can make all sorts of three dimensional products using the Scor pal scoring board. Here I used paper to create three different projects that will delight a special recipient.
Supplies:
Glue Arts Perma Tac
Glue Arts U Cut it Foam
Glue Arts Extreme Square
Glue Arts Mini Square Adhesive
Glue Arts Raisen’s
Cardstock- The paper company
Pattern paper- Life is good, Echo Park
Brads- Source Unknown
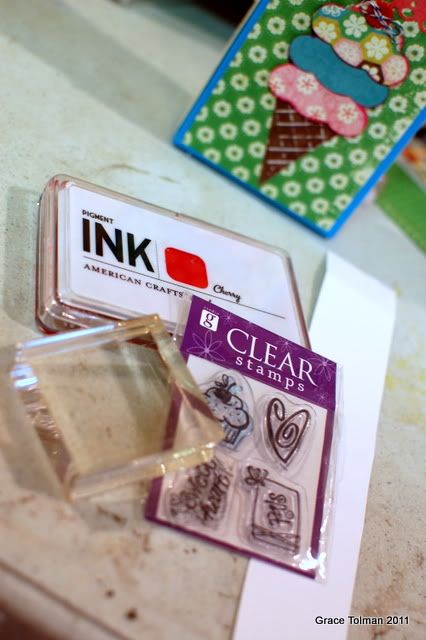
Stamp- Studio G, Hampton Arts
Cloud and border punch- Fiskars
Button- Favorite Findings
Bakers’ twine- Papertreats.etsy.com
Ink-Tsukineko and American Crafts
Scallop scissor-Fiskars
Scoring board- Scor Pal
Instructions:
For the paper bag:
1. Cut a piece of cardstock measuring…..11”w and 6 ½” long.
2. With the paper placed on the left edge of the scoring board, measure at the following points- 1 ½”, 5”, 1 ½”, 5”. You will have a 1” left over at the right edge. Turn the paper lengthwise and scor at the 1 ½” mark. Fold on the creases.
3. Cut a slit on the bottom part of the paper, fold and adhere the edges of the papers to create an open top box.
4. Measuring the front, back and sides of the bag, cut pattern paper 1/4” smaller than these measurements. For example if the front is 5x 4 ½”, you will cut a piece of paper that is 4 3/4x 4 ¼” in size. Adhere to the bag.
5. Punch a border from pink paper, trim and adhere to the top of the bag.
6. Add a striped paper to a pink patterned paper, trim the edges with scallop scissor and attach to create the handle of the bag using brads.
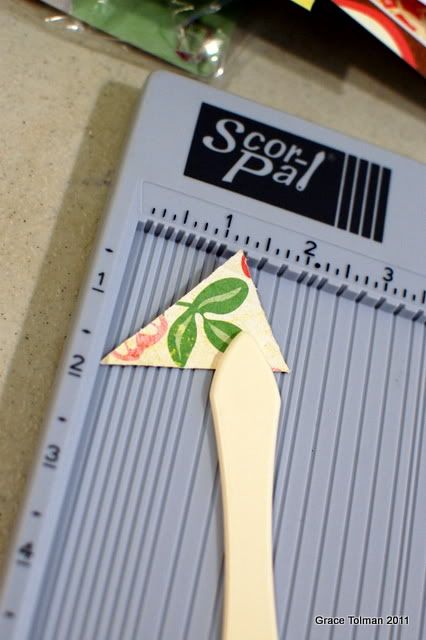
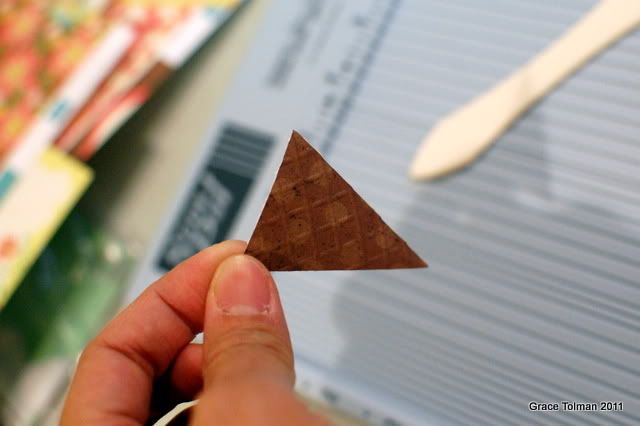
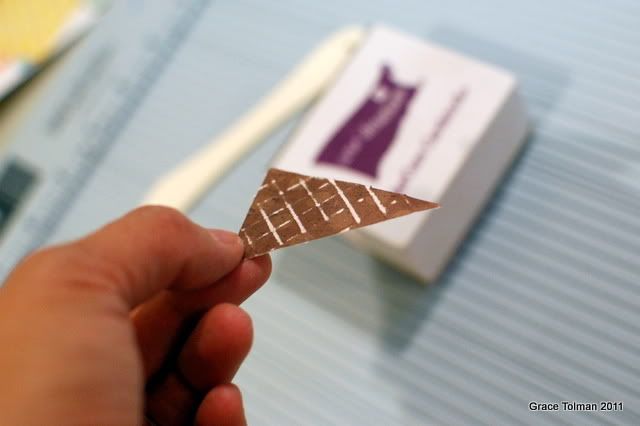
7. *For the ice cream cone design….Cut a piece of brown dot paper into a triangle. Scoring from the back side, create crisscross pattern on the cone to mimic a waffle cone. Distress the folded lines to create more dimensions.
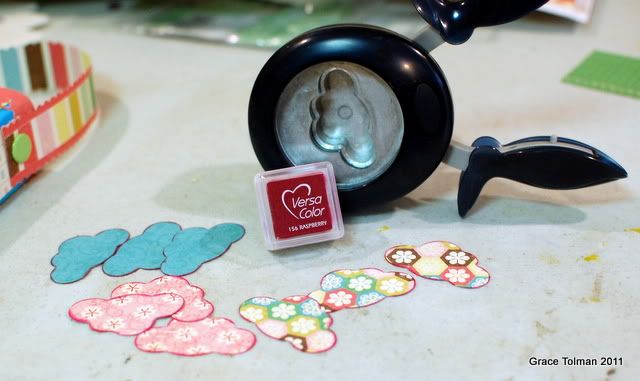
8. Punch out cloud design from three pattern papers and ink the edges.
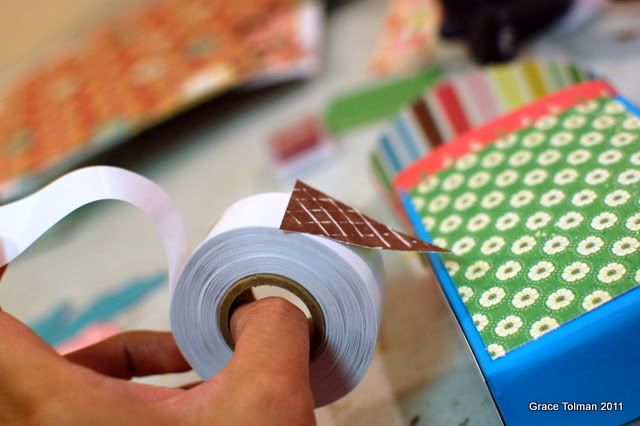
9. Adhere the cone to the front of the bag using Glue Arts Extreme square adhesive.
10. Add the clouds to mimic ice cream cones on top of the cone. Adhere it with Glue Arts Raisen’s for added dimension.
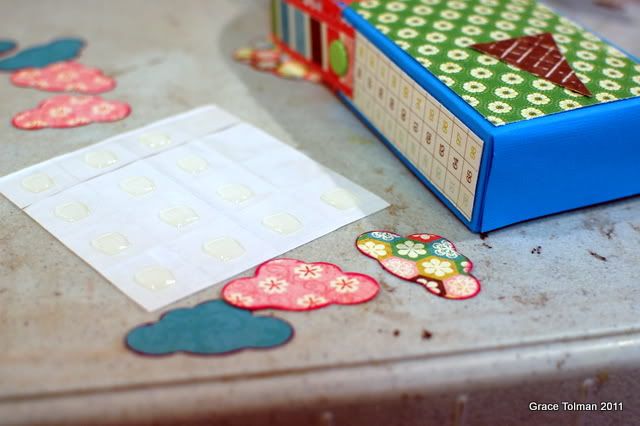
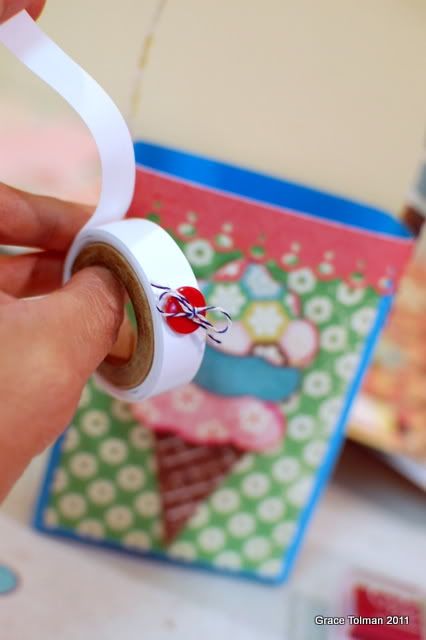
11. Tie a ribbon through a red button and adhere that to the top of the “ice cream cone” with Glue Arts Mini Square adhesive.
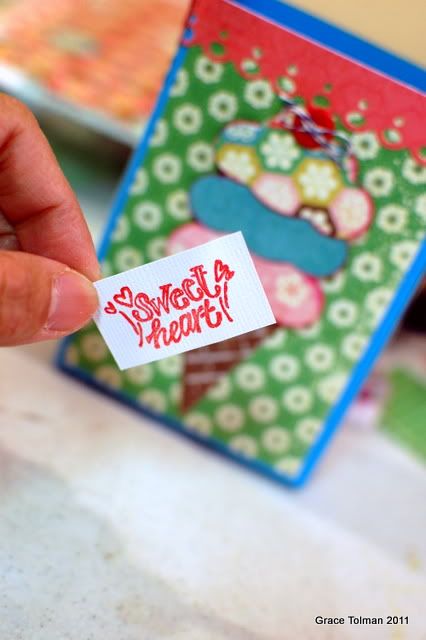
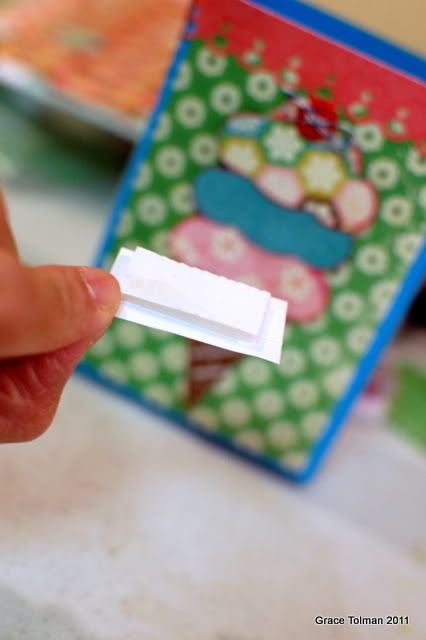
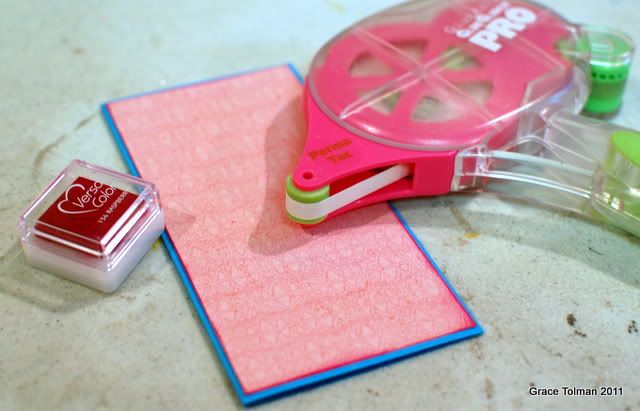
12. Stamp the sentiment onto white cardstock using red ink. Trim and adhere to the card with Glue Arts U cut it foam.

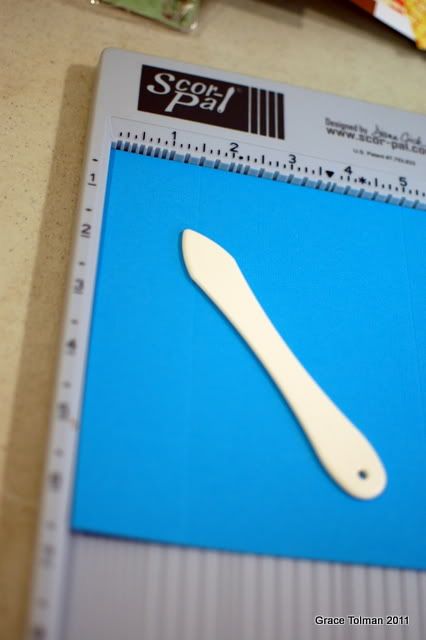
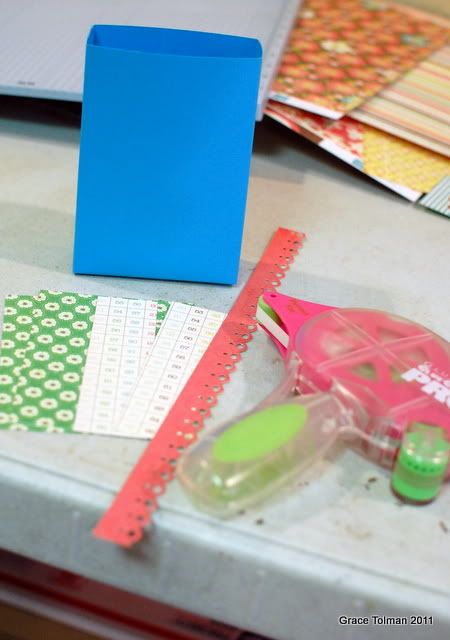
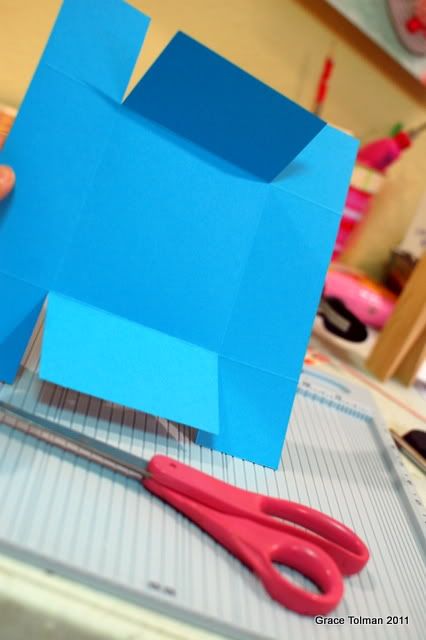
1. Cut a piece of blue cardstock measuring- 8 ½”x 8 ½”.
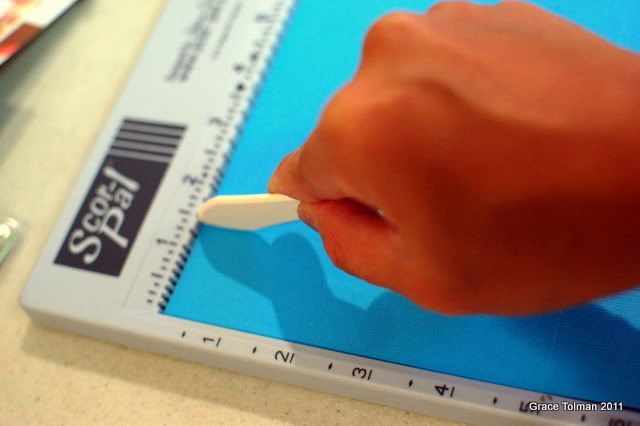
2. With the paper placed on the left edge of the scoring pad, score on the following points- 2” from left, right , top and bottom points. This will leave you with a perfect square in the middle of the paper.

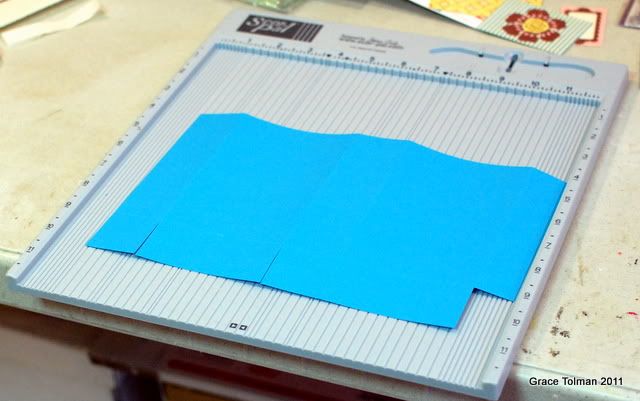
3. Cut a 2” slit on the paper as shown in the photo.
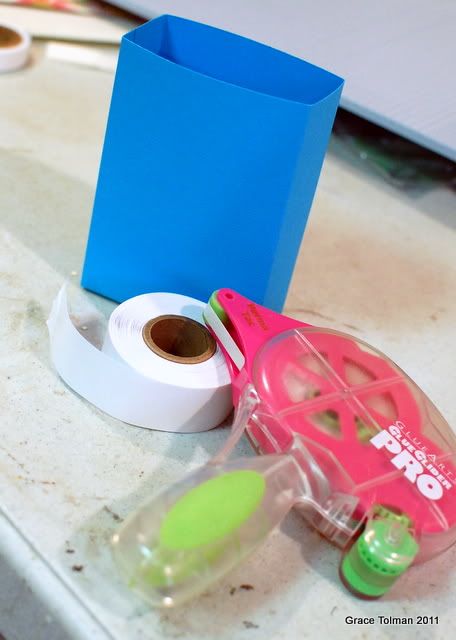
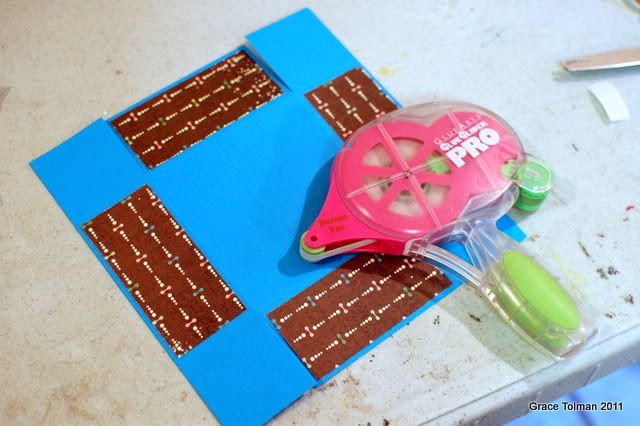
4. Cut some brown pattern paper to fit into the four long sections of the paper as seen in the photo. Adhere them with some Perma Tac. Add some adhesive on the four short sections and fold over to create a box.
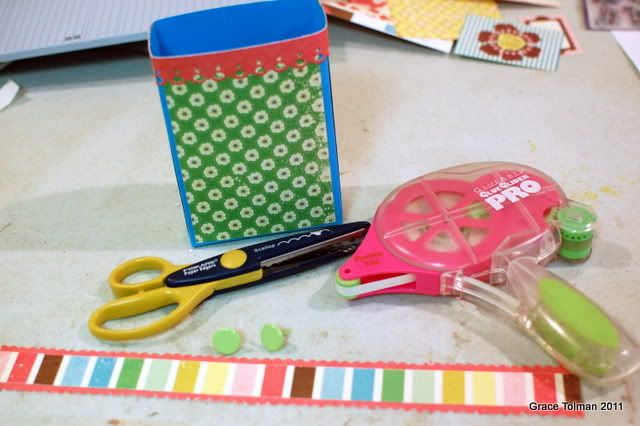
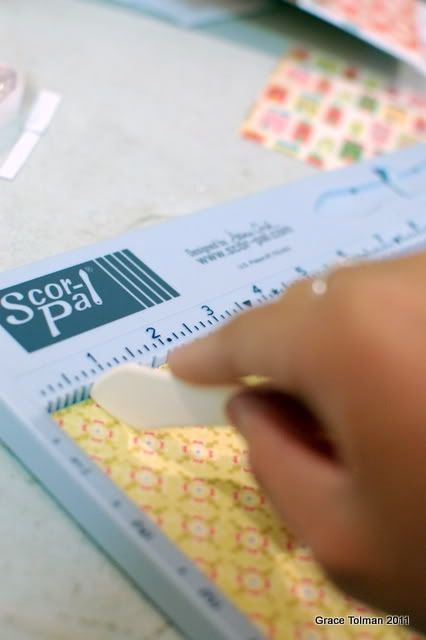
5. Cut a piece of pattern paper that is 5 ½” square. Do the same technique of scoring and folding as you did for the bottom part of the box, making your marks at the ¾” points on top, bottom, left and right edges.
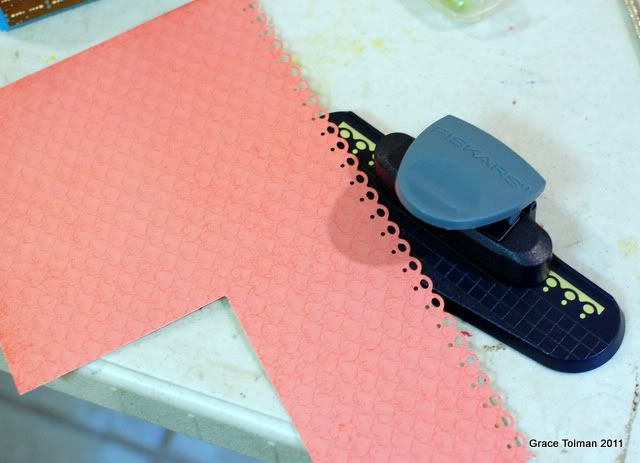
6. Punch another strip of pink paper with a border punch and add to the bottom end of the box lid.
7. Add the lid to the box.
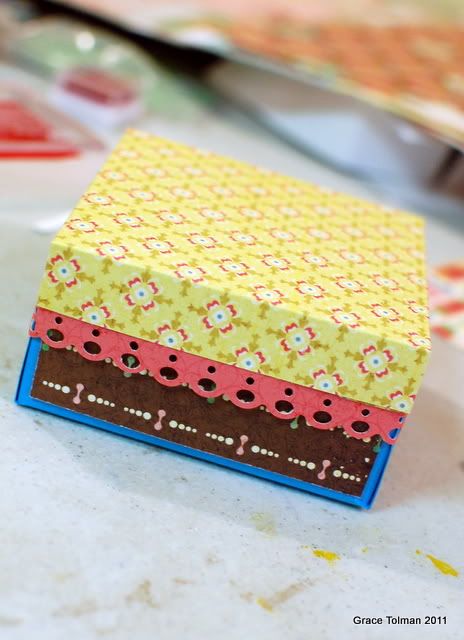
8. For decorating the top of the box with the ice cream cone design, follow the procedures as stated on #7- 12 of the paper bag instruction.
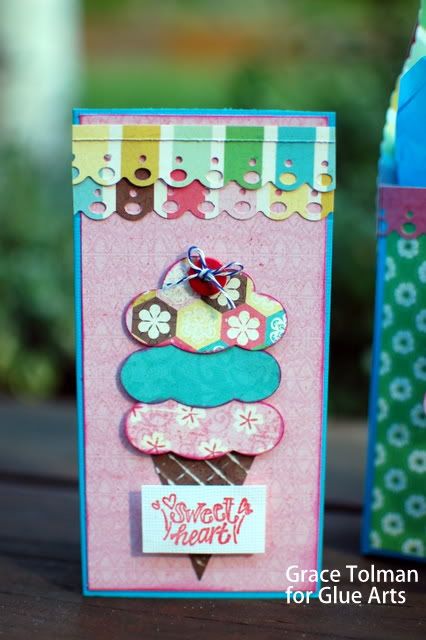
For the card:
1. Cut a piece of the blue cardstock measuring 6” square.
2. Score on the middle of the paper, creating a 3”x6” card.
3. Measure a piece of pink cardstock that is ¼” smaller than the card base, ink the edges of the pattern paper and adhere to the card using Perma Tac adhesive.
4. To create the ice cream cone design, follow the same procedure as stated in the #7-12 lines of the Paper bag instructions.
We have a new Large Scor-Pal that we would like to give away to one of our GlueArts fans! And to help you craft all these beautiful projects we're sharing we're going to include our 3D Combo Pac, Ribbon Adhesive and our Adhesive Squares.

Just post a comment here! We'll pick one random winner next Monday to win these amazing gifts!
And we hope you'll stop by the Scor-Pal blog to see more projects and creations using both GlueArts Adhesives and Scor-Pal tools!
You have read this article Andrea /
Extreme Adhesives Mini Sqaures /
Glue Gilder Pro /
Perma Tac /
Ribbon Adhesive /
U Cut It Foam
with the title Scor-It Up With Scor-Pal and GlueArts!. You can bookmark this page URL http://skinnyminny22.blogspot.com/2011/09/scor-it-up-with-scor-pal-and-gluearts.html. Thanks!


