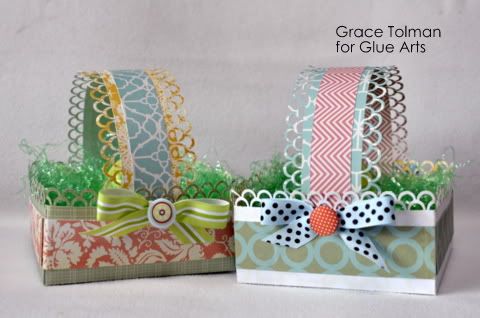
Easter holidays for many are filled with church services, new clothes, family get togethers, egg hunts and yes...Easter Baskets.
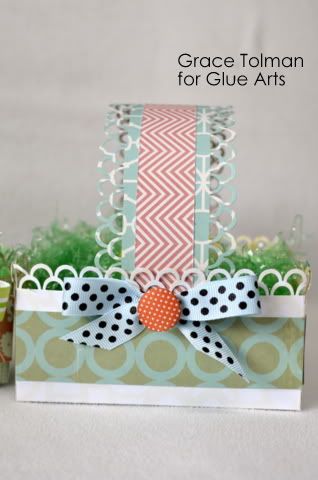
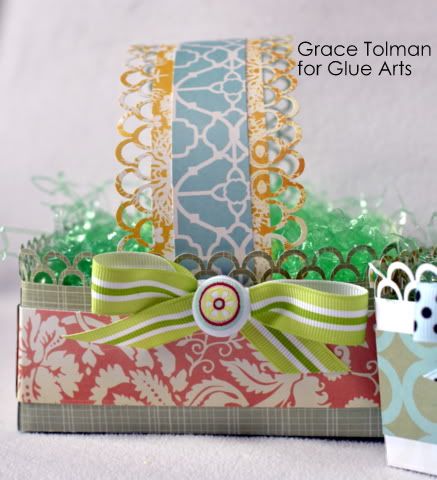
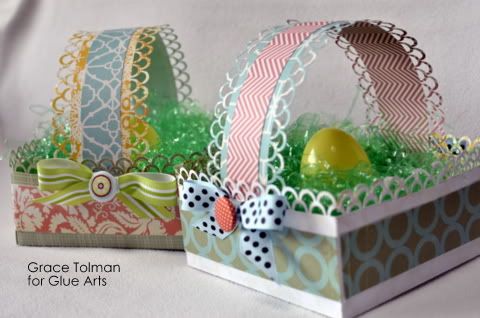
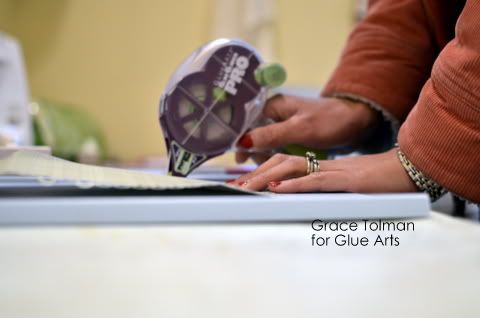
Designer Grace Tolman has a cute and easy to make idea for making your own treat baskets! How sweet would these be on the table or at individual place settings? GlueArts Glue Glider PRO+ makes assembling these as easy as 1,2 and yes...3!
Jaime Warren has a light and very pretty card for you to make! Doilies are all the rage and our Glue Glider PRO+ once again makes creating this card a delight!!! (well we think so! ;-))

Have you joined us yet for our GlueArts Egg Hunt? Simply find the five letters posted yesterday through Friday to reveal your promotion code for 20% off your entire online order! The code will be active April 7 & 8th! And even better...we're offering free shipping as well!
Designer Grace Tolman has a cute and easy to make idea for making your own treat baskets! How sweet would these be on the table or at individual place settings? GlueArts Glue Glider PRO+ makes assembling these as easy as 1,2 and yes...3!
Jaime Warren has a light and very pretty card for you to make! Doilies are all the rage and our Glue Glider PRO+ once again makes creating this card a delight!!! (well we think so! ;-))


Easter Paper Baskets
GlueArts Designer: Grace Tolman
Surprise your loved ones on Easter morning with these treat bags. They are super easy and with the help of Glue Arts adhesive, you can make these babies in a snap!
Supply list:
Pattern papers- Nantucket, Pink Paislee
Border punch- Martha Stewart Crafts
Brads- Pebbles
Ribbon- (blue dot) Hobby Lobby; (green stripe) Michael’s Craft store
Tool- Scor Pal Scoring Board


Quick instructions:
1. Make the box from a 10" square paper. Punch out a decorative edge on all sides (don't worry about the corners cause you'll cut those up). Score at 2 1/2" on all sides. Cut a slit on two sides to create the box. Use Perma tac adhesive to close it up.
2. Cut two pieces of 1 1/2" x 12" paper strip, scor at 5" points and adhere to the center of the box outside.
3. Cut a 2 1/2" x 12" strip of paper. Punch a border on both long ends. Cut another strip of paper that is 1 x 12" in width, adhere to the center of the wider strip. Adhere the ends on the inside portion of the box to create the handle.
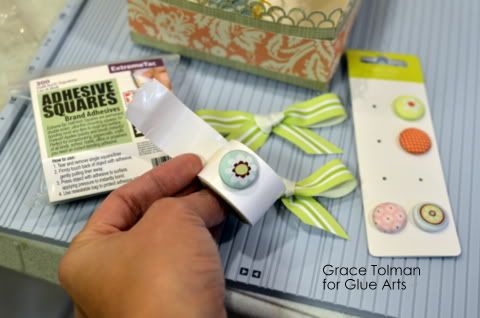
4. Make two bows for each box from 3/4" wide ribbon. Adhere a brad on the center and adhere the bow on the front and back side of the box lining it up with the handle using Glue Arts Extreme square.
5. Fill up with grass and Easter goodies!
"Happy Easter Card"
GlueArts Designer: Jaime Warren
I openly admit that I always struggle when creating cards. They just don't come easily to me. Thankfully this one came together much easier than I anticipated!
I openly admit that I always struggle when creating cards. They just don't come easily to me. Thankfully this one came together much easier than I anticipated!
Supplies:
Instructions:
To start I took three sheets of 6x6 patterned paper (trimming the top layer to fit in the center) and, using my Glue Glider Pro, attached all three together. I then sewed the edges together, leaving an edge of about an inch and a half. Once I was finished with my sewing I simply trimmed until I had the card to the preferred size.

I created a layering of embellishments, starting out with a doily. I used my PermaTac Mini's to attach the doily.

I trimmed the second layer of my embellishment "stack" out of patterned paper and attached it to the doily. Then, using U Cut It Foam I attached my "Happy" sticker to the top. I attached my butterfly to the outer edge of the "Happy" sticker. Under the embellishment "stack" I used my letter stickers to finish the "Happy Easter" sentiment.

The very last step was to punch a scalloped border for the top and bottom of my embellishment "stack."

I hope you enjoyed my little Easter card!!
To start I took three sheets of 6x6 patterned paper (trimming the top layer to fit in the center) and, using my Glue Glider Pro, attached all three together. I then sewed the edges together, leaving an edge of about an inch and a half. Once I was finished with my sewing I simply trimmed until I had the card to the preferred size.
I created a layering of embellishments, starting out with a doily. I used my PermaTac Mini's to attach the doily.
I trimmed the second layer of my embellishment "stack" out of patterned paper and attached it to the doily. Then, using U Cut It Foam I attached my "Happy" sticker to the top. I attached my butterfly to the outer edge of the "Happy" sticker. Under the embellishment "stack" I used my letter stickers to finish the "Happy Easter" sentiment.
The very last step was to punch a scalloped border for the top and bottom of my embellishment "stack."
I hope you enjoyed my little Easter card!!
You have read this article Glue Gilder Pro /
Grace /
Jaime /
Pro+
with the title A Tisket A Basket of Goodies from GlueArts!. You can bookmark this page URL http://skinnyminny22.blogspot.com/2012/04/a-tisket-basket-of-goodies-from-gluearts.html. Thanks!


