
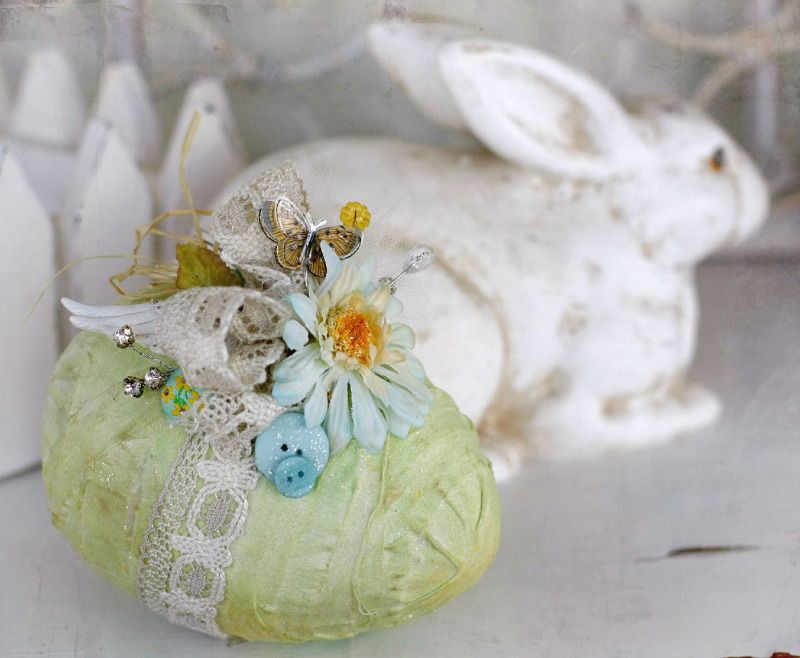
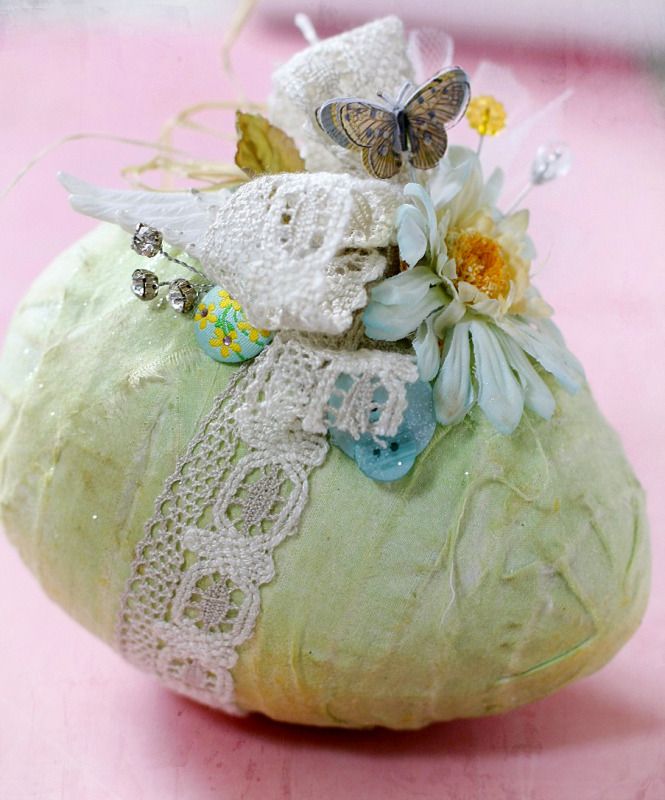
"Fabric Wrapped Egg"
GlueArts Designer: Linda Albrecht
This a quick project for anyone who is like me and is always running behind. Make up one or several of these fabric eggs to pretty up a centerpiece or make smaller ones for each place setting at your Easter dinner table.
Supplies:
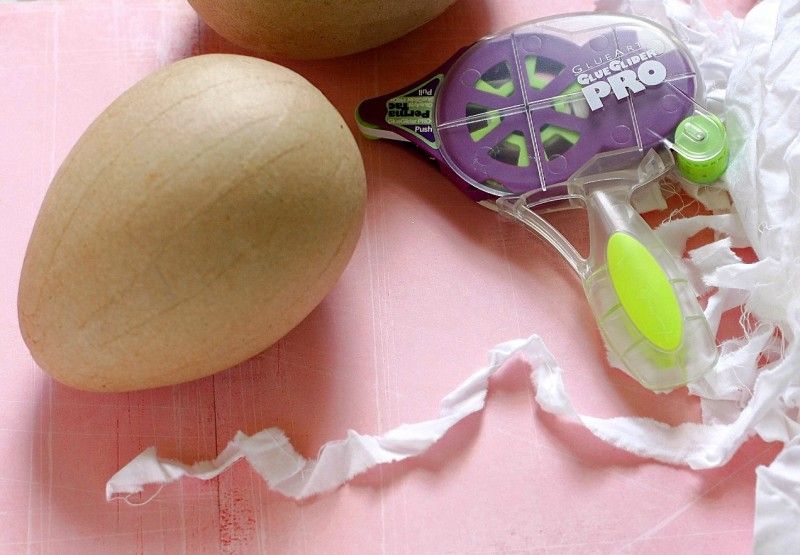
Glue Arts Glue Glider Pro+ with Perma Tac Adhesive
Glue Arts Mini Hot Glue Gun with hot melt glue sticks
Other:
Paper Mache Egg- large, 8" long from smallest point (top) to bottom
Muslin fabric strips
Color Mists- Maya Road
Decorative Pins- Maya Road
Resin Wing- Melissa Frances
Paper butterflies & tag- Pink Paislee
Fabric Brad- BasicGrey
Brown Distress Inkpad- Ranger
Clear Glitter
Raffia & Tuelle
Cotton trim or ribbon
Silk Flower, buttons, and rhinestones on wire
Instructions:
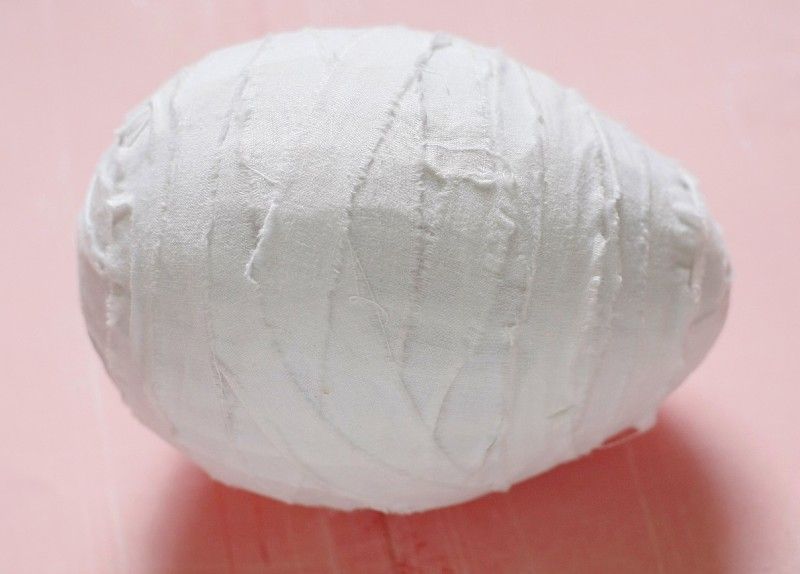
1. Tear muslin strips about 1/2" wide.
2. Begin wrapping strips onto the paper mache egg by applying Perma Tac Adhesive. Wrap the egg from top to bottom. Apply the adhesive at the beginning and end of each strip... and also at the top and bottom of the egg to prevent the fabric from sliding around. I also added a section of adhesive here and there on the egg, but did not entirely cover the egg.
3. When wrapping the strips around the egg, do not start or stop at the top or bottom. If your fabric strip runs out at the top or bottom cut some of it off and adhere the end near the center of the egg. This prevents extra bulk and bumps at the top and bottom of the egg.
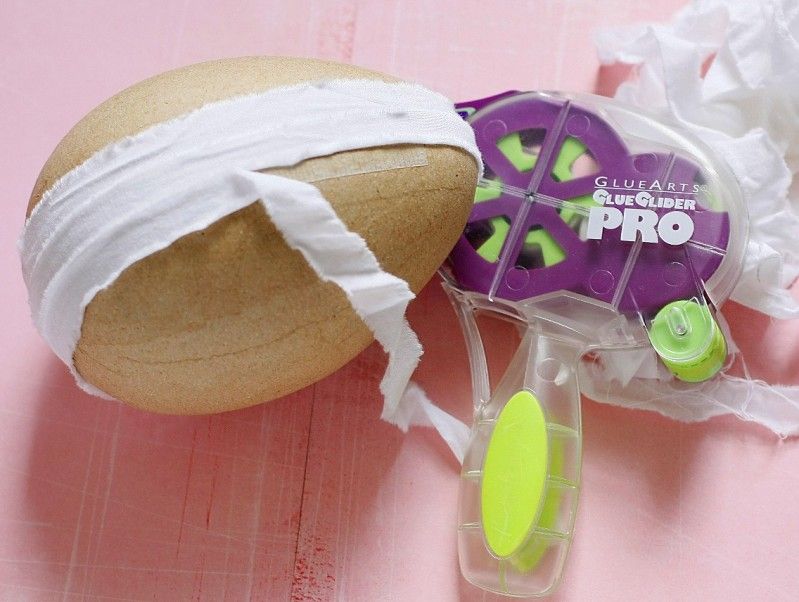
4. Wrap the entire egg in a single layer of the fabric strips from top to bottom. I sort of criss crossed the fabric as I layered over the top and bottom of the egg.
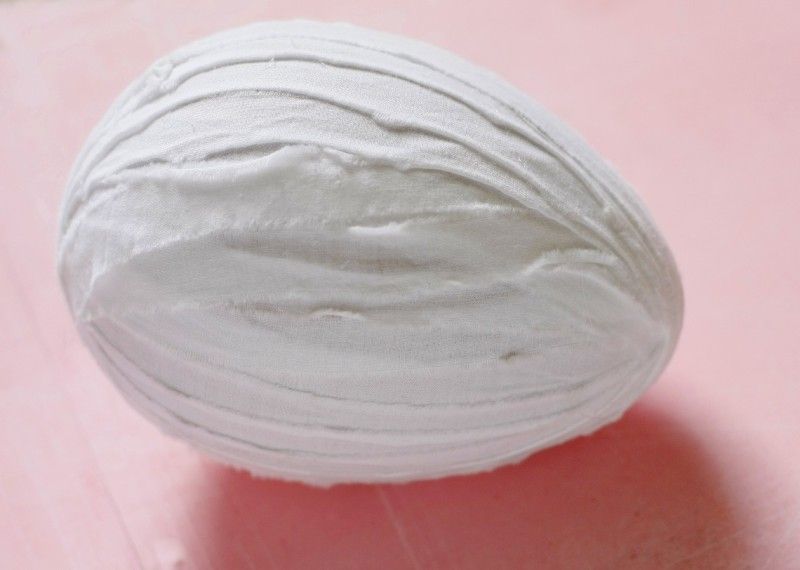
5. Apply more strips of fabric to the egg around the middle going the opposite way (horizontally verses top to bottom.) For this step I used hot glue. As the strips got close to the smaller end (top of the egg) you may need to use more hot glue to prevent the fabric from sticking straight out, so you will be slightly puckering some of the fabric and laying it down flat with the hot glue.
6. Lightly distress the fabric egg with a brown inkpad then apply color mists as desired. I used very light colors to achieve a pastel effect.
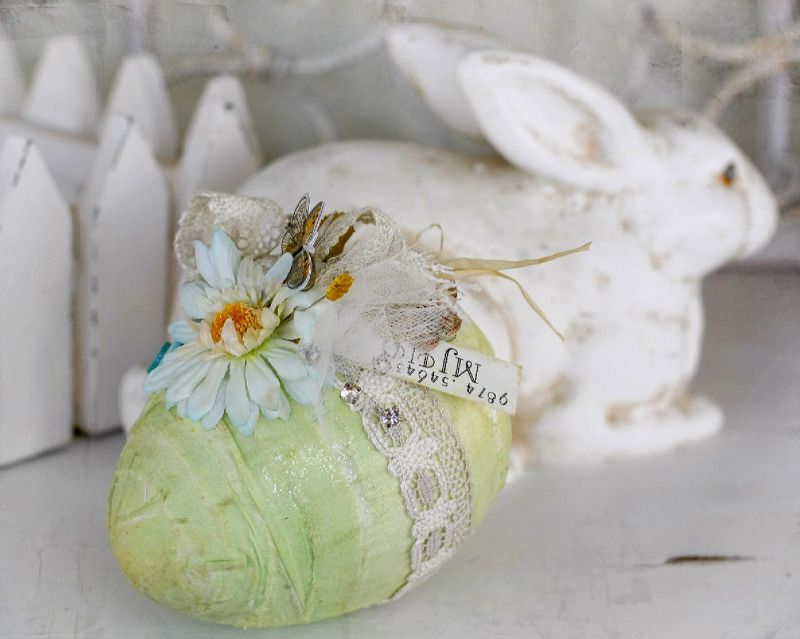
7. Spray the colored egg with adhesive then apply glitter. Rub off excess.
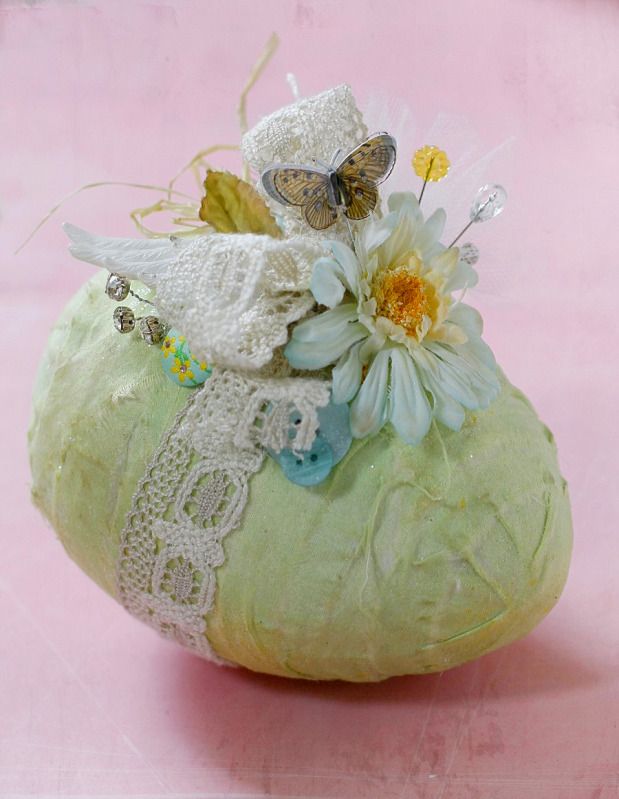
8. Tie ribbon or trim around the widest part of the egg and make a bow at the top.
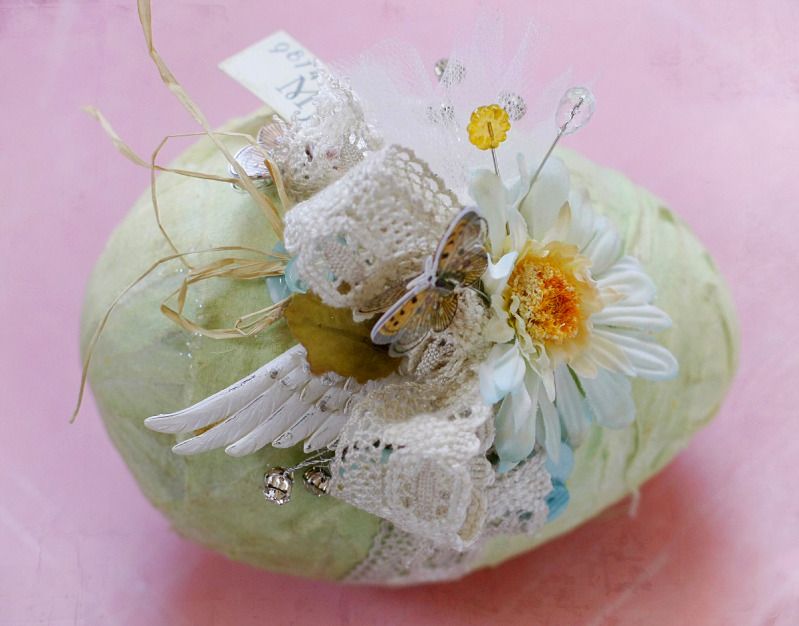
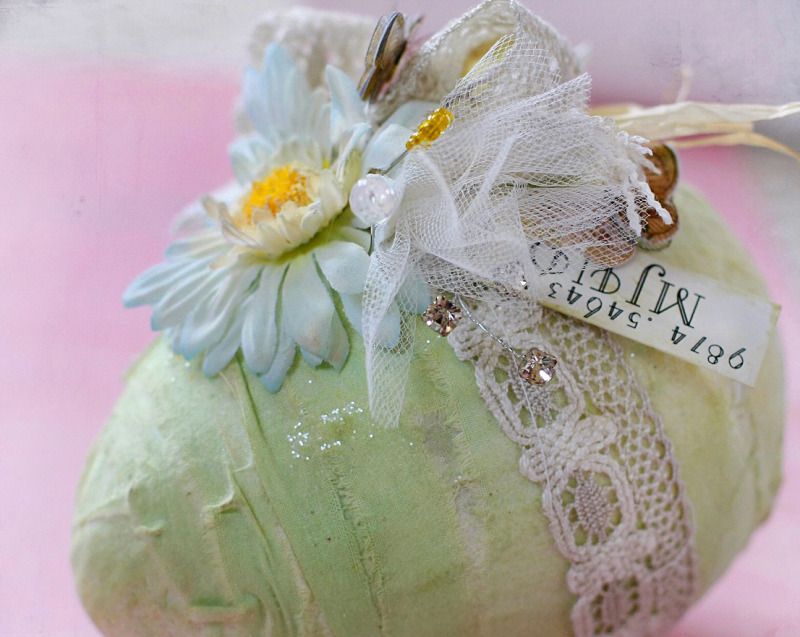
9. Use hot glue to adhere the remaining embellishments to the egg near the bow.
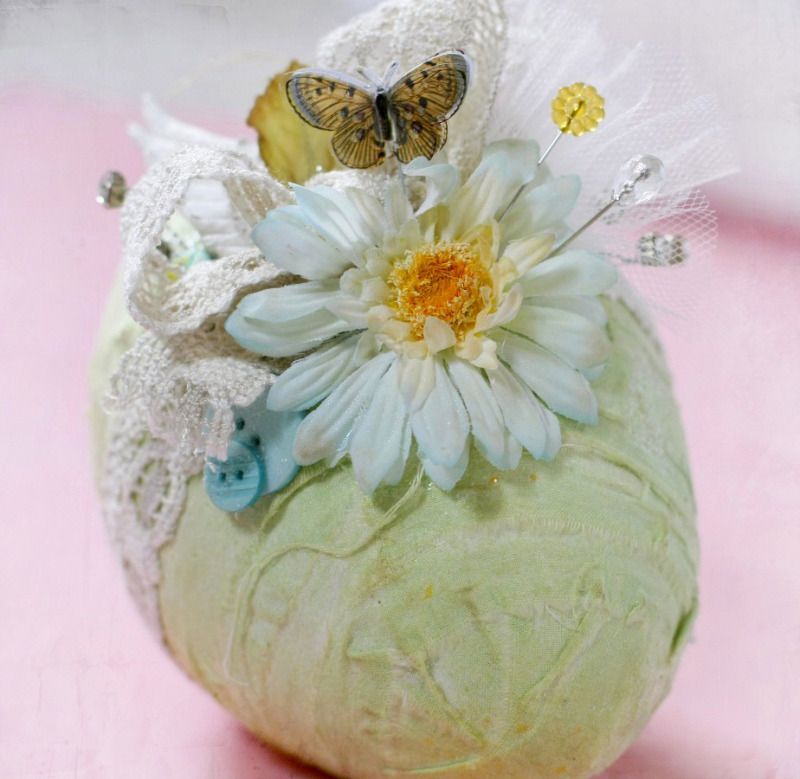
10. Insert the trinket pins at an angle as they will not go through the base of the paper mache egg. Apply glitter to buttons if desired.
11. Add a tag and tie raffia onto a large button and adhere to the cluster of embellishments.
For another option to the larger egg, you could use smaller paper mache eggs or use the fillable plastic eggs. You will need to tear the fabric strips just a bit thinner so that they don't become too bulky on the eggs. They would make really cute dinner table placecards.

Have a Happy Easter!!
Linda
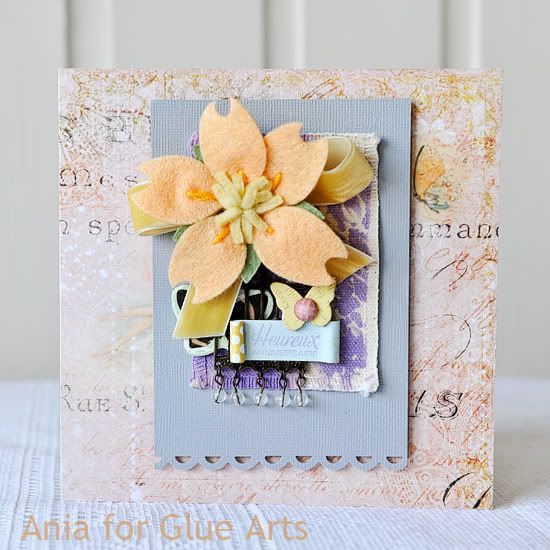
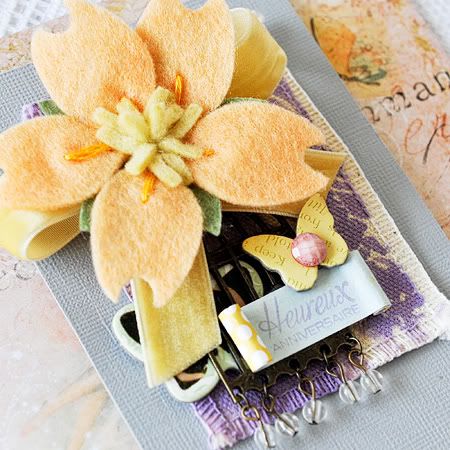
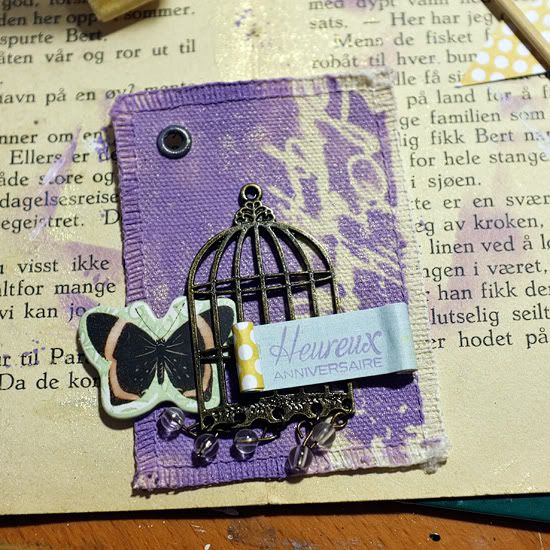
Heureux anniversaire card
GlueArts Designer: Ania Lexander
Glue Art supplies: Extreme Adhesive Squares - small and large, hot glue, U cut it, Raisen's
Glue Art supplies: Extreme Adhesive Squares - small and large, hot glue, U cut it, Raisen's
Other: Prima Marketing - paper, canvas, flower, trinket, chipboard, bling, mask; Maya Road - ribbon; StazOn Opaque Soft Lilac, Sassafras - chipboard, Craft Origine - clearstamp, bazzill - cardstock, tattered angels - iridescent gold glimmer mist
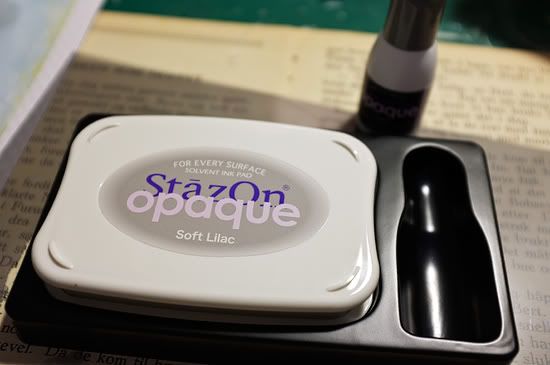
Here I used the StazOn reinker - not on the inkpad, but directly on a sponge.
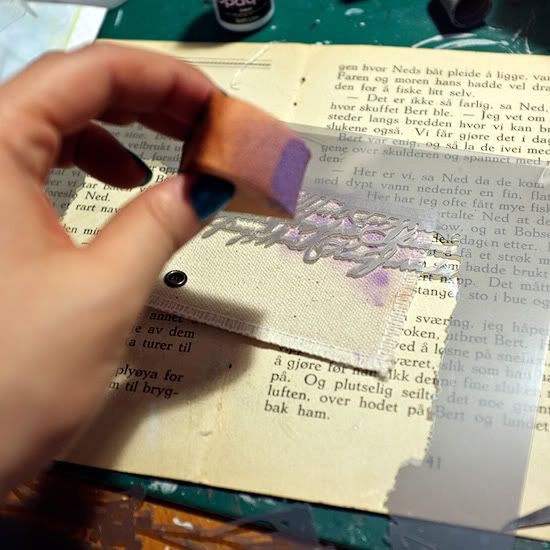
This way I could dab generously amounts of ink straight onto the canvas - using a mask to create a nifty, scripty pattern on the card when done, spray lightly with the mist to add a touch of soft glimmer.
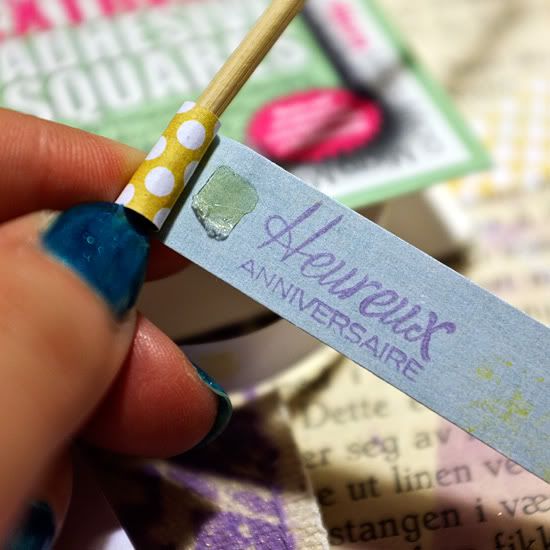
When finished, I used the same ink (this time from the inkpad like normal) to stamp my sentiment onto a piece of paper. Rolling the ends of the strip I used small extreme adhesive squares to keep the rolls in place.
Place the embellishments in front of you on the card to decide their placements.
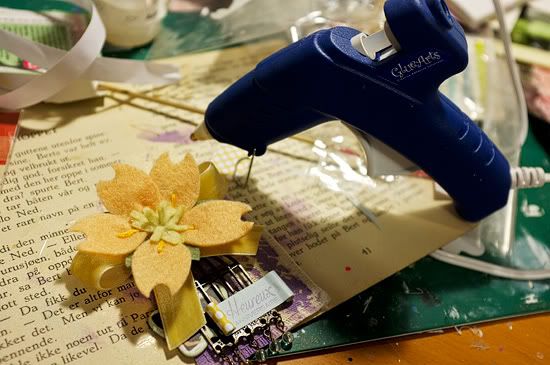
Then use a hot glue gun to stick most of the stuff in place.
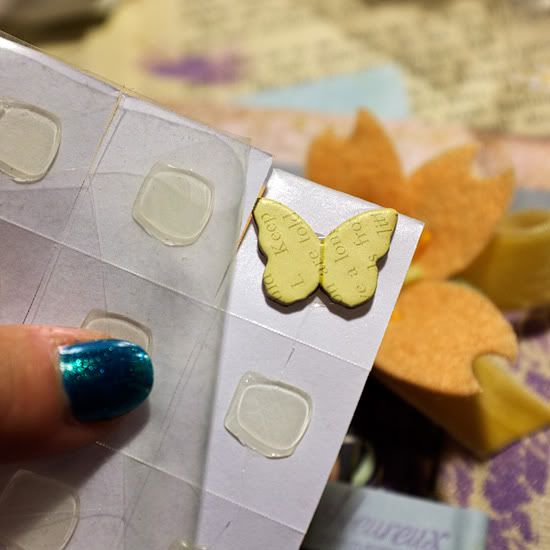
This butterfly, to sit upon the metal cage, was done using Raisen's though.
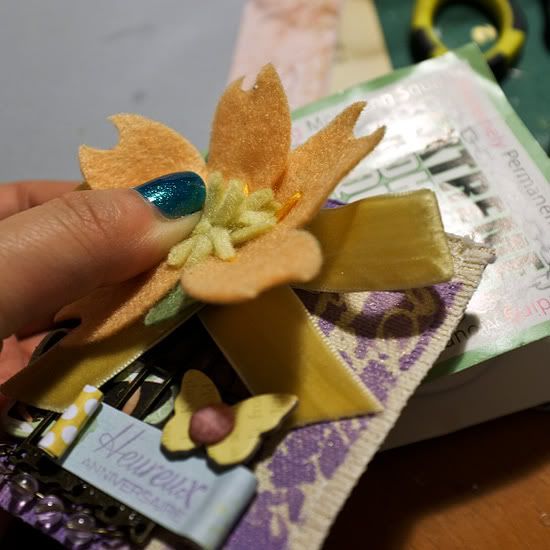
The whole thing was pretty heavy-ish, so I decided to use the large extreme adhesive squares to keep it sticking to the cardstock-base. So far so good!
Finally - using U Cut it to keep the cardstock base on the card itself. The more dimension the merrier =)
We've enjoyed reading about your holiday traditions and would like to invite all of our fans to post and share your creations on our Facebook wall. Please don't be shy!
We'd also like to help you make decorations for your home for spring or Easter? Please post a comment...we'll pick some of our favorite GlueArts products to send to you!


Don't forget to stop by our spring cleaning event! We have great deals on our Glue Rings...great for taking to crops, our Crop & Glue and if you've always wanted to try vinyl...now is the perfect time with our Accent It All!!
Stop by to see the deals and pick up some of our new PRO+ Cartridges too!

Don't forget to stop by our spring cleaning event! We have great deals on our Glue Rings...great for taking to crops, our Crop & Glue and if you've always wanted to try vinyl...now is the perfect time with our Accent It All!!
Stop by to see the deals and pick up some of our new PRO+ Cartridges too!
You have read this article Ania /
Extreme Adhesive Squares /
Glue Gilder Pro /
Hot Glue Gun /
Linda /
Perma Tac /
U Cut It Foam
with the title Hippity Hop Easter Is On It's Way with GlueArts!. You can bookmark this page URL http://skinnyminny22.blogspot.com/2012/03/hippity-hop-easter-is-on-it-way-with.html. Thanks!


