


Spring Rosette Flower Pillow
GlueArts Designer: Grace Tolman
Supplies Used:
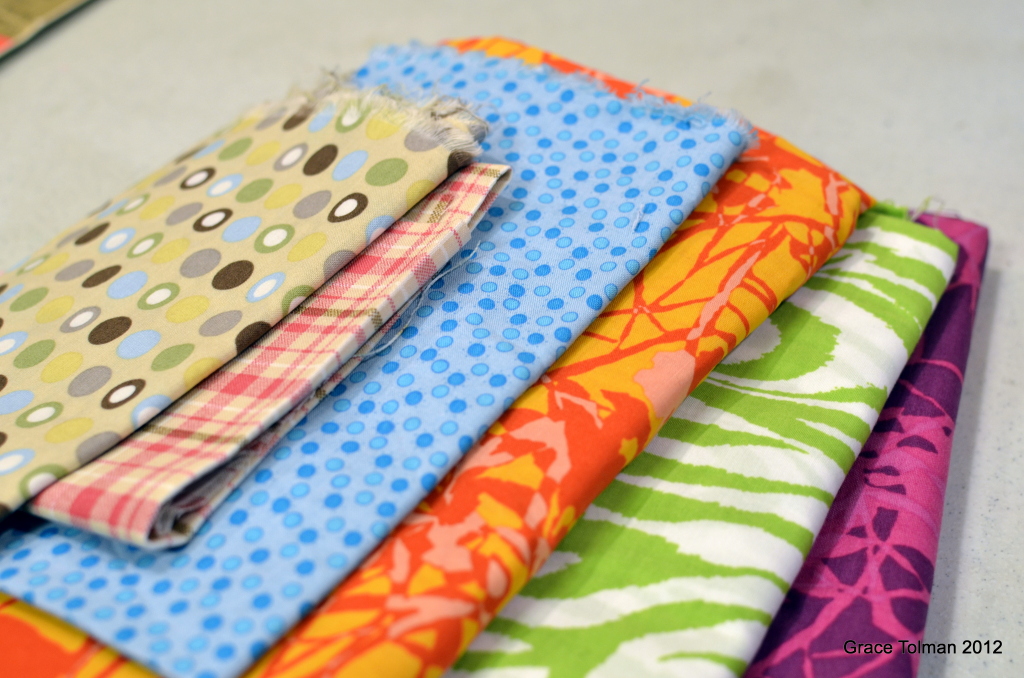
Fabrics
Pillow or pillow form
Button- GCD Studios
Baker’s twine- Pink Sorbet, Twinery
Thread- Coats and Clark
Sewing Machine- Kenmore
Others- Zipper, Iron and Ironing Board
Instructions:
1. Gather your supplies
2. I wanted to reuse an old throw pillow so I made a case for it first using a solid colored fabric and added a zipper to the case to make it easy for me to change it up when a new season comes.


3. I started the rosette flowers by cutting pieces of fabrics that is 4” x 20”. I wanted my flower to be big so I used about 10 different but coordinating fabrics.

4. With wrong side facing you, fold the fabric in half and machine stitch to close.

5. Turn the fabric inside out and iron.

6. Bring the fabric strip back to the machine and stitch in the middle, folding the piece as you go along.

7. Once you’ve made all of your rosette strips, you can start assembling the flower. Plug in your Glue Arts glue gun and place a piece of cardboard inside the pillow case to keep the glue from transferring to the other side of the case.

8. Use a plate or any circle form and lightly trace the shape. This will be your guide for the flower.

9. Working from the outer edge of the circle, start adhering your fabric strips using the Glue Arts glue gun. Overlap the edges of each fabric strip for a more finished look.

10. Thread some twine through a big button and adhere this to the center of your flower using more Glue Arts glue gun.
now I have a pretty flower pillow to adorn my otherwise boring black couch!

Audrey captures spring with these sweet thread spools with springy flowers...

Flower Picks
GlueArts Designer: Audrey Pettit
Supplies:
Glue Arts Glue Gun and Glue Sticks
Wool Felt
Embroidery Floss
Wooden Skewers
Spray Mist (optional)
Buttons
Spools

These spring flower picks are a quick and easy home decor project, and SO fun to make. To get started, gather your supplies.

I picked up some wool felt from my local big box sewing store. To save on supplies and expense, I purchase one wool felt in a deep, mossy green, and a second piece in a neutral cream with the idea in mind that I could dye the cream to any color I chose. If you want to skip this step, simply purchase felt in the colors of your choice.
1. If you're using cream felt and want to dye it other colors, simply pour some spray mist or re-inkers into a disposable container and soak your fabric in the colorant for several minutes. Squeeze to remove all excess liquid, and then lay flat to dry.

2. While your fabric is drying, move onto the stems. To create each stem, cut a wooden skewer to the desired height. Cut a length of green wool felt that is just wide enough to wrap around the skewer. I guessed the size by laying the skewer at the edge of my fabric and rolling it up until covered. Cut a notch and then unroll the skewer and cut the entire length off.

3. Apply Glue Arts Ribbon Adhesive along the entire length of felt, making sure to apply strips on each edge.

4. Lay the wooden skewer at one edge, and roll up. The adhesive will keep the felt in place. I whip stitched along the seam for a decorative touch, but this is not necessary.
5. Lay two small scrap pieces of green felt together and straight stitch simple leaf designs. I made one leaf per stem. Cut out leaves and whip stitch them to the stem.
5. Lay two small scrap pieces of green felt together and straight stitch simple leaf designs. I made one leaf per stem. Cut out leaves and whip stitch them to the stem.

6. Cut two different sized circles from the dyed felt. I used a 2" and a 1" circle for mine. You will need to cut two of the larger circles per flower, and one of the smaller circles.

7. Blanket stitch around the edge of the smaller circle. Stitch a button to the center, then stitch the smaller circle to one of the larger circles.
8. Apply a strip of Ribbon Adhesive to the last remaining circle. Press the tip of the stem into the adhesive, then place the stitched circles with button over the top. Blanket stitch around the edge of the larger circle.
8. Apply a strip of Ribbon Adhesive to the last remaining circle. Press the tip of the stem into the adhesive, then place the stitched circles with button over the top. Blanket stitch around the edge of the larger circle.


9. Tuck finished flower into a wooden spool. For a tight and more permanent hold, add a bit of Glue Arts hot glue into the spool's hole first.
WOW! How's that for one fantastic way to kick off a Monday and the first full week of spring!! Stop by all week long while we bring you more Easter and spring treats with fabrics and GlueArts Adhesives!
It's Monday though and that means time to announce our Tuskineko winner and that is:

Congrats to you Renee!!Please email me at Gluegirl@gluearts.com with your info! We'll see you back here tomorrow with more Easter and spring treats!

Don't forget to check our our spring cleaning sale too! It's a perfect time to pick up some of your favorite GlueArts products at amazing prices!
You have read this article Audrey /
Grace /
Hot Glue Gun /
Ribbon Adhesive
with the title Time to Think About Spring with GlueArts!. You can bookmark this page URL http://skinnyminny22.blogspot.com/2012/03/time-to-think-about-spring-with-gluearts.html. Thanks!


