

A quick stroll through your local craft store should net you some easter eggs, flowers, moss and maybe even a small egg carton too!
The trick is...how to take all those items and make something you'll be happy to set out or even give as a gift.
Designer Linda Albrecht has just the idea and crafts for you today!

GlueArts Designer: Linda Albrecht
Supplies:
Other:
patterned paper for butterfly- Pink Paislee
chipboard butterfly die cut- Accucut
paper egg carton (4 sections)
3 plastic or paper mache eggs
green moss
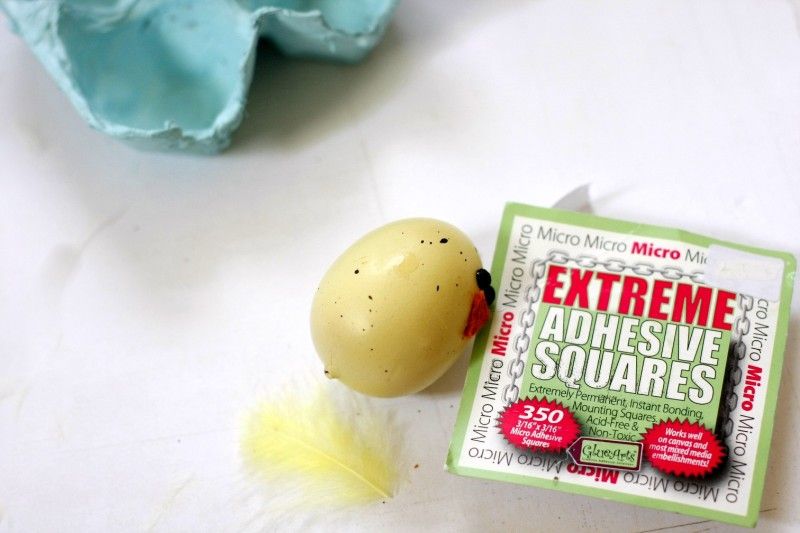
orange felt
black rhinestones
yellow feathers
artificial flower and greens
clear glitter
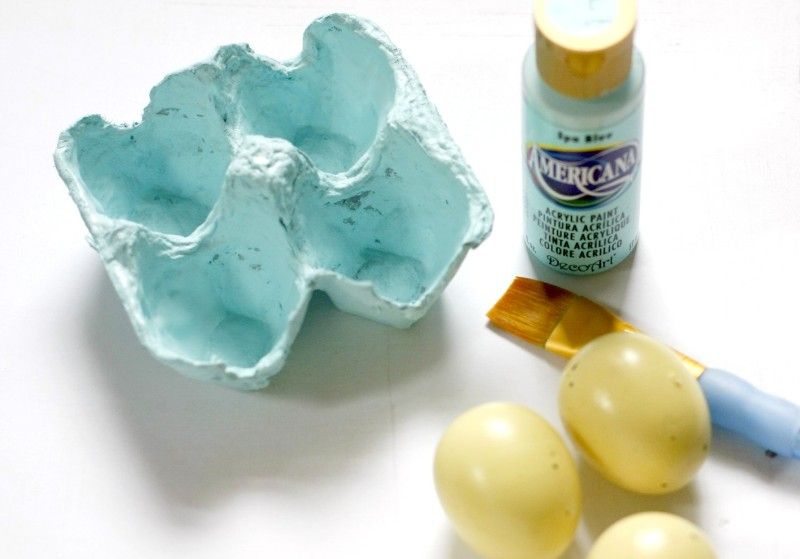
acrylic paints
Instructions:
1. Cut off 4 sections from a paper egg carton and paint with acrylic paint. Paint eggs yellow if needed and splatter with black paint.
3. Stuff egg cups with pieces of green moss... if needed add a few Adhesive Squares to inside of cups to hold moss in place.

5. Apply patterned paper piece to chipboard then lightly sand the outside edges. Apply clear glitter to the front of the butterfly making sure to push the butterfly into the excess glitter to coat the side edges.

6. Add a few sprigs of artificial greenery to the front right egg cup using Mini Adhesive Squares at the end.
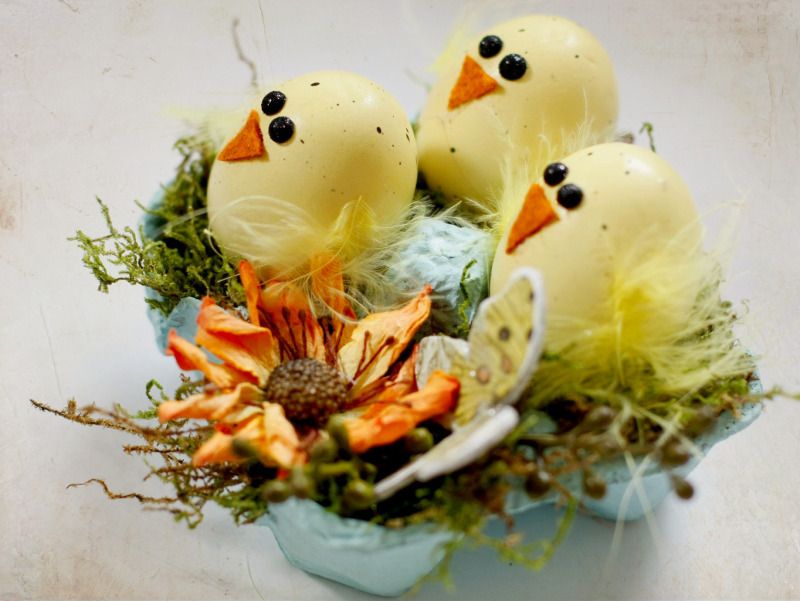
7. Help the child with hot glue gun by adding a small amount to the rim of the cup with the greenery so that the butterfly can be glued in place. Do the same for paper flower.
8. Place egg chicks on top of the moss into the 3 remaining cups of the egg carton.
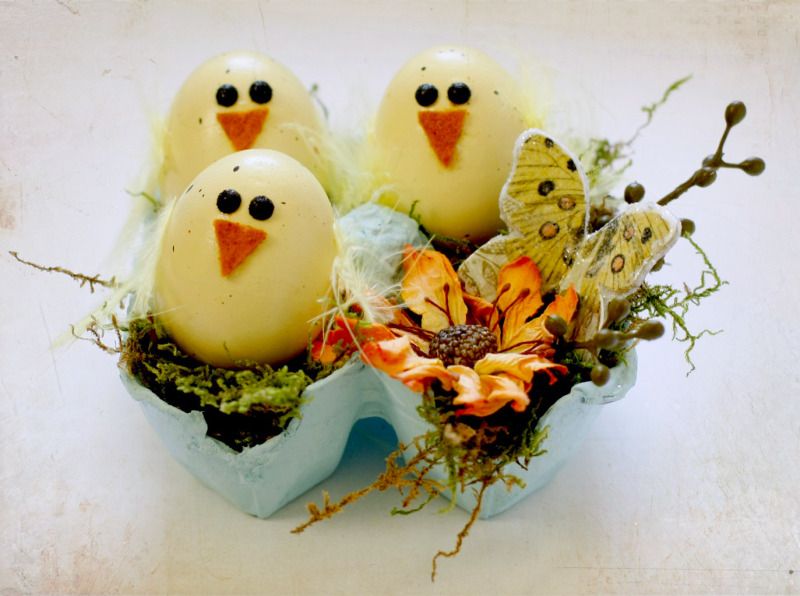
How sweet is that? This can be made just as Linda shows or bright and colorful....you create it...and GlueArts will adhere it!

We'd like to help you make some "Kid Approved" crafts and give you a chance to win! Post a comment and let us know what your planning for your spring break or kids crafts! We'll enter you to win our Glue Glider PRO+, Adhesive Squares and our Raisen's! (our amazing dimensional adhesive squares)

Simply post a comment and we'll select one random winner that we'll announce right here next Monday! It's just that easy! Looking for GlueArts Adhesives...shop online from the convenience of your home on our safe and easy to navigate GlueArts website!!
You have read this article Extreme Adhesive Squares /
Glue Gilder Pro /
Kid Friendly Craft /
Linda /
Pro+
with the title Let's Make a Easter Chick Nest with GlueArts!. You can bookmark this page URL http://skinnyminny22.blogspot.com/2012/03/let-make-easter-chick-nest-with-gluearts.html. Thanks!


