

Can you believe we are at the end of our week with May Arts?!
It's truly been a special week filled with inspiring crafts all using May Arts Valentine themed ribbons and of course....Glue Arts outstanding line up of adhesives!
Today we're going out with a bang(is there any other way?!) Designer Cheri Wenger shows how to recycle and reuse our Glue Glider Pro 3-Pack Cartridge Refill container! Love that! And we've got a Valentine Tote Bag craft that is Kid Friendly and Mom Friendly too!!


May Arts Valentine Container
Designer: Cheri Wenger
Supplies:
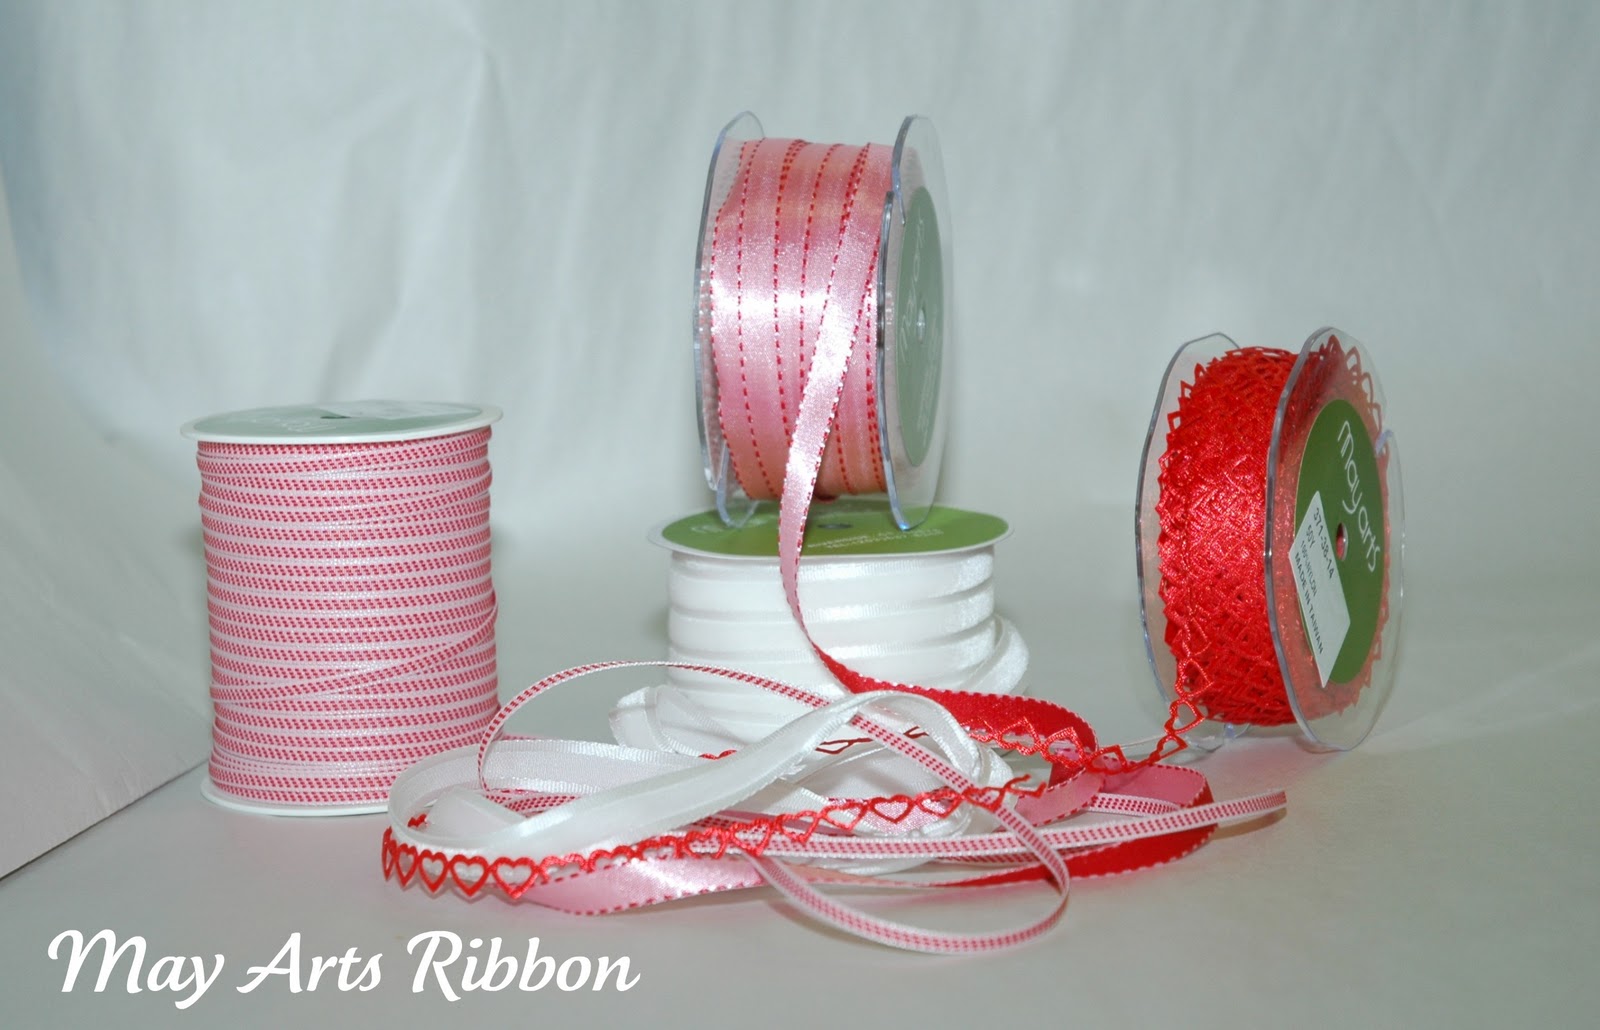
Ribbons: May Arts (rose satin, gingham, fushia satin hearts & red diecut hearts)
Embellishments & Papers: Little Yellow Bicycle
Adhesives: Glue Arts Extreme Micro Adhesive Squares and Adhesive Squares [or Extreme Adhesive Squares]
Punch: Fiskars Rectangle handheld punch
Button: Stampin’ Up!® (substitute your choice of button/mfr.)
Designer Tip: Let me show you how to repurpose Glue Arts 3-pack of adhesive refills packaging into an eco-minded, sweet treats container!

1. Cut 18" piece of rose satin ribbon. Apply micro extreme adhesive squares around the middle section of the container placing one on each corner and in the middle of each of the 4 sides.


3. Trim fuschia puffy satin heart ribbon to length that will wrap around the complete container with sligt overlap. Attach micro extreme adhesive squares randomly on the back of hearts to attach ribbon below the rose ribbon.

5. Cut piece of rose ribbon and wrap through diecut triangle and knot bow on top of container. Cut V-slits in ends of ribbon.
6. Apply Happy Valentine’s Day sticker strips to top of container along with the adhesive circle with rhinestone heart.
7. Use micro extreme adhesive squares to coil ribbon into flower and secure end. This will become the center of your flower for top of container. Set aside for now.


Valentine Canvas Tote Bag
Designer: Julia Sandvoss
**Kid Friendly Craft!
Supplies:
Canvas Tote (Hobby Lobby)
Glue Arts Glue Glider Pro FabricBond and Extreme Adhesive Micro Squares (www.GlueArts.com)
May Arts Ribbons (www.MayArts.com)
Creatology Felt Ric Rac and Hearts (Michael’s Stores)
Sizzix Big Shot Die Cut Machine: Heart Layers and Border Scallop Dies (www.Sizzix.com)
Pink Felt
Iron
1) Use the Sizzix Big Shot to cut the scallop border from pink felt. (Wool felt is easier to work with if you can find that. You can hand cut the shape as well) Apply Glue Arts Fabric Bond to the backside of your felt. Iron onto the canvas bag to heat the adhesive and bond onto the bag.
Tip: to make this child friendly…use the Extreme Adhesive Squares in the full size and apply the squares to the backside of the felt and then adhere to the bag. The Extreme Squares are designed to adhere to fabric, canvas and more!
2) Repeat Step 1 for the additional ribbons and trims.
3) Use the Sizzix Big Shot to cut the layered hearts. Add some Fabric Bond to the center of the heart. Then hand stitch the hearts together.
Tip: These can also be sewn with a sewing machine. For kids use DMC Floss for a fun look as well.

4) Adhere felt heart to bag with Extreme Adhesive Squares. Add additional felt hearts.
5) Tie a ribbon around the handle. Use the Micro Extreme Adhesive Squares to hold the ribbon tails in place on the bag.
Tip: If you do not have access to a diecut machine hand cut your shapes. Also this bag would be fun to personalize with a child’s name, Grandparents, special teacher! And best…this bag took just minutes to make and will be a favorite for years to come.

So...you know the drill....we're giving away goodies from both May Arts and Glue Arts and they're both essential to crafters! (well we think so!!)
Simply leave us a comment today and we'll enter you to win this fantastic selection of May Arts ribbons plus our must have line-up of products...a Glue Glider Pro, Ribbon Adhesive and our Adhesive Squares!
And before you go...speaking of multi-packs...have we got a promotion for you...simply purchase a Glue Glider Pro multi-pack, place a PRO Handle in your cart and receive that PRO Handle for Free! Yes...free! Visit our Glue Arts Website to shop and take advantage of this Sweetheart of a Sale!

You have read this article Adhesive Squares /
Cheri /
Extreme Adhesives Mini Sqaures /
Fabric Bond /
Glue Gilder Pro /
Julia /
Kid Friendly Craft
with the title Valentine Tote Bag and Treat Container!. You can bookmark this page URL http://skinnyminny22.blogspot.com/2011/02/valentine-tote-bag-and-treat-container.html. Thanks!


