
Do you save special love notes?
Have a collection of cards and special mementos that a special someone gave to you?
Do you keep them in a special place?
Today we're continuing our week with our amazing Orange partner....Fiskars! And Designer Jan Hennings has the perfect way for you to keep all those special love letters.
 Designer Kristen Swain has a special gift box set that you too can make and give to someone special! All of today's crafts were made with Fiskars tools and GlueArts adhesives!!
 Love Letters Notebook


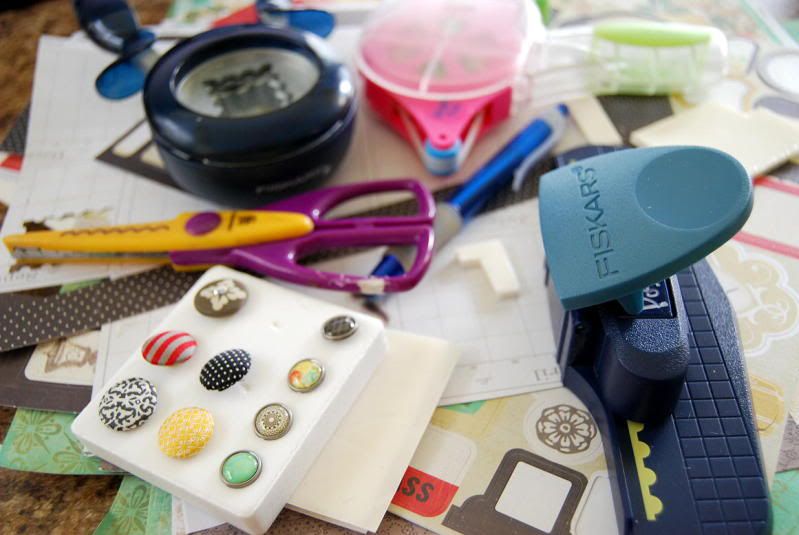
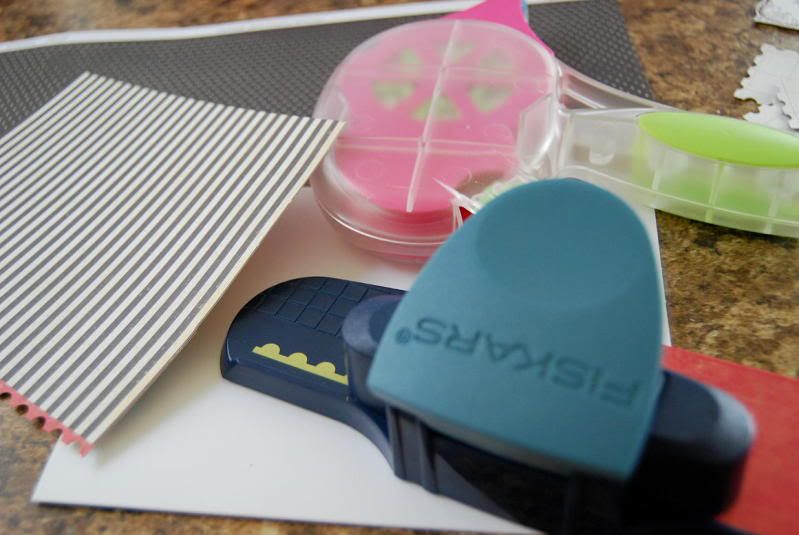


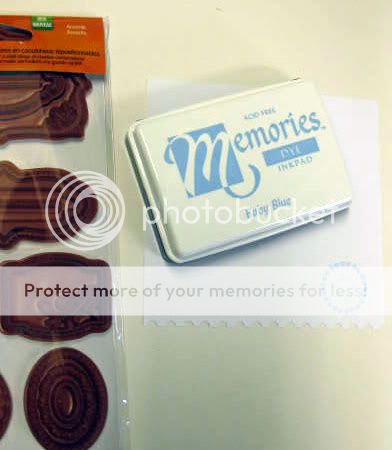
This project is quick and simple, and all you need are a few tools:


Be sure to check back in with us tomorrow for more Fiskars projects from our Glue Girls Design Team!
Have a collection of cards and special mementos that a special someone gave to you?
Do you keep them in a special place?
Today we're continuing our week with our amazing Orange partner....Fiskars! And Designer Jan Hennings has the perfect way for you to keep all those special love letters.
 Designer Kristen Swain has a special gift box set that you too can make and give to someone special! All of today's crafts were made with Fiskars tools and GlueArts adhesives!!
GlueArts Designer: Jan Hennings
Supplies:
5" x 5" Notebook (DMD)
Postage and Notebook Border Punch, Stamp Punch, Cloud Punch, Accent Stamps (Fiskars)
images (Crafty Secrets)
Pin (making memories)
hand dyed seam binding
paper towel
Baby Blue Ink (Superior)
Instructions:
Step 1: Start with a 5" x 5" Note pad.
Step 2: Blot Baby Blue ink on a paper towel.

Step 3: Place a piece of cardstock under the papertowel and punch a cloud.

Step 4: Cut two 5" x 5" pieces of cloud paper.

Step 5: Layer Love Letters image on the cloud paper.
Step 3: Place a piece of cardstock under the papertowel and punch a cloud.
Step 4: Cut two 5" x 5" pieces of cloud paper.
Step 5: Layer Love Letters image on the cloud paper.
Step 6: Using PermaTac adhesive, adhere the cloud to the top right of the notebook.

Step 7: Use hand dyed seam binding to make a shabby bow.


Step 8: Using the postage stamp punch, punch Special Delivery.

Step 9: Tie the stamp to the bow.

Step 10: Using a Hot Glue Gun and melt sticks, hot glue the bow to the left center of the book.


Step 11: Using the Notebook and Postage Stamp Border Punches, punch the bottom of each of the inner pages.

Step 12: Stamp the inner pages using Accent Stamps and Baby Blue ink.
Step 13: Assemble book.

Step 7: Use hand dyed seam binding to make a shabby bow.
Step 8: Using the postage stamp punch, punch Special Delivery.
Step 9: Tie the stamp to the bow.
Step 10: Using a Hot Glue Gun and melt sticks, hot glue the bow to the left center of the book.
Step 11: Using the Notebook and Postage Stamp Border Punches, punch the bottom of each of the inner pages.
Step 12: Stamp the inner pages using Accent Stamps and Baby Blue ink.
Step 13: Assemble book.

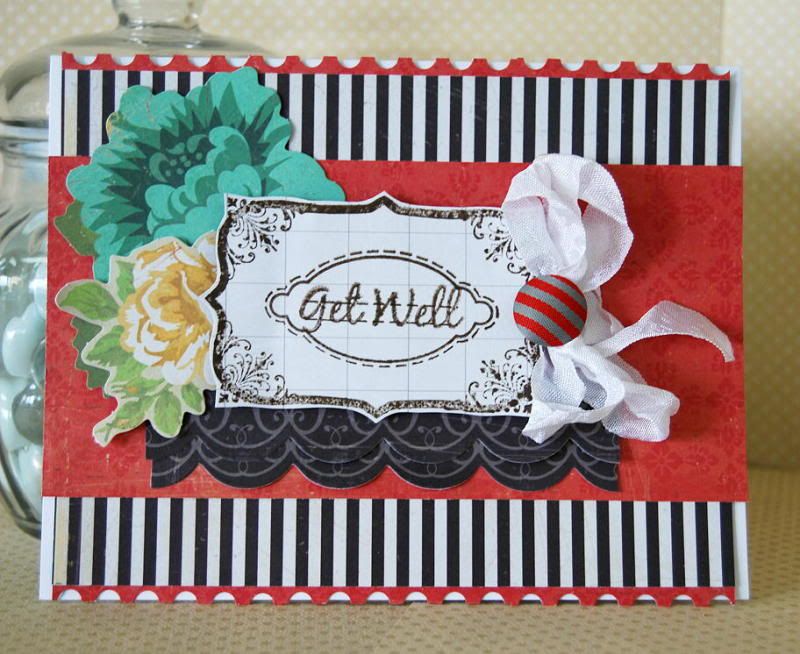
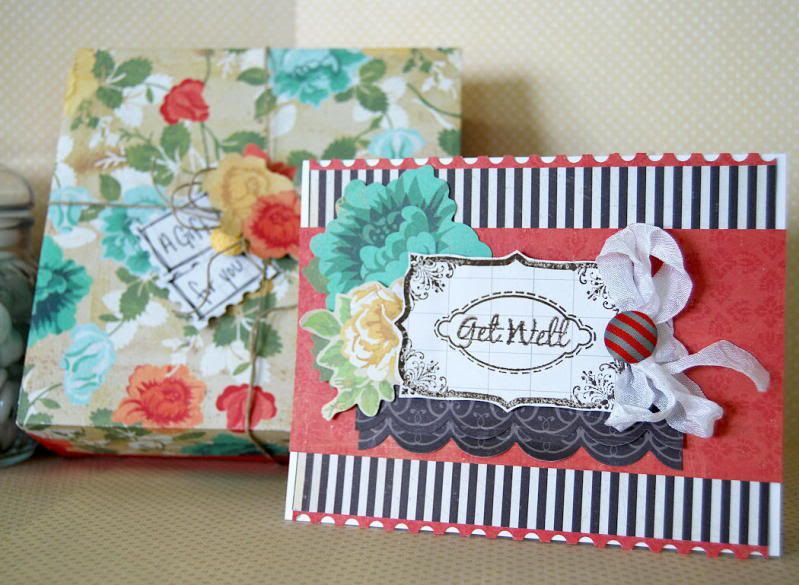
Gift Set
GlueArts Designer: Kristen Swain
Supplies:
Adhesive- Glue Arts High Tac, Adhesive Squares and UCutIt foam
Punches and Stamps- Fiskars
Paper/Stickers/Brads- Crate Paper
Twine
Diecut machine- Cricut Expression and Sweet Tooth Boxes Cartridge
Ribbon- www.etsy.com/shop/scrapinkris
ink- Adirondack
Instructions:
1. Fold card to 5x7, then cit a strip of striped paper, back with strips of red that have been punched with Fiskars Postage Stamp border punch, adhere to card with High Tac.
1. Fold card to 5x7, then cit a strip of striped paper, back with strips of red that have been punched with Fiskars Postage Stamp border punch, adhere to card with High Tac.
2. Stamp and cut out bracket and greeting spot using Fiaskars Stamps. Then cut border stickers to fit under bracket spot and slightly bend them upwards.
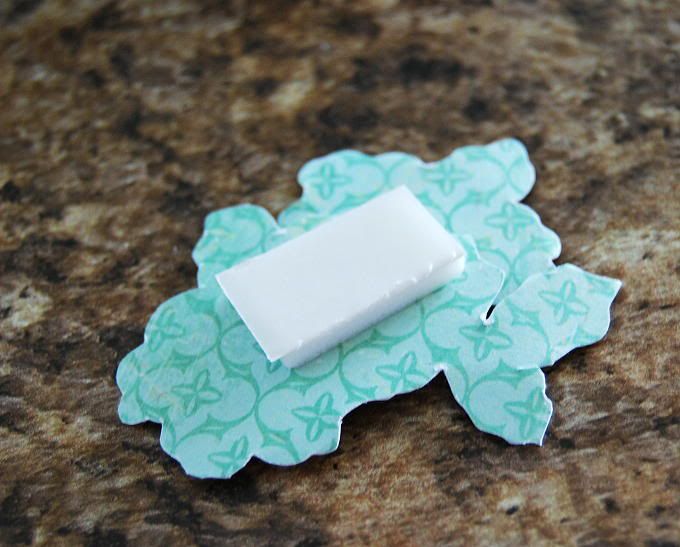
3. Use UCutIt foam under bracket spot, adhere to card, adding punch out flowers to one side and a ribbon bow with fabric brad to other.
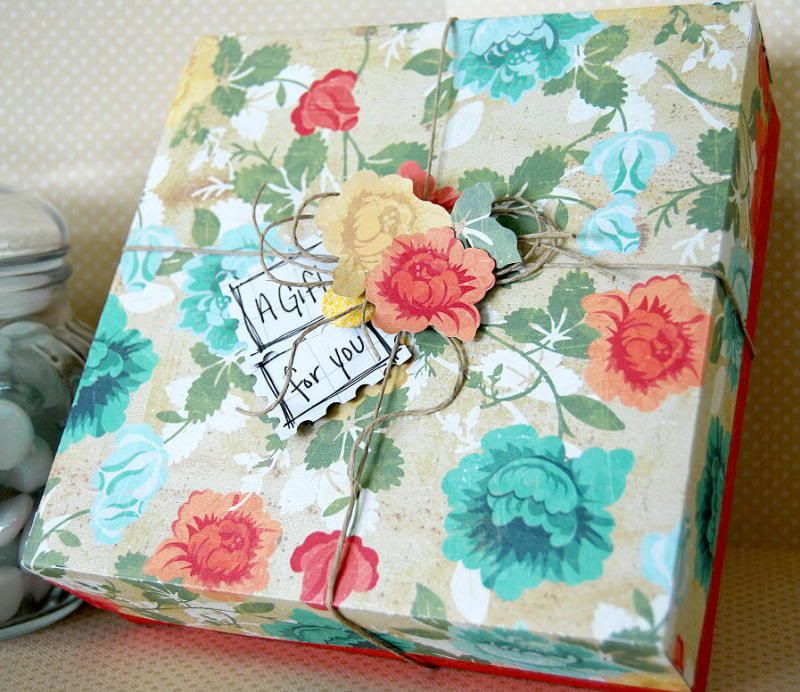
Box.
1. Cut box lid and bottom out using Cricut Expression and Sweet Tooth, adhere sides together with Adhesive Squares.
2. Fill box with treats, add lid to box then tie up with twine.
3.Fussy cut out flowers, adhere them to box lid with UcutIt foam.
4. Punch out two Fiskars Postage Stamps using punch, write greeting and adhere to box lid with High Tac.
Today we are pleased to share a bit more about our Guest Designer...Stephenie Hamen! And another fun project from her too!

Stephenie Hamen is one of those crafty types who loves it when she is covered in glitter and up to her ears in patterned paper and glue.
She is the Content and Education Manager for Fiskars Brands, Inc. in Madison, WI.
She is a published crafter, as well as mother of 2, wife, teacher, Master Gardener, and an avid home cook. She basically has a passion for creating stuff – no matter what the venue or supplies are! Stephenie’s work can be found at www.fiskars.com and www.mycraftyadventures.com.

Joyful Picture Frame
Guest Designer: Stephenie Hamen
One of my favorite things in the world is taking an inexpensive plain photo frame and giving it an all new look. This project was no exception.
· A few coordinating pattern papers
· String or twine
· Ribbon or lace
· Tulle
· Bling or buttons
· Alpha letters or pen
· Basic photo frame
I am a big believer in having thing you need prepped and ready. I cook quite a bit and learned early in life how important it was to have everything in the kitchen prepped in order for all of the food to come up right. I think it kind of stuck with me and follows me into my craftiness.

1. To start, open up your picture frame, remove the glass and mat, and put them to the side in a safe place. All you need is the frame itself.
2. Using the frame, lay out your string and cut it about 4-5 inches longer than the width of the frame. This will allow the banner to drape and still leave a bit of string on the ends when you are done.

3. Next, grab your papers and your Seal of Approval punch and punch out a few shapes.

4. Fold each shape in half. Then, using your Glue Glider PRO, secure them to the string.
5. Cut and tie on some small pieces of lace or ribbon in between each of the banners.

6. Place the banner on the frame, making sure you have the look and size that you want.
7. Using your glue gun, glue each corner of the banner to the top corners of the photo frame.

8. Next, add some tulle , bling, or other embellishments to the frame around the banners.
9. Taking a coordinating paper and cut it about an inch wide. Use the Upper Crest Border punch and punch the edge. Cut it to the appropriate size and adhere it to the bottom of the frame with your Glue Glider PRO.

10. Add another punched scallop circle and hand-cut a small accent piece to adhere to the center. Add your sentiment.

11. Now, grab your featured photo and trim it down.
12. Using the Upper Crest border punch, punch the edge of the photo.
13. Mount the photo to fun paper and then lay your mat over the top. Secure it all together with the Glue Glider PRO.
14. Trim off the excess paper.

15. Reassemble your frame and you are all done!

I hope you have as much fun as I did creating a special photo frame!

So tell us...are you a Fiskars fan? Wishing for some new tools? YOU can win some of their awesome products! Fiskars was incredibly generous and is allowing us to giveaway to one of you...

... a Trimmer, Cloud Squeeze Punch, Stamp Border Punch, Postage Stamp punch, Acrylic Stamps and more! Simply leave us a comment and we'll enter you to win! Next Monday we'll select one winner to enjoy these goodies!!

And guess what....we need to include some GlueArts adhesives with this prize! So we'll ALSO include our Glue Glider Pro and a roll of our Adhesive Squares! Now you're definitely ready to craft!
Be sure to check back in with us tomorrow for more Fiskars projects from our Glue Girls Design Team!
You have read this article Fiskars /
Glue Gilder Pro /
Hot Glue Gun /
Jan /
Kristen /
Perma Tac
with the title How Many Love Letters Do You Have?. You can bookmark this page URL http://skinnyminny22.blogspot.com/2011/06/how-many-love-letters-do-you-have.html. Thanks!


