

When you need it to stick...
choose GlueArts!
Just sticks doesn't it?! Kind of like family...you stick together with those you know and trust!
You can trust GlueArts to not only do the job but to stick!
This week we're sticking together with Kaisercraft! We're delighted to showcase two of their newest lines....Pink Gelato and Velvet Ensemble!


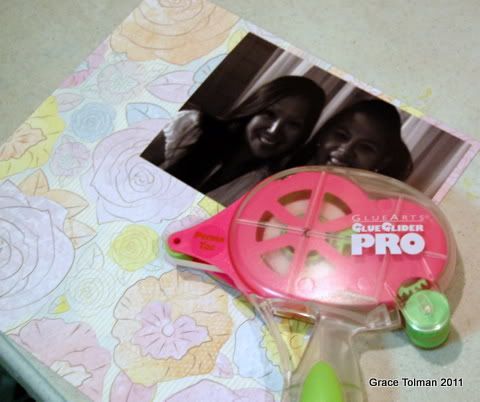
More Then Family Layout
GlueArts Designer: Grace Tolman
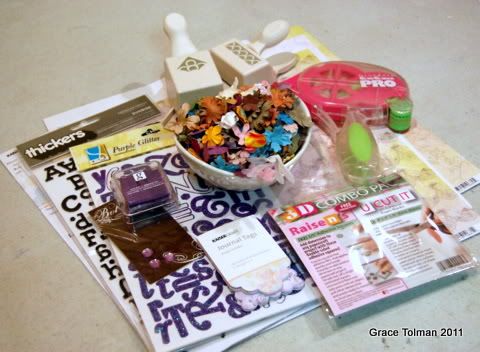
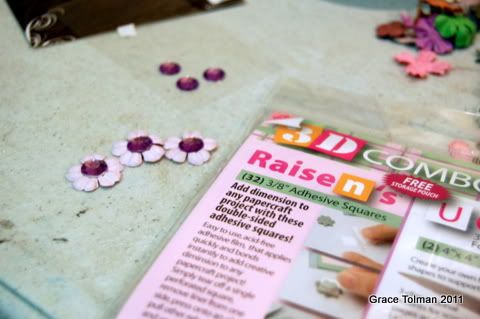
Glue Arts Raisen’s
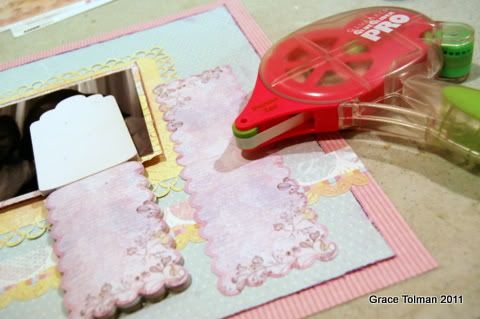
Glue Arts Glider Pro & Perma Tac
Glue Arts U Cut it Foam
Pattern papers, journaling blocks and stickers- Pink Gelato, Kaiser Craft
Border and corner punch- Martha Stewart Crafts
Letter stickers- (black) American Crafts; (purple) GCD Studios
Black pen- Millennium, Zig
Flowers- Prima
Bling- My Mind’s Eye
Instructions:
1. Gather your supplies
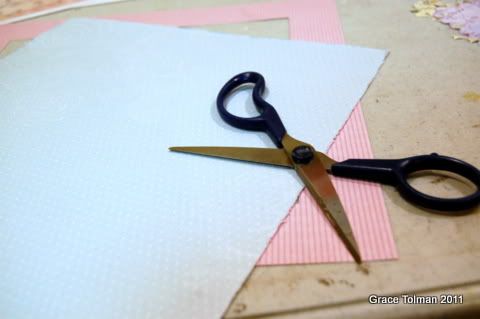
2. Since we are using the stripe purple paper as a mat for the blue paper, we will cut out the middle part of it since it won’t be seen. This will give us more paper to use later on.

3. Cut out the blue paper into an 11” square. Distress the edges with your scissor blades.
4. I wanted to have more separation between the purple striped paper and blue one so I inked the edges with purple ink.
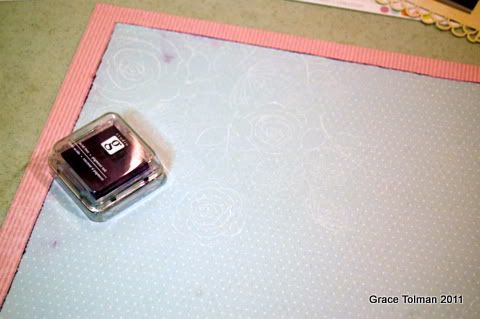
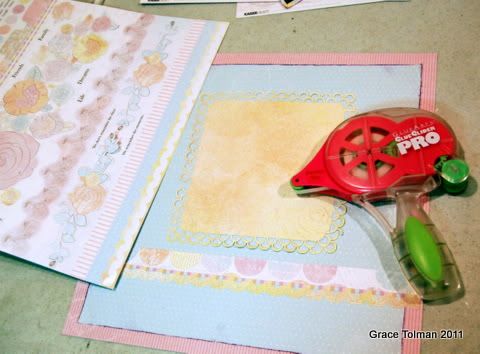
5. I then added the blue paper in the middle of the purple one with Perma Tac adhesive. Remember since you’ve cut off the middle part, only add adhesive to the edges of the paper.
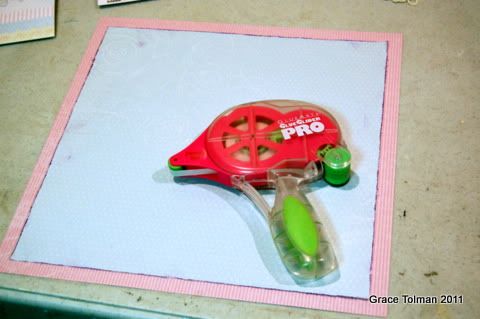
6. I then used the back side of the cut off purple stripe paper as a mat for my photo.
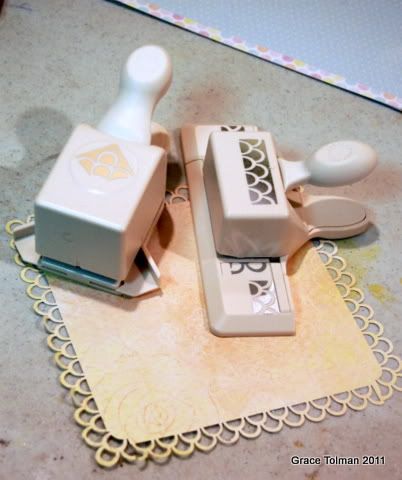
7. Next, I used some border and corner punches to create an elaborate frame where my photo is going to lay on.
8. Then I added the border with decorative edges in the middle of the paper, then one more paper strip and a border sticker on the bottom.
9. Next, I added U Cut it foam adhesive onto the back side of my matted photo and added that to the page.
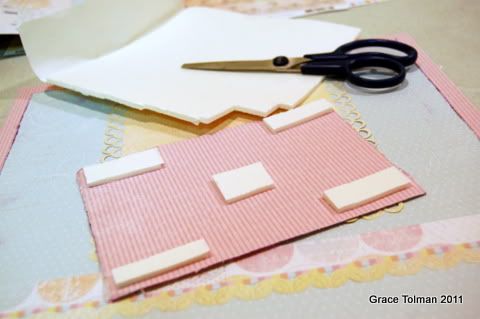
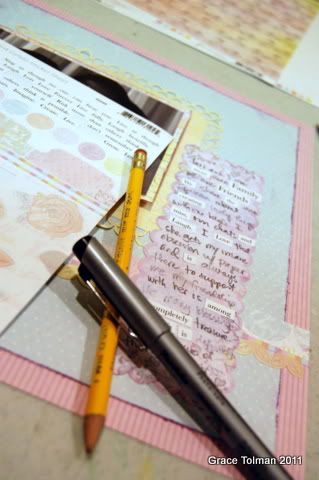
10. I adhered two journaling blocks, sticking the edges together so it would look like one long piece.
11. Next, I worked on my journaling in which I added the word stickers from the Kaiser Craft sticker sheet into my words. I used pencil since I’m trying to place word stickers in between my handwriting. After I was satisfied with the look, I wrote it over again with a pen and then erasing my pencil lines.
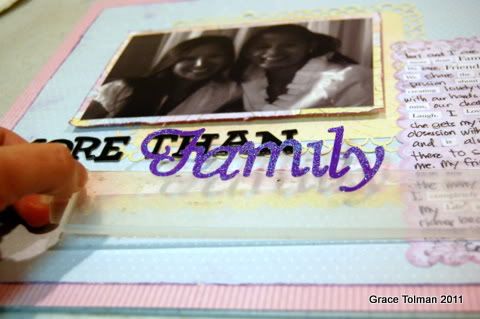
12. I added my title underneath my picture. I used black and purple colored letter stickers so it will stand out against all my muted colored papers.
13. Next, I added some flower stickers. I used U Cut it foam adhesive to adhere them.
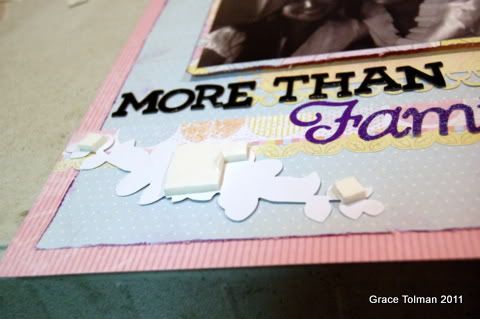
14. I cut out the leaves of one of the flower stickers to create a different sticker so it’s not looking totally identical with the other one already placed on the layout.
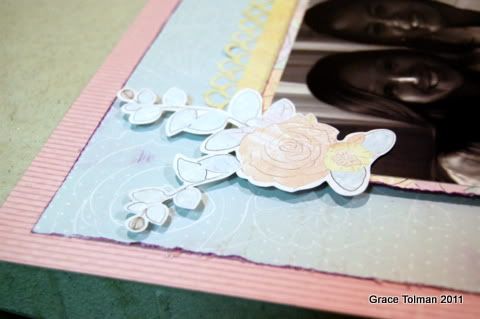
15. Seeing that the flower stickers looked like it’s still missing some color, I added flowers with purple bling in the middle of them. I used Raisen’s adhesive to adhere them to the center of the flower stickers.

Paper Bag Album
GlueArts Designer: Jan Hennings
Supplies:
GlueArts Glue Glider Pro Perma Tac, Hot Glue Gun and Melt Sticks
Button Maker (Epiphany Crafts)
Glimmer Mist (Tattered Angels)
seam binding
greeting card paper bags
sewing machine
Instructions:
Step 1-Start with three greeting card paper bags.
Step 2-Fold the paper bags in half.

Step 3-Sew on the fold.

Step 4- Cut Kaisercraft papers for the dimension of your paper bags.

Step 5-Use Perma Tac to adhere Kaiser papers to the album.


Step 6-Using Perma Tac, adhere journal tags for tabs on the album.

Step 7-Using Glimmer Cocoa Glimmer Mist, mist the pages.

Step 8-Using Epiphany Crafts Button Maker and Kaisercraft paper, make a button.

Step 9-Using seam binding, make a shabby bow. Add a bead of hot glue to the center and adhere the button.


Step 10-Hot Glue bow to cover of album.
So how would you like to win one of the two newest Kaisercraft new lines?


We're giving away Pink Gelato
and the Velvet Ensemble to two random winners!! Simply post a comment here and let us know what you love about today's projects. Or which collection has you counting the minutes until we announce the winners next Monday!!

We're also going to include our GlueArts Embellishment Kit which is just what you need to create all these beautiful projects as seen!
Do be sure to stop by the Kaisercraft blog to see all the amazing projects their designers have made with our GlueArts adhesives and more ideas for how to use Kaisercraft in your projects!
Last before you leave today we'd like if you would go and visit the Kaisercraft Facebook Wall and let them know GlueArts sent you to them! Be sure to stop by so you can have another chance to win from Kaisercraft and GlueArts!!
Give them a BIG GlueArts HELLO!!!!!!!
See you back here tomorrow for our final day of beautiful projects with Kaisercraft and GlueArts!
You have read this article Glue Gilder Pro /
Grace /
Hot Glue Gun /
Jan /
Kaisercraft /
Perma Tac /
Raisen's /
U Cut It Foam
with the title Stick Together with GlueArts!. You can bookmark this page URL http://skinnyminny22.blogspot.com/2011/06/stick-together-with-gluearts.html. Thanks!


