

Today's projects are diverse but one thing they both have in common...they're amazing! Oh wait...no that's not all! They both use Clear Scraps album and acrylic AND yes...of course they both use GlueArts Glue Glider Pro, Extreme Adhesive Squares, Ribbon Adhesive, U Cut It Foam and more!
Designer Jenny Chesnick has a truly jaw-dropping wedding album that is perfect in every way shape and form. {We can't help but gush a bit...because it is!} Designer Grace Tolman wows us as well with her masculine album dedicated to all the car lovers out there!!! Today's post is just a feast for your eyes!

Bliss
Designed by: Jenny Chesnick

Supplies:
Accent it All Vinyl
Glue Glider Pro Perma Tac
Extreme Adhesive Squares
Glue Arts Glue Gun
U-Cut 3D Foam
Clear Scraps Mini Album
Paper by We R Memory Keepers
Ribbon/Trims by Websters Pages, Bo Bunny, My Minds Eye & Maya Road
Doilies by Little Yellow Bicycle
Pins by Maya Road
Metal Trinkets by We R Memory Keepers
Flowers by Maya Road & Pebbles
Pearls by Kaiser Craft
4x6 Cards by We R Memory Keepers
Twine by American Crafts
Mist by Maya Road
Silhouette SD
I've had this idea in my head for awhile now (4 years!) for a wedding album for my husband and I. I loved the soft colors of We R Memory Keepers line in combination of the clear album by Clear Scraps was just perfection in my book.


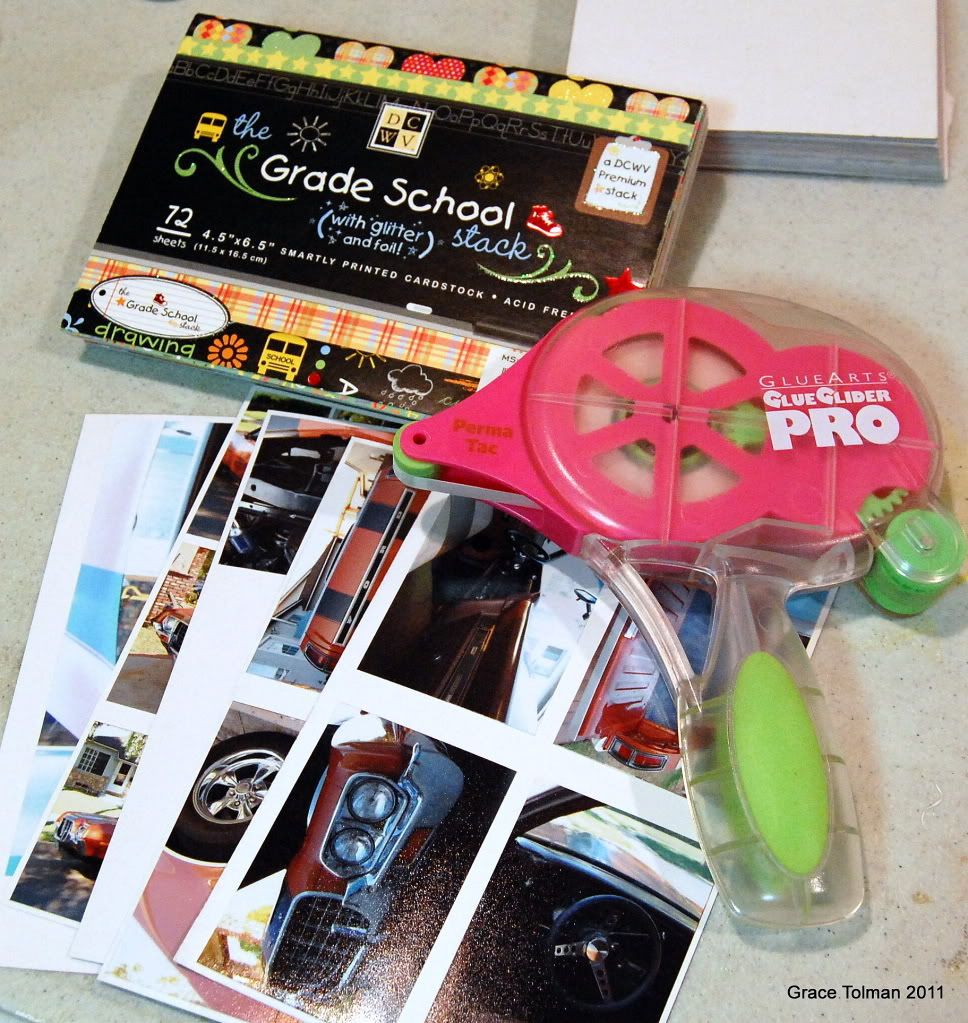
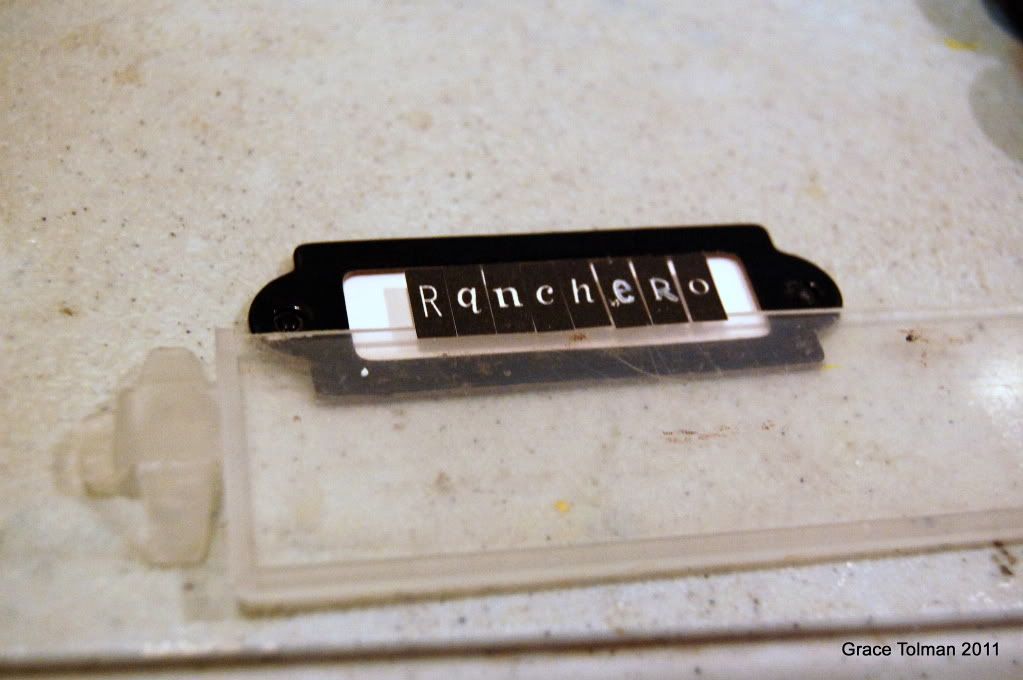
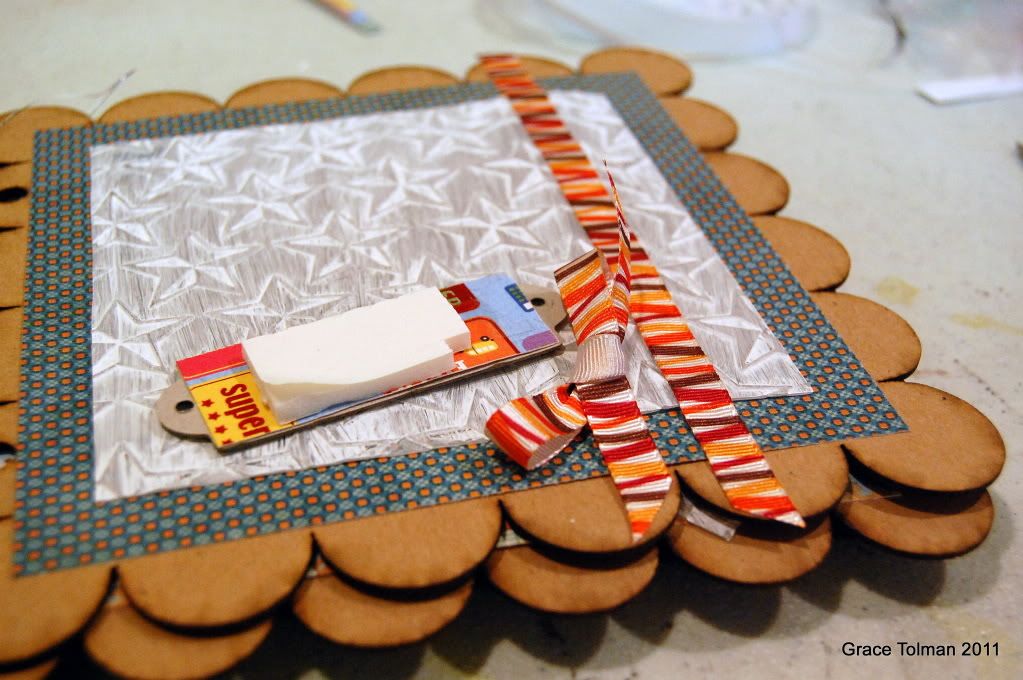
1972 Ford Ranchero Mini
Designed by: Grace Tolman

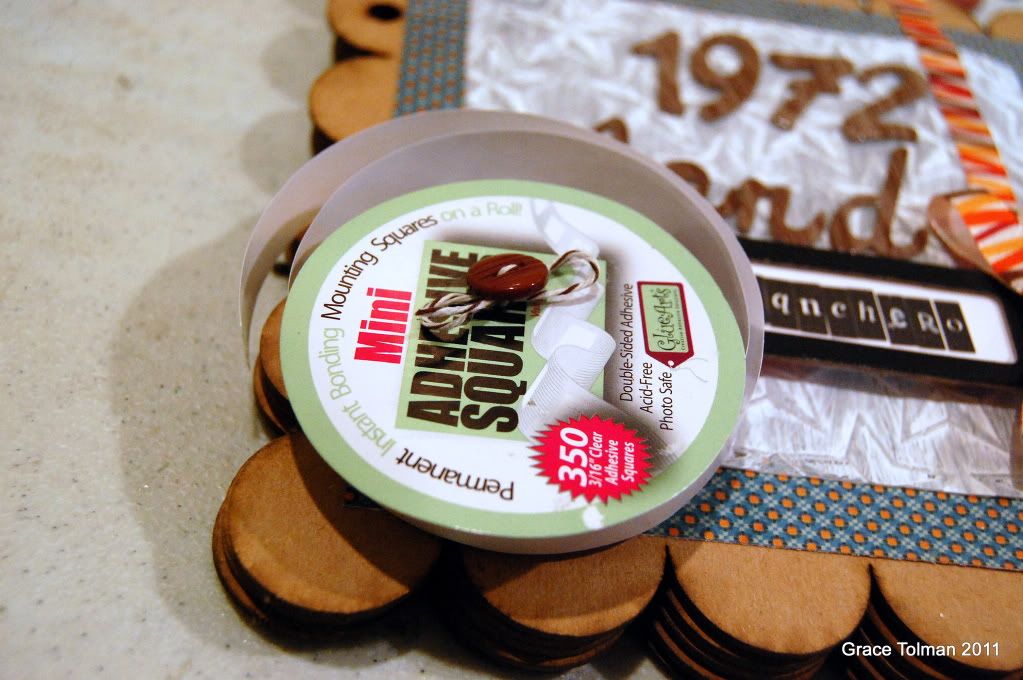
Glue Arts Mini Square Adhesive
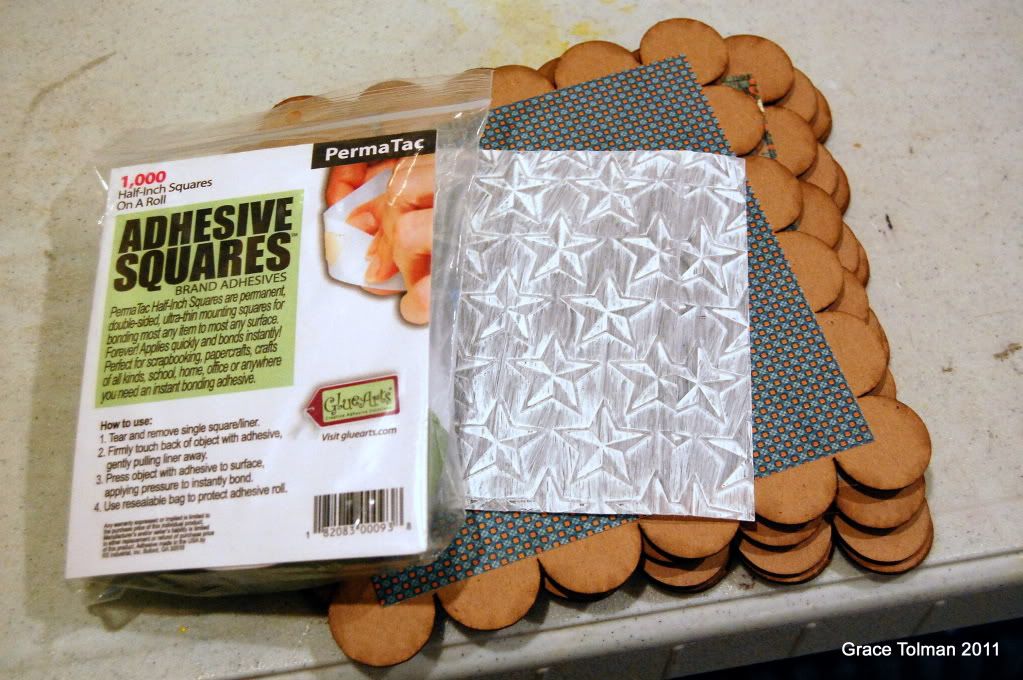
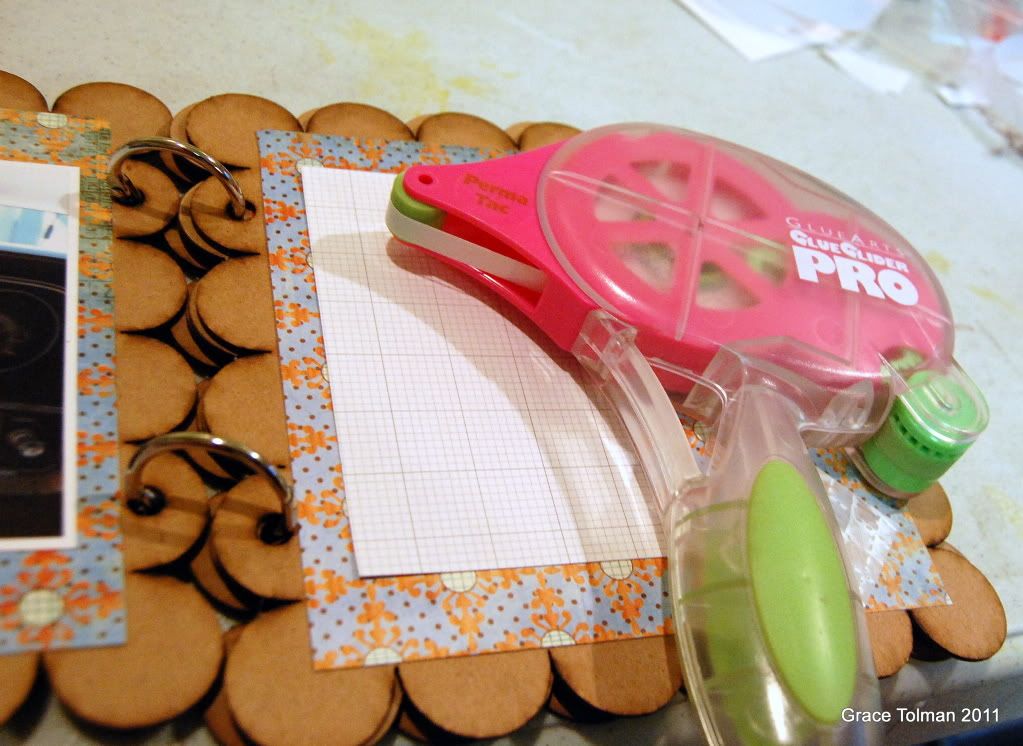
Glue Arts Perma Tac
Glue Arts Square adhesive (Perma Tac)
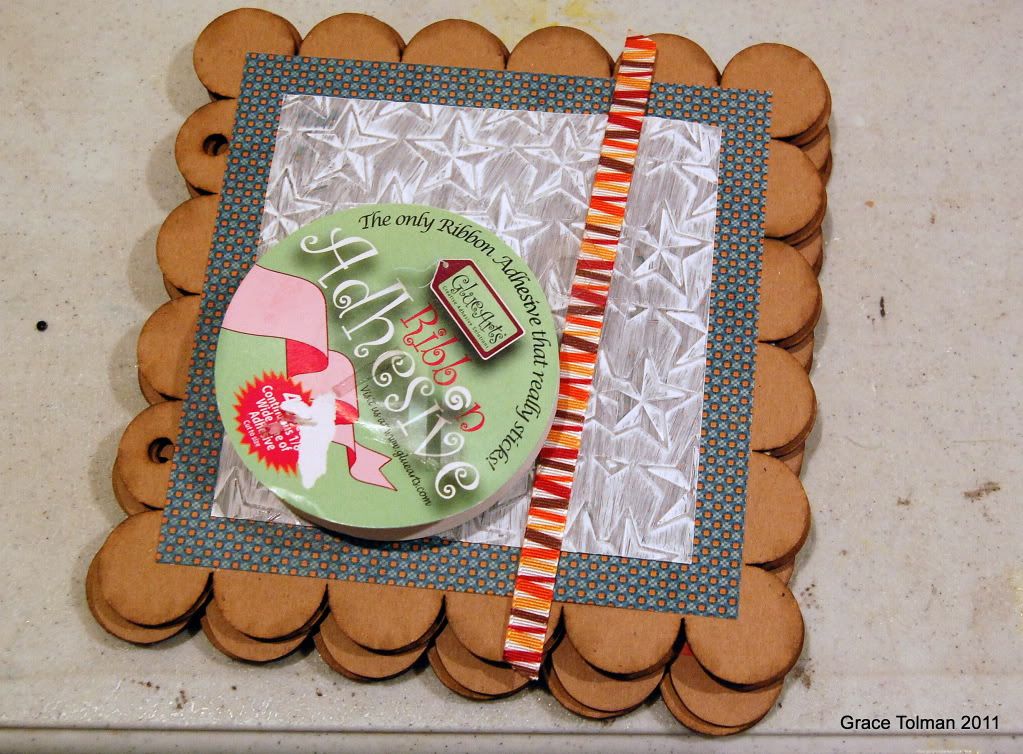
Glue Arts Ribbon Adhesive
Glue Arts U Cut it Foam
Pattern papers- Pink Paislee; Die Cuts with a View
Mini album and acrylic sheet- Clear Scraps
Embossing folders- Cuttlebug, Provo Craft
Paint- Plaid Enterprises
Letter stickers- (mini) Making Memories; (brown) American Crafts
Black frame- source unknown
Pen- Signo, Uniball
Buttons- Favorite Findings
Instructions:
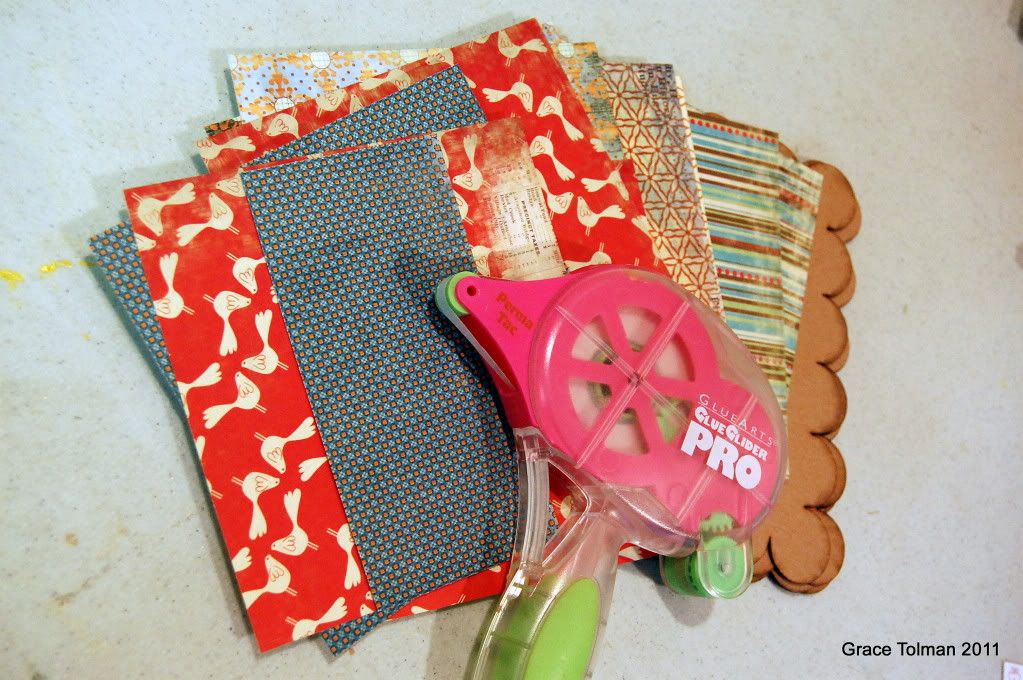
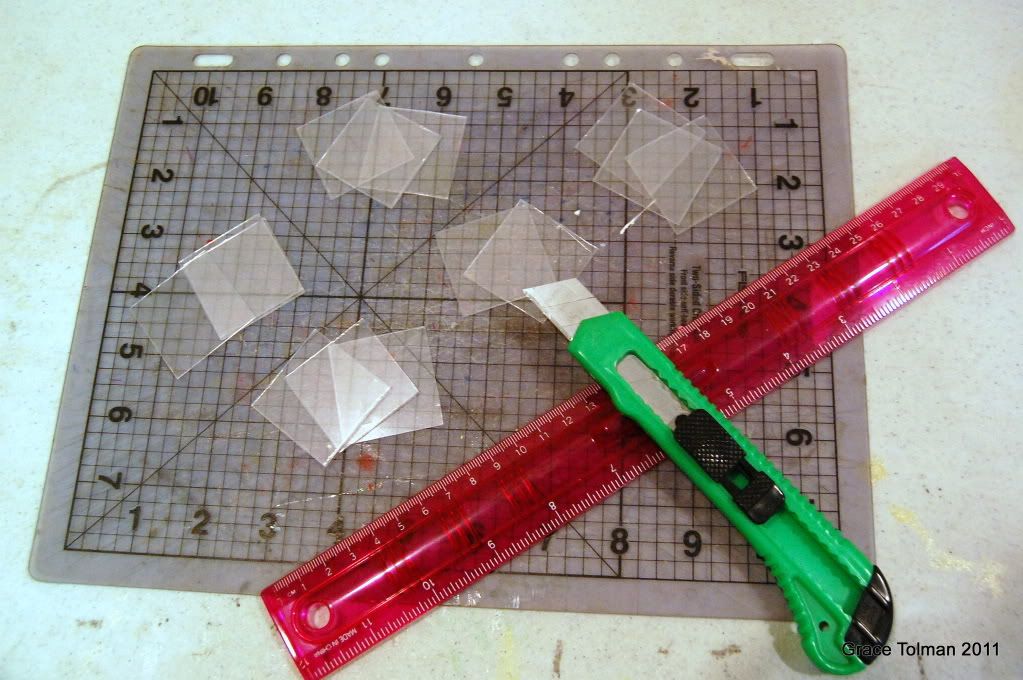
1. Gather your supplies
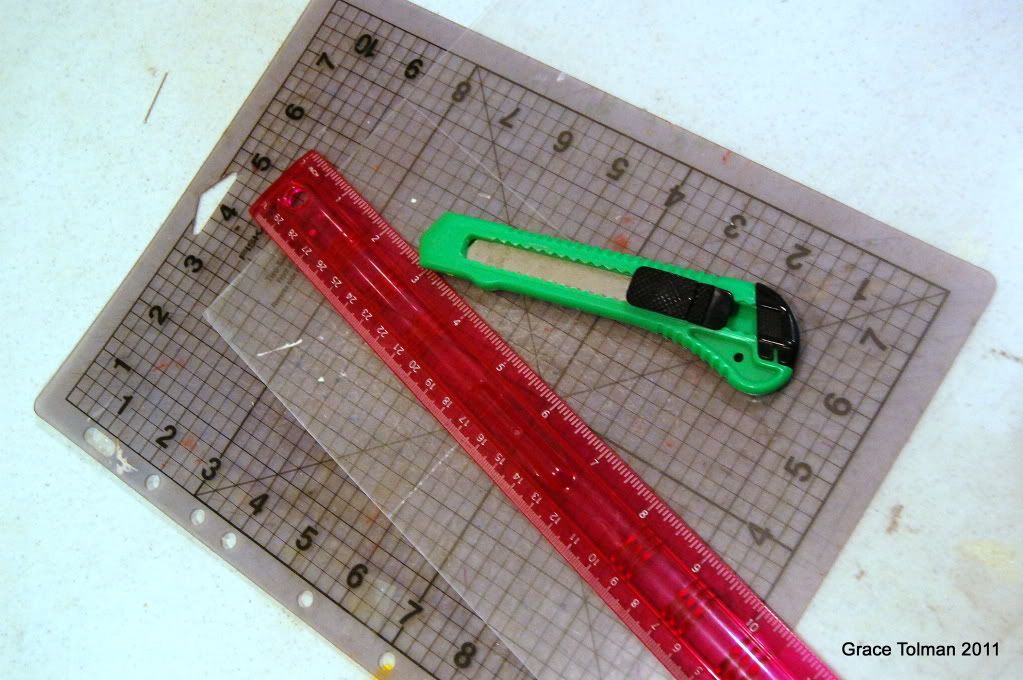
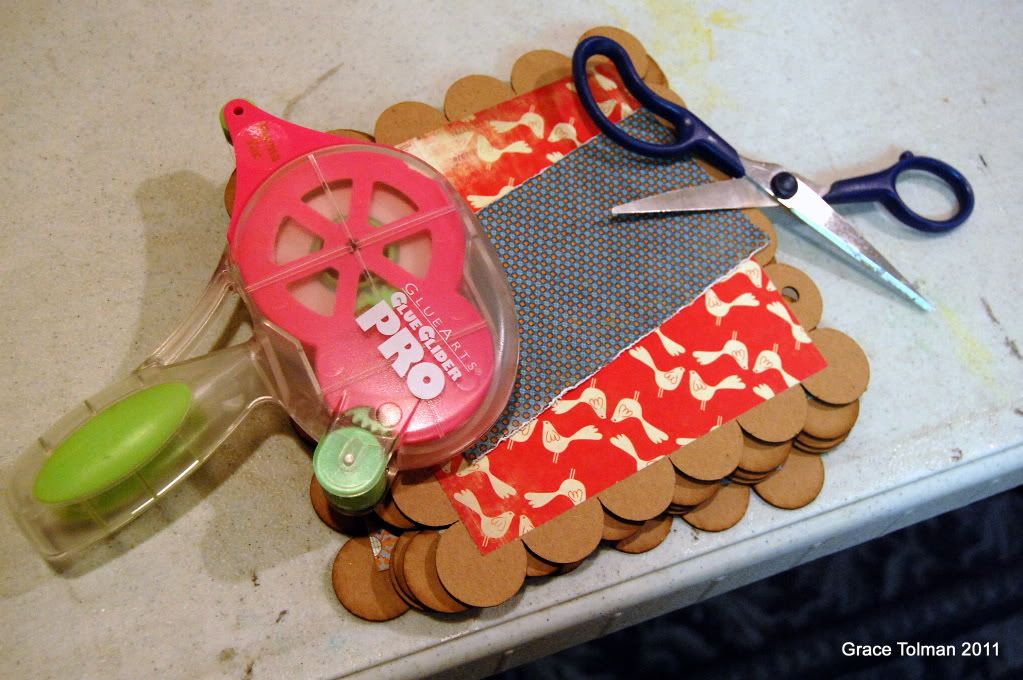
2. Measure the inside of the mini album sheets and cut your paper accordingly.
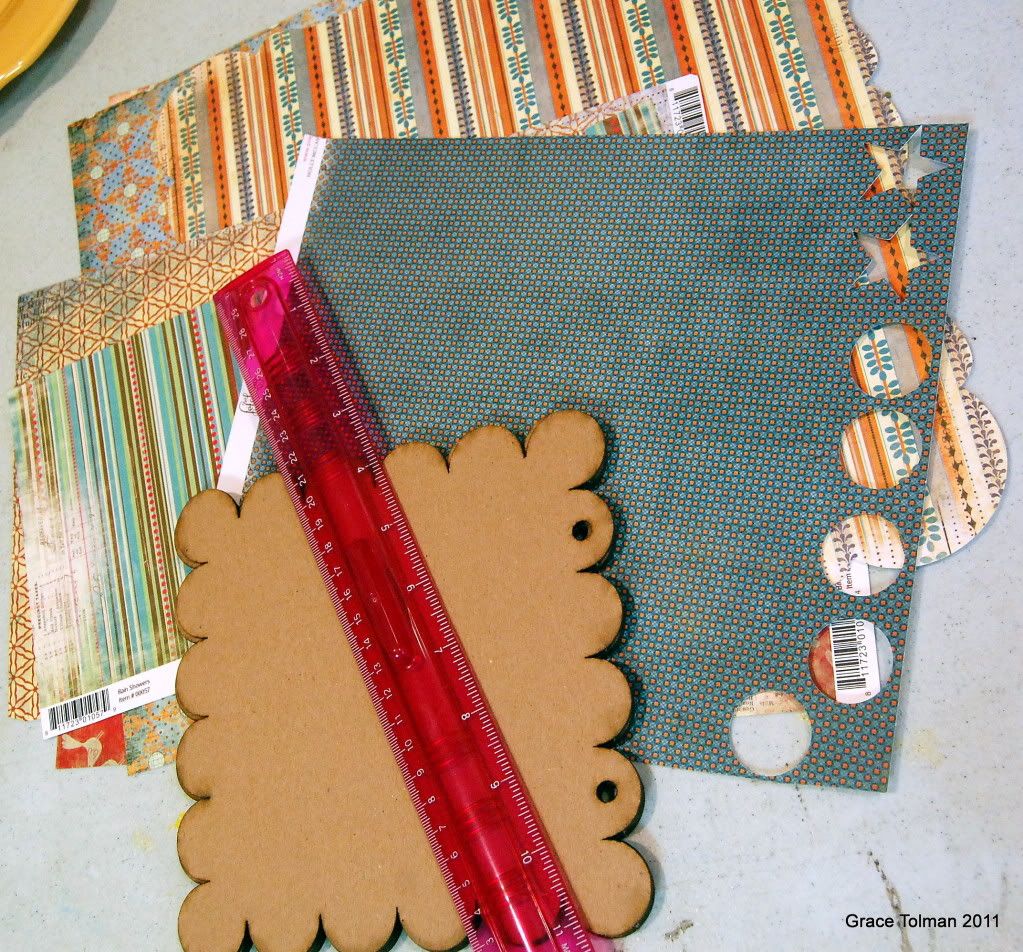
3. Adhere the papers onto the chipboard sheets with Perma Tac.
4. Cut out a piece from the acrylic sheet that is ¼” smaller than the pattern paper.
4. Cut out a piece from the acrylic sheet that is ¼” smaller than the pattern paper.
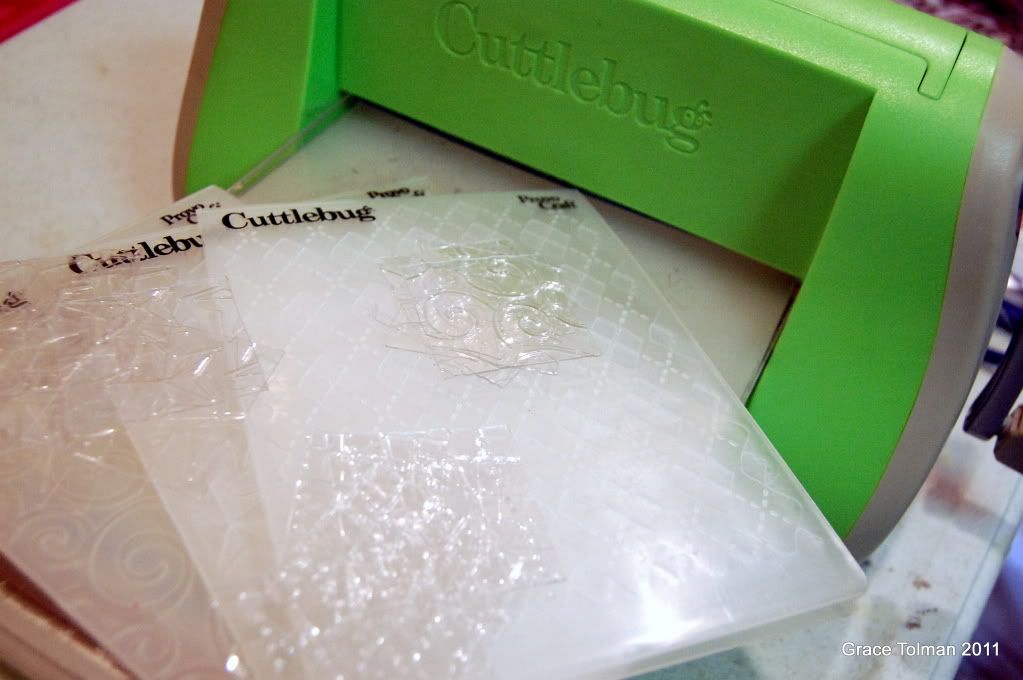
5. Dry emboss the sheet with the star folder.
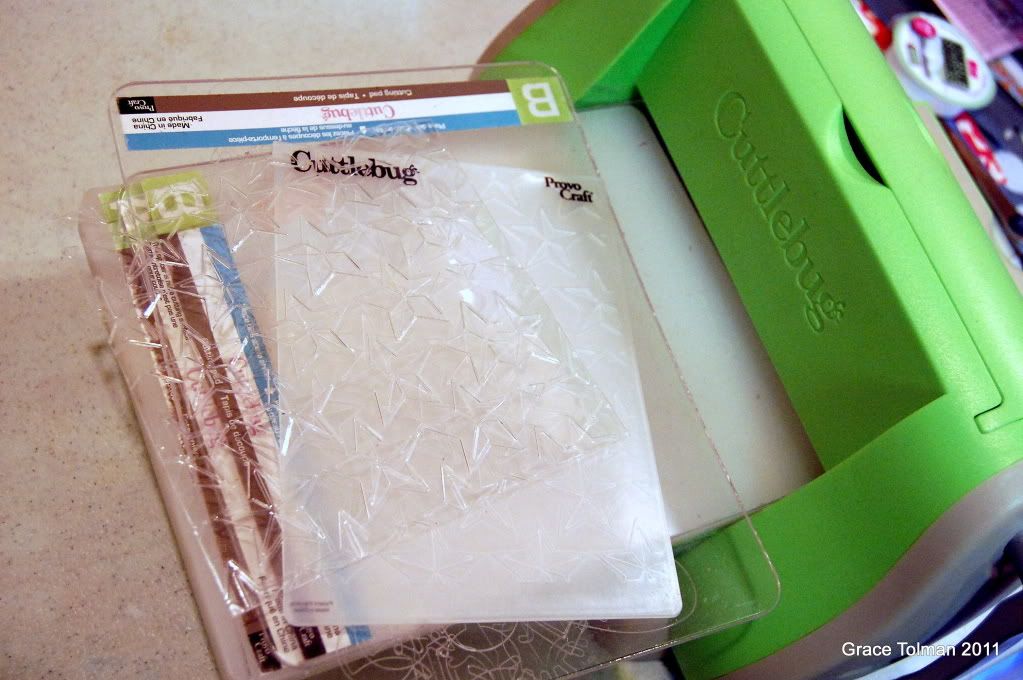
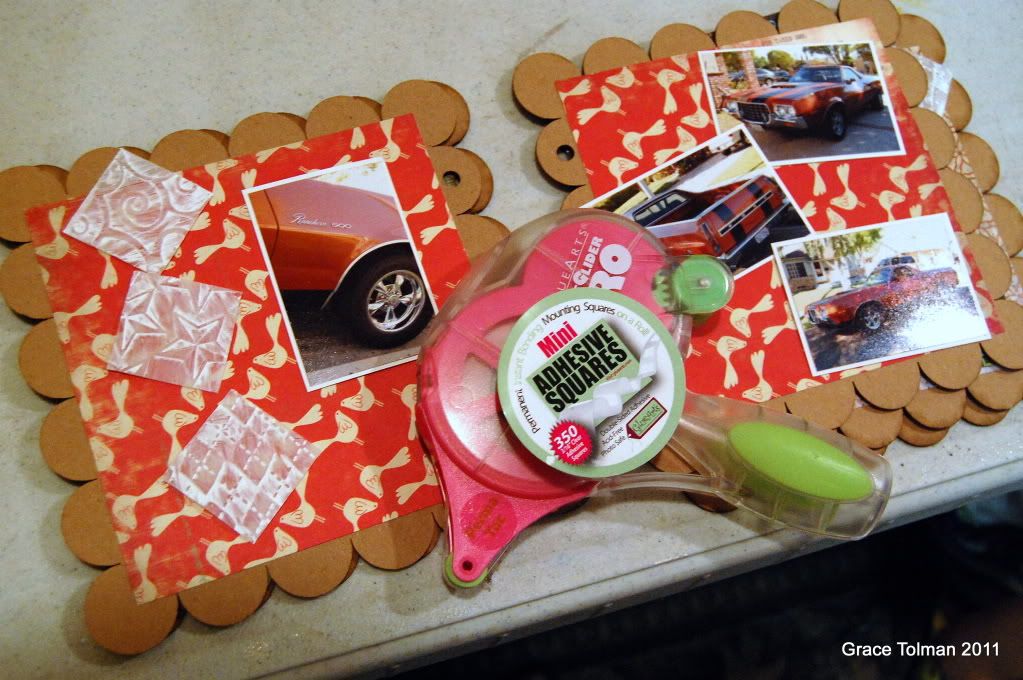
6. Cut out 14 2” squares from the acrylic sheet.
7. Dry emboss the sheets using the star, argyle and swirl embossing folders.
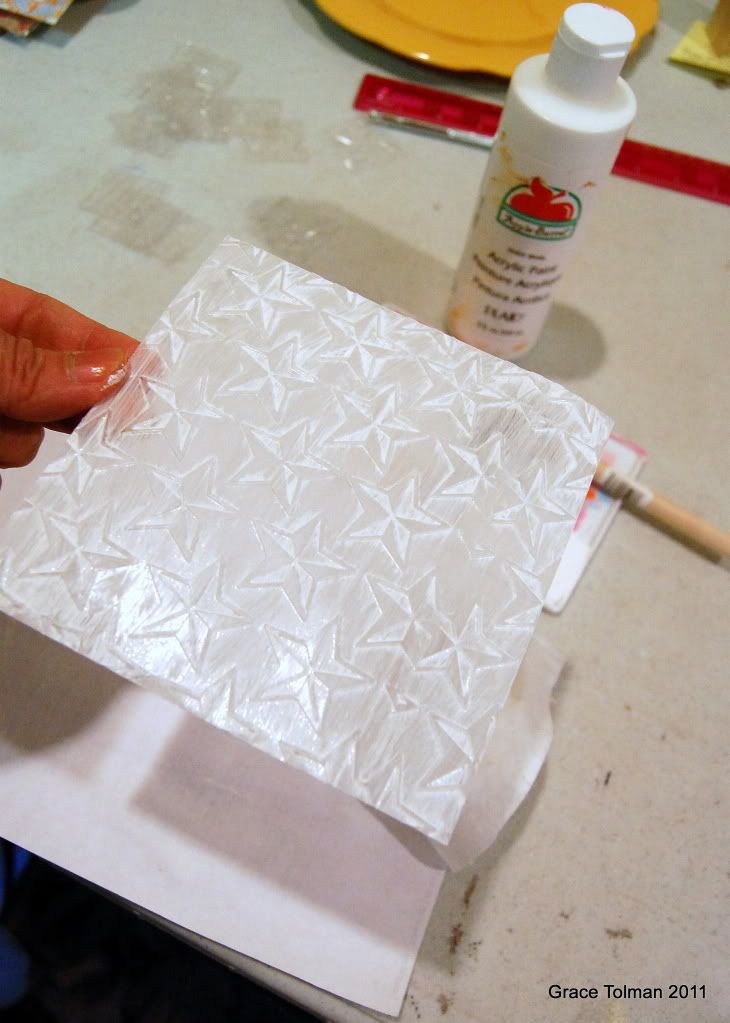
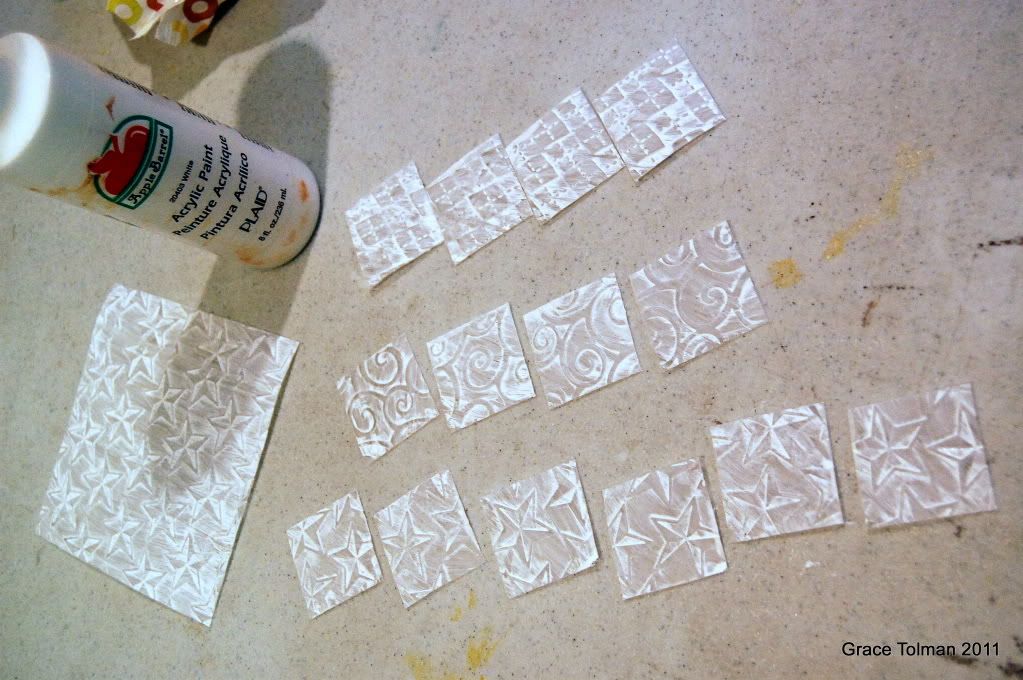
8. Add some color to the acrylic sheets by painting it white. Lightly wiping some of the paint off the acrylic will bring the images to the forefront. Do the same technique for all the acrylic blocks and let it dry completely before continuing.

9. I like to mat my photos and found that if I use my old paper blocks with white backs will save me money. I adhered them with Perma Tac.
10. Adhere the photos onto the mini album pages with Perma Tac.
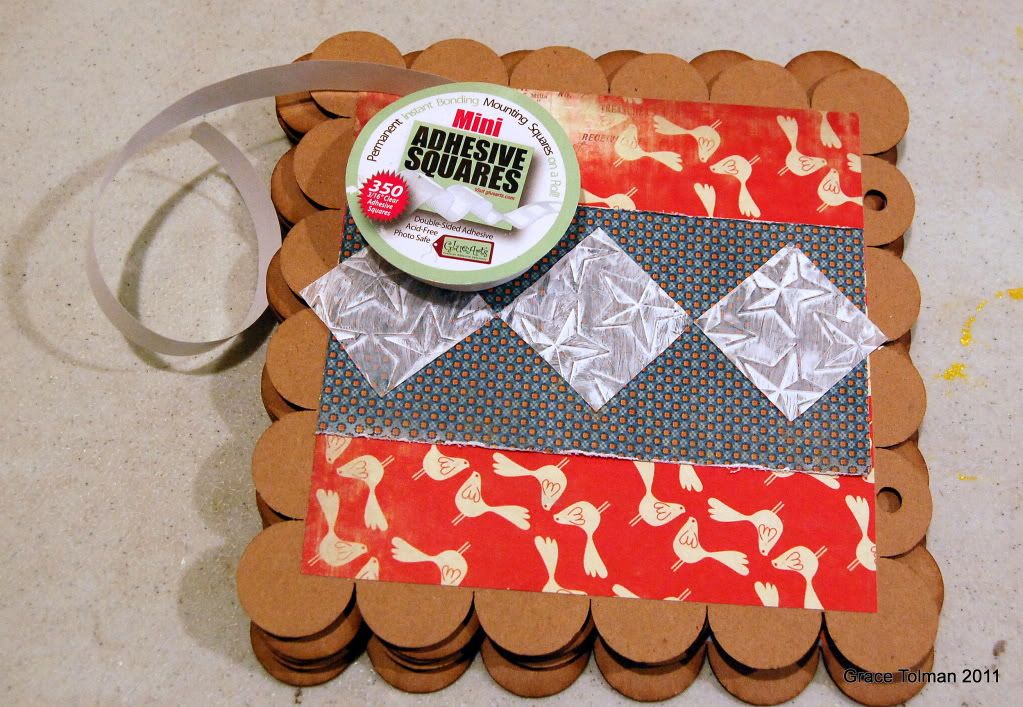
11. I wanted to adhere a 2 ½” strip of pattern paper onto the middle of the back page of the album. I distressed the edge of the paper first before adhering with Perma Tac.
11. I wanted to adhere a 2 ½” strip of pattern paper onto the middle of the back page of the album. I distressed the edge of the paper first before adhering with Perma Tac.
12. I then used some Mini Square adhesive to add the acrylic blocks onto the album. It’s a great adhesive to use which doesn’t show through the acrylic sheets.
13. Adhere a piece of white cardstock behind the black frame with mini square adhesive.
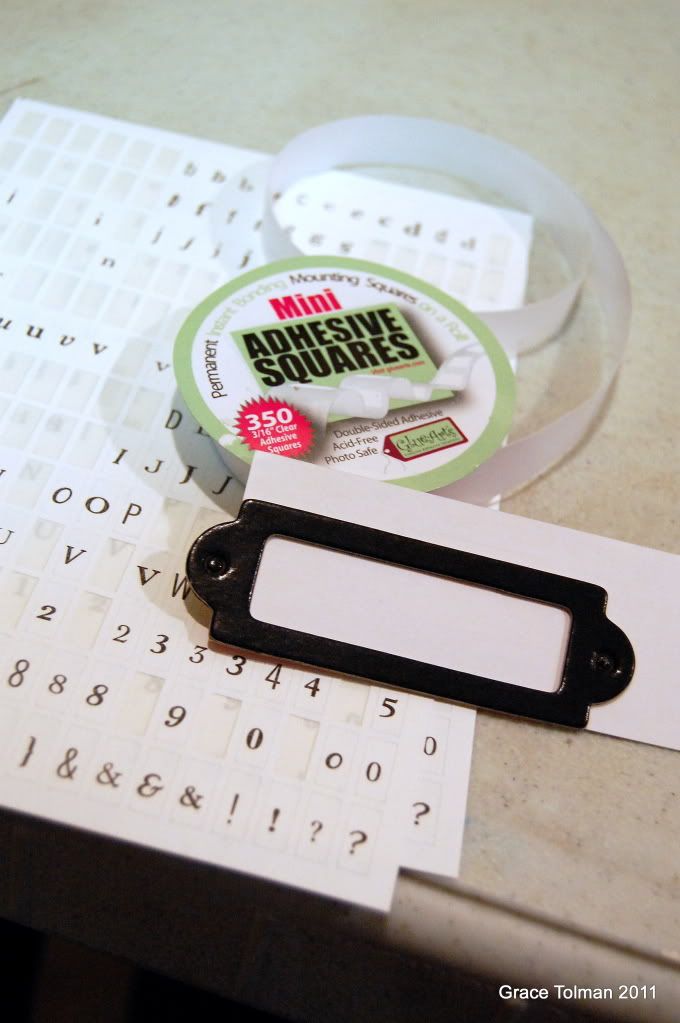
14. Because I was running out of specific letters from my pack, I altered some with white pen.
15. I then added my letters to the inside of the frame. I use a transparent ruler to add it so that it’ll come out straight.
16. I then used some square adhesive to add the big acrylic block onto the middle of the front page.
16. I then used some square adhesive to add the big acrylic block onto the middle of the front page.
17. Next, I used the ribbon adhesive to add a strip of ribbon onto the front of the album.
18. I then added some U Cut it foam adhesive on the back of the frame and added that to the album, along with a ribbon made with the same ribbon strip as earlier.
19. Then I added my letter stickers.
19. Then I added my letter stickers.
20. I continued decorating the front of the book with buttons.
21. I then added some pattern paper blocks with lines on them in the inside of the pages for journaling blocks.
21. I then added some pattern paper blocks with lines on them in the inside of the pages for journaling blocks.
22. Next, I worked on the back page of the album, adding some buttons and a pattern paper strip on the bottom.
23. I then hand wrote who made the book and when.
24. After placing the rings onto the book to bind it, I decided to add some black buttons on the corners of the acrylic sheet in the front as well.
Wow.....now you're thinking I CAN and WILL work with acrylic if it can be as beautiful and creative as this! And to help you make those projects GlueArts and Clear Scraps would like to give away some goodies! Just post a comment here on the blog and we'll pick a random winner next Monday!
Clear Scraps has provided a fun item or two for us to include for this week's giveaway! We have a Scalloped Tab Album and the Deco XL Shapes to give away!


Last for today...we'd like to ask you to go give a BIG GlueArts hello to Clear Scraps on their Facebook wall. Then visit our GlueArts Facebook wall and let us know you've done that! We're going to enter you to win a Clear Scraps Album, our Extreme Adhesive Squares and a 3D Combo Pac for being so kind!!
You have read this article Clear Scraps /
Extreme Adhesive Squares /
Extreme Adhesives Mini Sqaures /
Glue Arts Glue Gun /
Glue Gilder Pro /
Grace /
Jenny /
Perma Tac /
Ribbon Adhesive /
U Cut It Foam
with the title We're Back With More Clear Scraps!. You can bookmark this page URL http://skinnyminny22.blogspot.com/2011/06/we-back-with-more-clear-scraps.html. Thanks!


