

All week long we'll be sharing ideas and projects with you using our GlueArts U Cut It Foam!
GlueArts foam has quickly become a favorite amongst our Glue Girls for many reasons...one is clearly shown today.
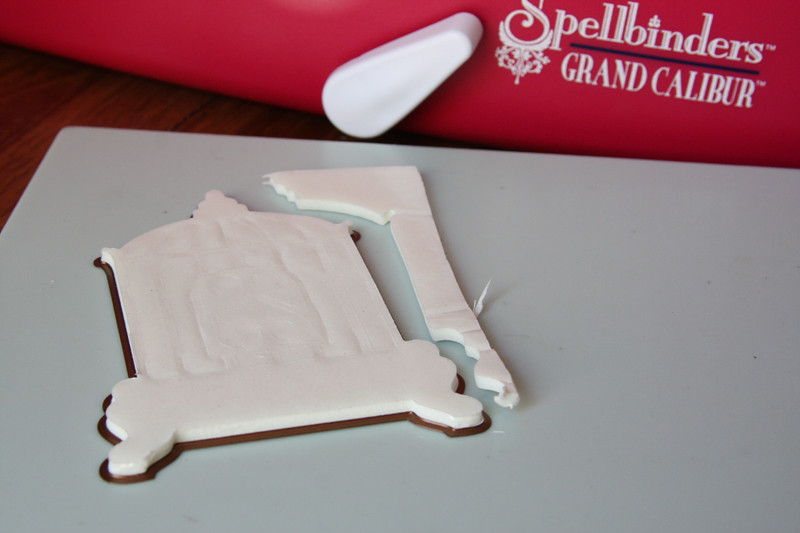
Designer Lesley Langdon shows just how easily you can run the U Cut It Foam through your die cut system and then yes....micro bead it to make a unique and beautiful card.

Forgiveness 5x7 Card
GlueArts Designer: Lesley Langdon
GlueArts Designer: Lesley Langdon
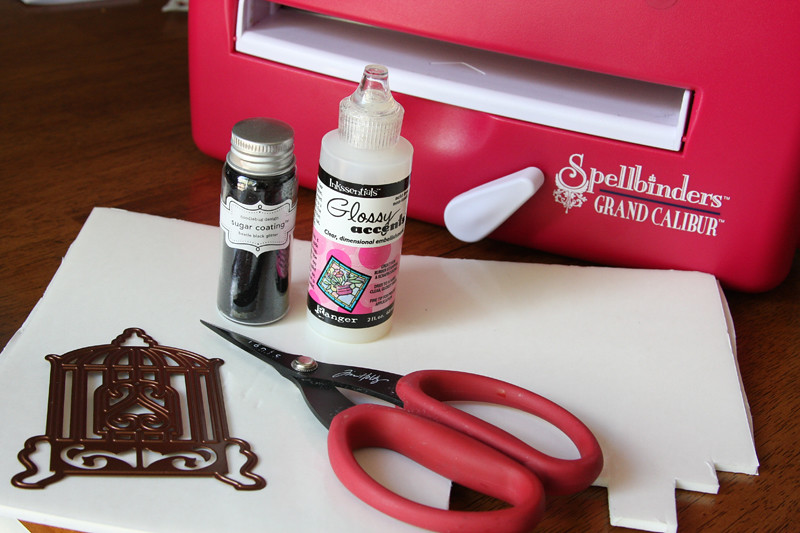
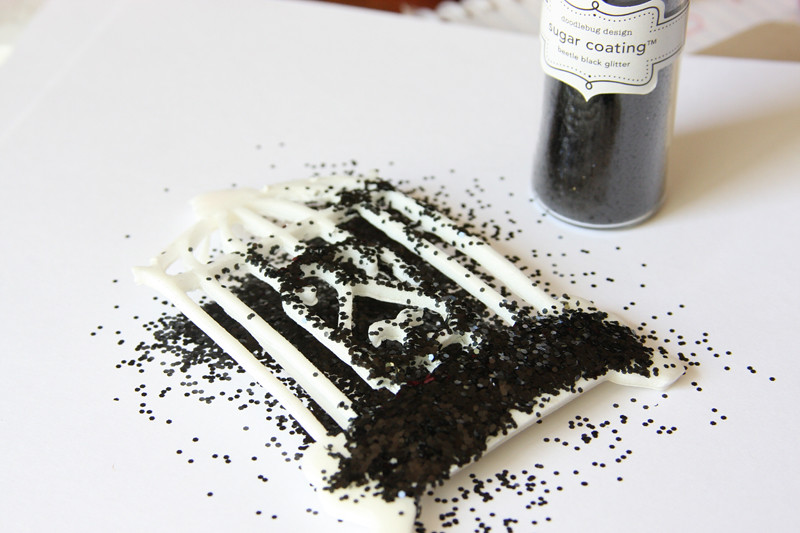
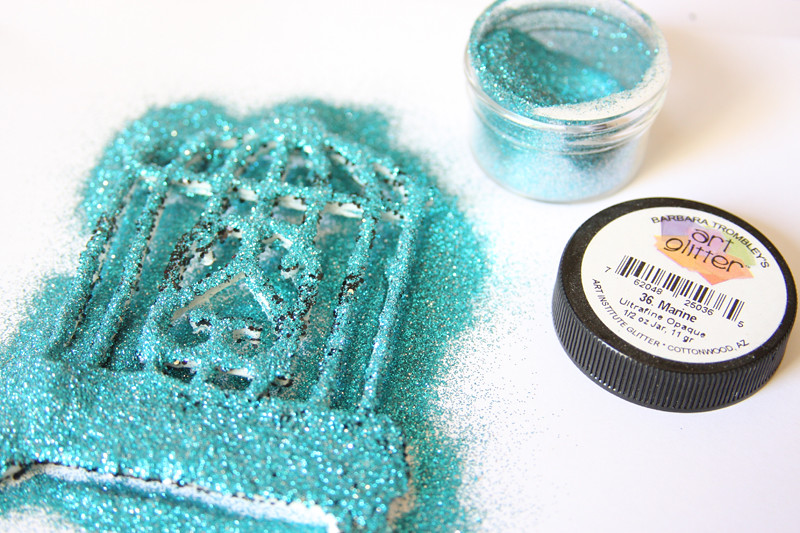
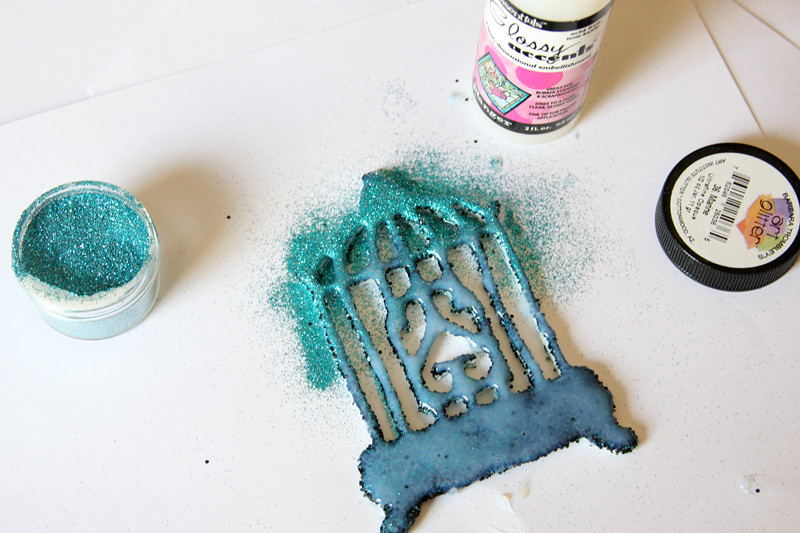
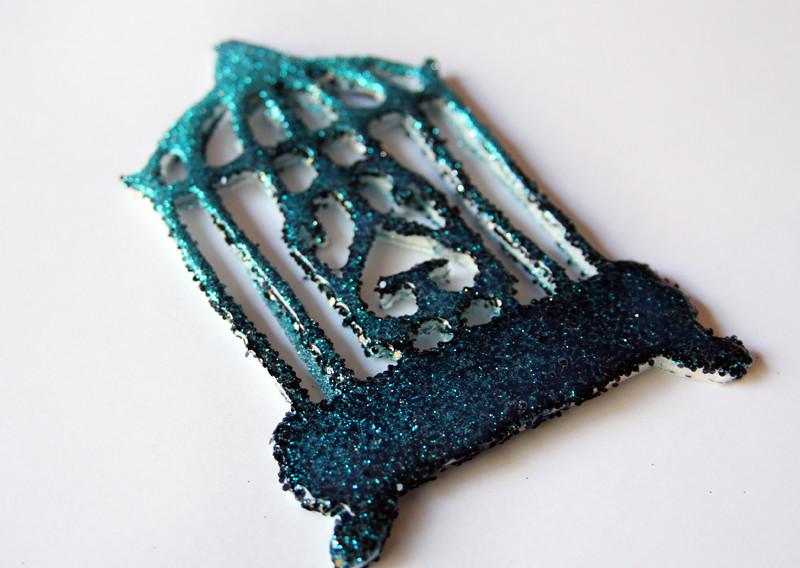
Designer Tip: I love Glue Arts U Cut It foam for all of its possibilities. I especially appreciate the larger 8.5x11 sheets that I can use to cut different shapes in my die cut machine. It can be inked, colored, glittered, or painted. Think about all the shapes it can be cut into, with scissors and die cut machines. It gives you immediate dimension with an adhesive on the back! For this project, I used a die template and two different glitters and Glossy Accents to make a dimensional bird cage.
Supplies:
Glue Arts U Cut It Foam
Glue Arts Glue Glider MAX (Perma Tac Adhesive)
Spellbinders Die Template (Bird Sanctuary)
Spellbinders Grand Calibur Die Cut Machine
Doodlebug Designs Beetle Black Glitter
Art Glitter Institute Marine Glitter
Ranger Glossy Accents
Bo Bunny Patterned Paper (Gabrielle)
Clearsnap Ink (Blue Lagoon)
Ranger Distress Inks (Tattered Rose, Victorian Velvet)
Memories Black Ink by Stewart Superior
Unity Stamp Co. (Love Never Fails - sentiment, Carte Postale - bird, Advent - sentiment)
Singer Sewing Machine
White Cardstock
Instructions:
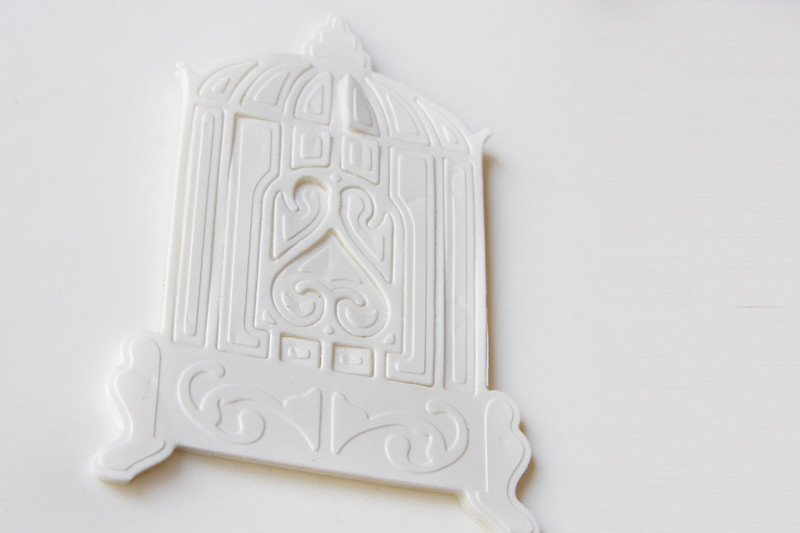
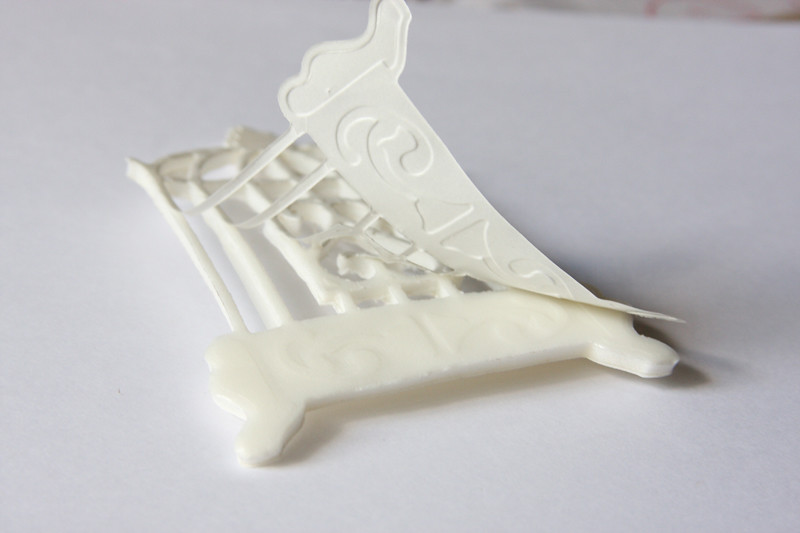
6. Adhere the glittered and glossed U Cut It bird cage.
How would you use our U Cut It Foam? What kind of project do you have in mind?

Simply post a comment here on our blog and we'll enter you to win our 3D Combo Pack filled with our 4 by 4 sheets of our U Cut It Foam along with our Raisen's (that we know you'll love too!) plus we'll include our full 8 1/2 by 11 sheet of our U Cut It Foam...perfect for running through your Sizzix and other die cut systems. And last we would like you to try out our Extreme Adhesive Squares. We'll pick one random winner next Monday to enjoy the goodies!
You have read this article Glue Glider Max /
Lesley /
Perma Tac /
U Cut It Foam
with the title GlueArts U Cut It Foam For Beautiful Cards!. You can bookmark this page URL http://skinnyminny22.blogspot.com/2011/08/gluearts-u-cut-it-foam-for-beautiful.html. Thanks!