

Especially when you fill it with sweet treats like we have for you today!
Designer Andrea Budjack has the sweetest treat that we guarantee not to give you a cavity. Andrea used a paper mache cupcake box that now looks good enough to eat! GlueArts Ribbon Adhesive helps make sure everything stays put where it belongs!
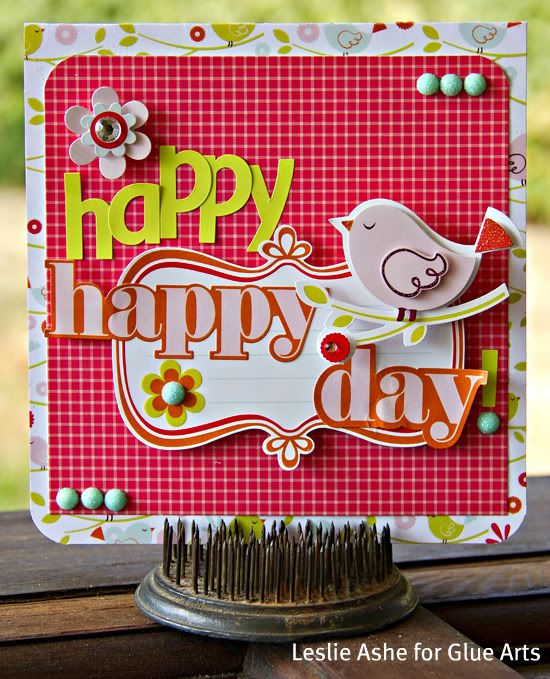
Designer Leslie Ashe has not one, not two but three absolutely over the top cards that would make any one's day a happy one when they receive these! Leslie chose GlueArts Glue Glider Pro with High Tac to help make these beauties!

Fabulously Sweet Treat Box
GlueArts Designer: Andrea Budjack
Supplies:
Glue Arts Pro Glide Perma Tac
Glue Arts Ribbon Adhesive
Glue Arts Glue Gun
Pebbles - stickers, brads, paper, trims
Flower Soft
Papertrey Ink - die
Ceramcoat - paint
Craft Glue
1. Paint top of cupcake box.

2. Cut, sew, and ink edges of paper and adhere to bottom of box using Glue Arts Pro Glide Perma Tac.

3. Using Glue Arts Ribbon Adhesive, adhere trim around the top of the bottom box. Repeat for a second layer.

4. Apply craft glue to top of box (painted portion) and add Flower Soft.

5. Die cut label and mount to back side of sticker. Ink edges, punch hole and add baker's twine.
6. Using Glue Arts Glue Gun, ahere embellishments to top of cupcake box.


Pebbles Card Trio
GlueArts Designer: Leslie Ashe
Glue Glider Pro w/High Tac cartridge
Adhesive Squares
3D U Cut It Foam
Pebbles Happy Go Lucky
Other: punches & border punches (EK Success, Fiskars), cardstock (American Crafts)
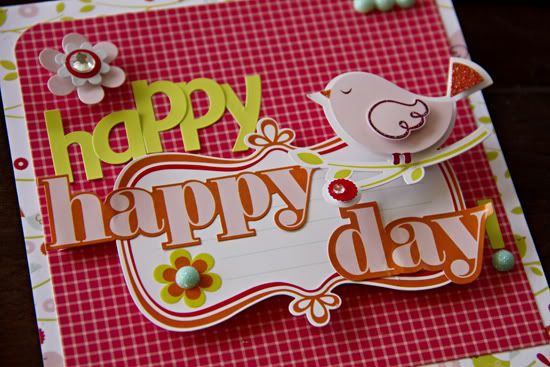
1) Happy Happy Day: card measures: 5 1/2" x 5 1/2"
Directions:
-cut patterned paper 5 1/2" x 11". Fold, score & round bottom edges.
-cut patterned paper 5" x 5" and adhere to center of card
-apply journal sticker block in center of both papers, using 3D foam adhesive
-apply the "happy" sticker to top left
-apply the "day" sticker to bottom right
-add the bird embellishment to top right
-using letter stickers, add "happy" to top of first "happy"
-add turquoise jewels to center of flower and in 3's to top right of card and bottom left of card
-add flower above the letter sticker "happy"
2) Fabulous: - card measures: 5 1/2" x 6"
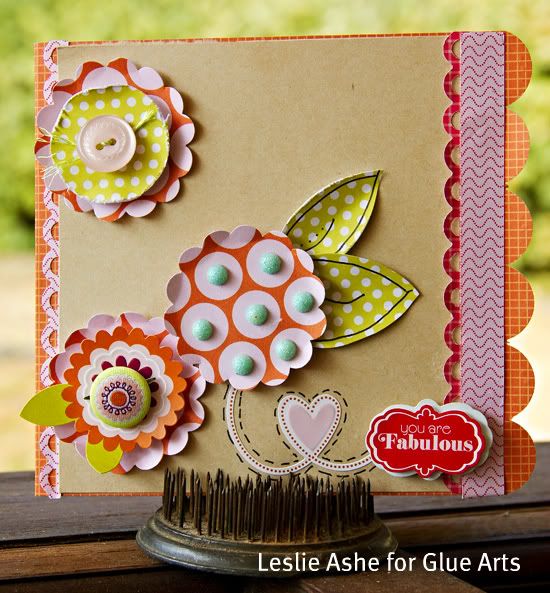
Directions:-cut patterned paper 5 1/2" x 12". Fold, score & using border punch, punch edge.
-trim cardstock 5 1/2" x 5 1/2" and adhere to center of card
-using scallop circle punch (1"), punch out 3 scallop circles & bend up edges slightly
-using 1/2" circle punch, punch one circle
-adhere circle to top of scallop circle, using 3D adhesive foam
-adhere button to top
-adhere circle "flower" to top left of card
-adhere 2nd circle "flower" to middle, towards bottom
-add turquoise gems to centers of circle
-hand cut leaves from patterned paper & adhere under 2nd flower
-adhere 3rd flower to bottom left & place flower sticker on top.
-adhere flower brad to center of flower
-place swirl sticker with heart under 2nd flower
-using border punch, punch border and place to right side of card, near scallops. Also place to elaft side of card, under cardstock slightly.
-place border strip (located on patterned paper barcode side) on border punched strip, close to scallop edge of card
-place "you are fabulous" sentiment on bottom right side of card

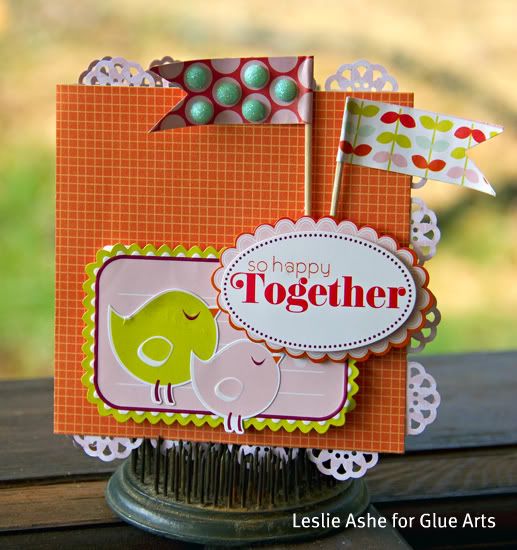
3) So Happy Together: - card measures 4 1/2" x 4 1/2"
Directions:
-trim patterned paper 4" x 8" fold & score.
-using border punch, punch a strip of a design, cut out and place all around edge of card
-place journaling sticker to bottom center of card
-add birds to center of sticker
-add "so happy together" to top right
-add flags under "so happy together"
-on polka dot flag, place turquoise gems
WOW!
Talk about talented Designers! Andrea and Leslie are so inspiring and we hope you feel the same!

Pebbles has generously provided us with a beautiful kit of supplies that we would like to give to YOU!

Simply leave us a comment today and we'll enter you to win this beautiful kit along with our Glue Glider Pro, our Mini Adhesive Squares and our Ribbon Adhesive!
We also invite you to stop by the Pebbles Blog! Our July Guest Designer, Lynn Ghahary coordinates their Design Team and blog!
Be sure to stop by and let them know GlueArts sent you by!
We'll pick one random winner next Monday to win this prize! Be sure to tune in tomorrow and Friday for more ideas with Pebbles and GlueArts!
You have read this article Andrea /
Glue Gilder Pro /
Hot Glue Gun /
Leslie /
Pebbles /
Perma Tac /
Ribbon Adhesive
with the title Life Is Fabulously Sweet With GlueArts & Pebbles!!. You can bookmark this page URL http://skinnyminny22.blogspot.com/2011/08/life-is-fabulously-sweet-with-gluearts.html. Thanks!


