

All week long we've shared with you summery ideas for using the Echo Park Paper Splash Collection.
The Splash kit is filled with fun summer prints, stickers, diecuts and more!
Today's projects hold special summer keepsakes. Those special memories of days at the beach, trips to the local snow cone stand, playing outdoors and much more!
Both Lisa and Grace found unique and special ways to preserve those memories with GlueArts Adhesives and Echo Park's Splash Collection!


Summer 2011 Mini Album
GlueArts Designer: Lisa Day
GlueArts Designer: Lisa Day
Supplies:
Echo Park Splash collection
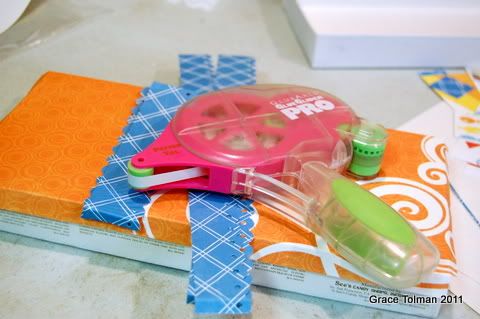
Glue Arts PermaTac adhesive and Glue Glider Pro
Glue Arts Raisen's
Glue Arts U-Cut it Foam
2" Binder Rings
2 hold paper punch
Chipboard
Instructions:
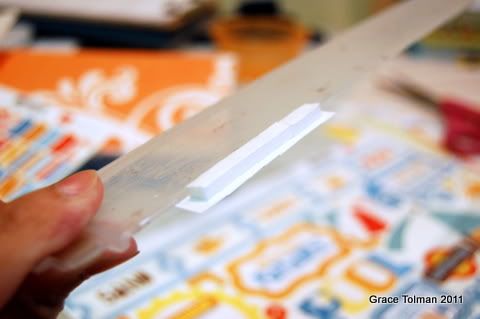
Step 1: Cut a variety of Echo Park papers into 4x6 pieces, plus 2 4x6 pieces of chipboard. Using a 2 hole paper punch, punch holes into the side of your paper.
Echo Park Splash collection
Glue Arts PermaTac adhesive and Glue Glider Pro
Glue Arts Raisen's
Glue Arts U-Cut it Foam
2" Binder Rings
2 hold paper punch
Chipboard
Instructions:
Step 1: Cut a variety of Echo Park papers into 4x6 pieces, plus 2 4x6 pieces of chipboard. Using a 2 hole paper punch, punch holes into the side of your paper.

Step 2: Adhere a 4x6 piece of paper to the front of one piece of the chipboard, using PermaTac. Then add some U-Cut It foam to the back of some stickers to add to the cover.

Step 3: Adhere your foam stickers to the cover. Add a title and eyelets in the holes.
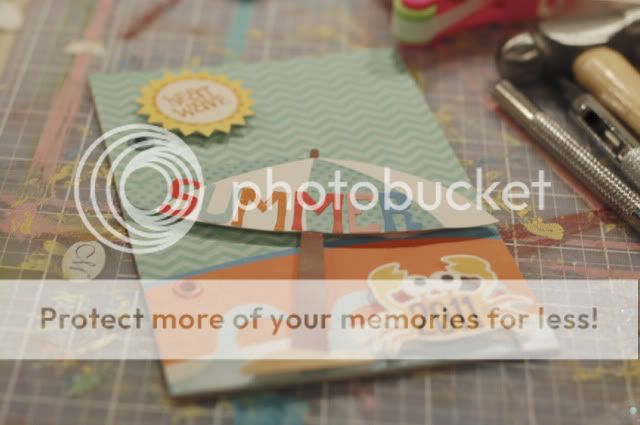
Note: I planned on adding a bunch of pictures and journaling to the inside of my mini to highlight our summer memories, but my photo printer broke last night. I'll have to add those later.
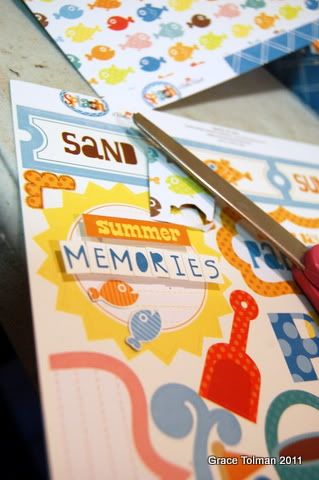
Step 4: Print off your journaling tags and adhere to the inside right page of your mini. On this first page I cut out some fish and adhered them to the bottom of the journaling page with Glue Arts Raisens.
Step 4: Print off your journaling tags and adhere to the inside right page of your mini. On this first page I cut out some fish and adhered them to the bottom of the journaling page with Glue Arts Raisens.

Step 5: I added some U-Cut It Foam to the back of these stickers and adhered them to the journaling tags.


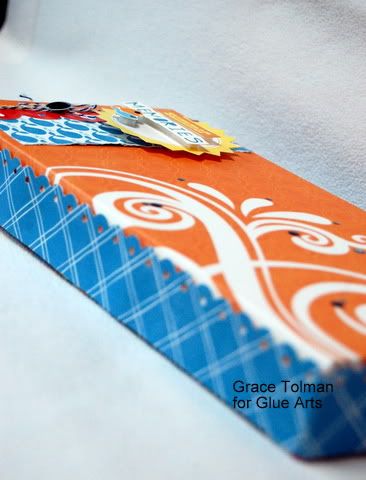
Summer Memories Box and Mini
GlueArts Designer: Grace Tolman
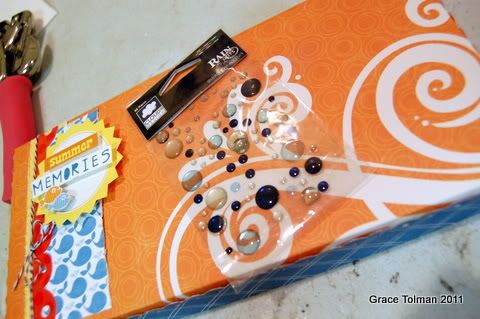
Pin ItSometimes we just need a memory box to preserve our wonderful summer memories. Today I want to share with you an easy altered recycled box that will hold your precious memories of the season. I also added a mini to the project so that the memories will be preserved in words as well.
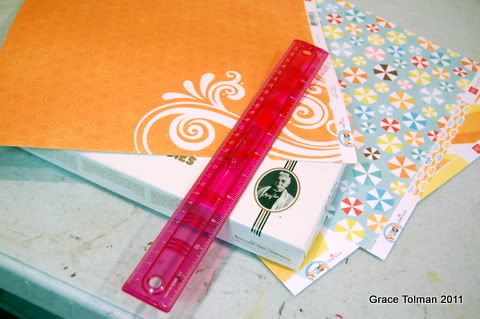
Supplies:
Glue Arts Perma Tac
Glue Arts U Cut it Foam
Glue Arts Extreme Adhesive Squares
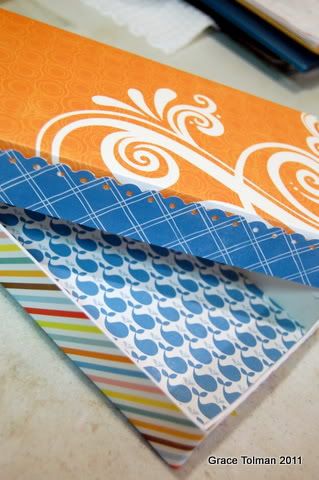
Cardstock- The Paper Studio
Pattern papers and stickers- Splash, Echo Park
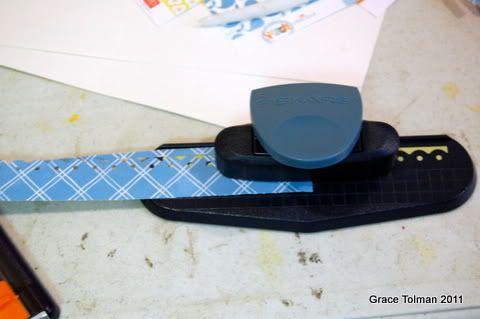
Border punch- Fiskars
Baker’s twine- Papertreats.etsy.com
Raindonts- Cloud 9 DesignBox- recycled chocolate box

Instructions:
1. Gather your supplies.
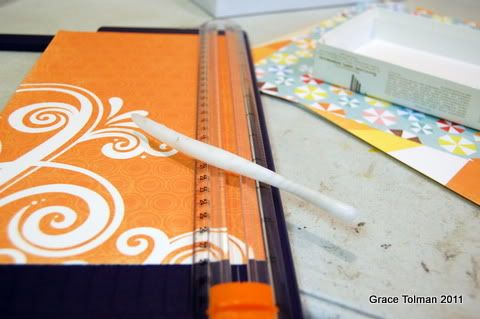
2. Measure the box (top and sides) and cut your paper ½” bigger than the measurements.
3. Score the extra ¼” on each sides of your cut paper. This will make the paper go over the edges which will give it a much finished look at the end.
4. For the sides, add a punched border on one edge before adhering to the box.
5. Cover the sides of the inside box with pattern paper. Cut a piece of paper that will go on the bottom inside of the box and adhere.
6. Decorate the front of the box with paper and stickers.

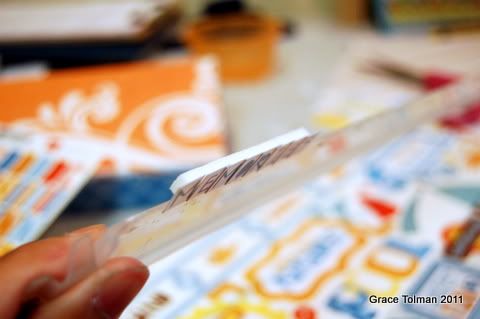
7. I wanted to raise my itty bitty letter stickers but didn’t want to go through the hassle of adding foam adhesive on each one, so I placed the edges of the sticker on my flexible ruler and then added a long strip of sticker enough to cover the back of all the letters then adhered that to my project.
8. I also cut out some small fishes in one of the pattern paper, added foam adhesive to the backs of them and added them as embellishment to my title block.
9. I punched a hole on the sides of the box and threaded some baker’s twine through it a couple of times and tied in the front.

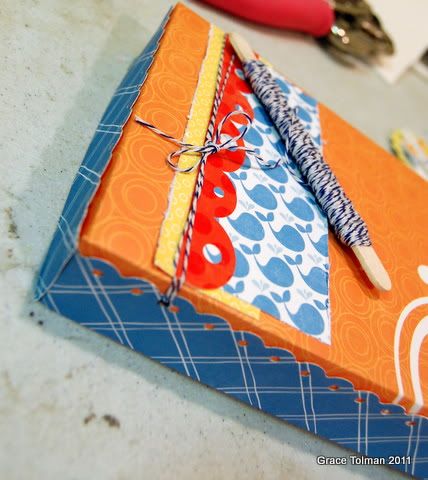
10. To add texture to the swirl pattern on my paper, I added some rain dots.
11. To make the mini, I started with cutting cardstock into a strip sizes 4” x 12” and then folded them every 3” to make the accordion folds. I made two of these.
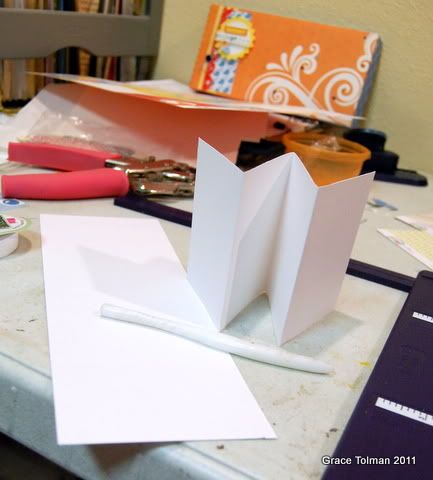
12. Next, I put them together with some Perma Tac Adhesive.
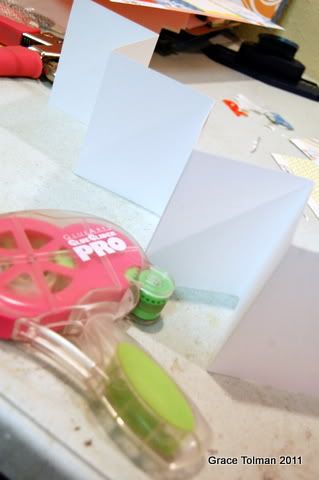
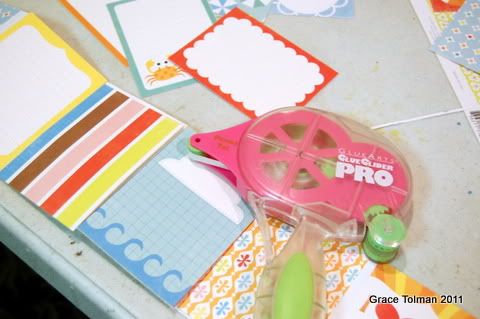
13. I then cut out some journaling blocks and more pattern paper that will cover my cardstocks and adhered them with some more perma tac.
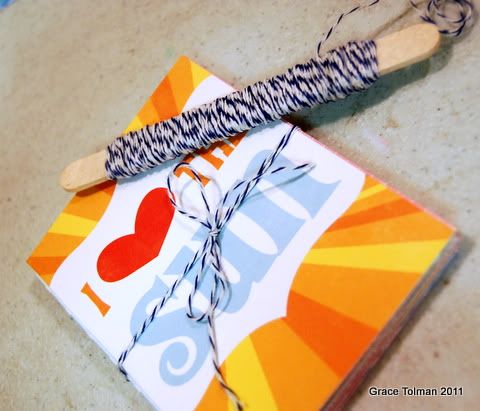
14. I tied the whole mini with some more baker’s twine.
Now you're ready to craft aren't you? This has been an amazing week filled with inspiration AND ideas! But we're not done yet! We still have one more day to share with you a few ideas!
Today we invite you to post a comment...what's is your favorite Echo Park Paper collection? We'd love to hear and to thank you for posting, we'll enter you to win the Echo Park Splash Collection Kit...

It's filled with summery fun prints, alphabet stickers and more! And to help you recreate today's projects we're also going to include our Glue Glider Pro and our Extreme Adhesive Squares. But wait...you know it's Friday and well we're feeling a bit generous and thankful to all of you...so let's add in our MUST HAVE GlueArts 3D Combo Pac! We know you'll love it!

Post a comment here and we'll announce the winner on Monday! See you back here tomorrow for our final day of Echo Park Paper's Splash Collection!!
You have read this article Echo Park Paper /
Grace /
Lisa
with the title Summer Love with Echo Park and GlueArts!!. You can bookmark this page URL http://skinnyminny22.blogspot.com/2011/08/summer-love-with-echo-park-and-gluearts.html. Thanks!


