

We're excited to partner up with a new company....Paper Smooches!
Paper Smooches is the brain child behind the creative genius of Kim Hughes.
Kim has long been apart of the crafting, scrapbooking and cardmaking industry and turned her talents toward designing her own whimsical stamp line!
We present to you....Paper Smooches!

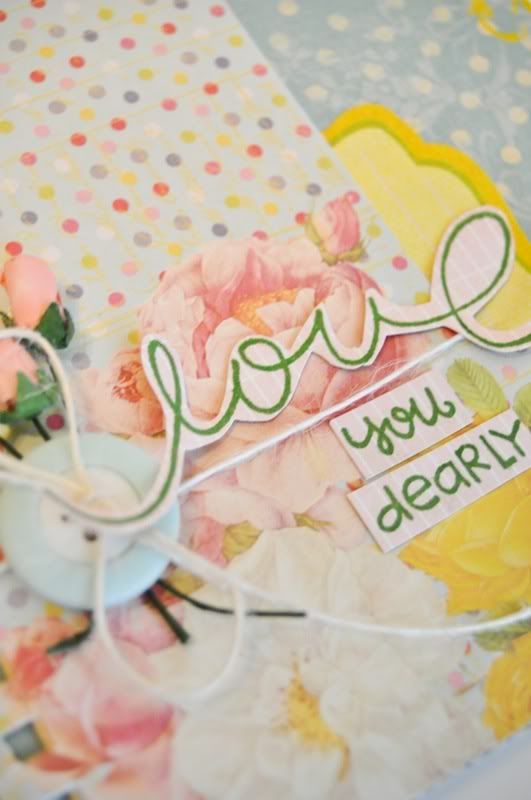
Up first...this smoochy sweet card by GlueArts Designer Jenny Chesnick! Jenny fussy cut her stamp sentiment out and then used our GlueArts Extreme Mini Adhesive Squares for adhering the button to her card. Designer Patti Milazzo stamped and then paper pieced her lightning bug for a knock out look and then used our GlueArts U Cut It Foam to give it the perfect lift!

Love you Dearly Card
GlueArts Designer: Jenny Chesnick
Supplies:
Glue Glider Pro Perma Tac
Extreme Mini Squares
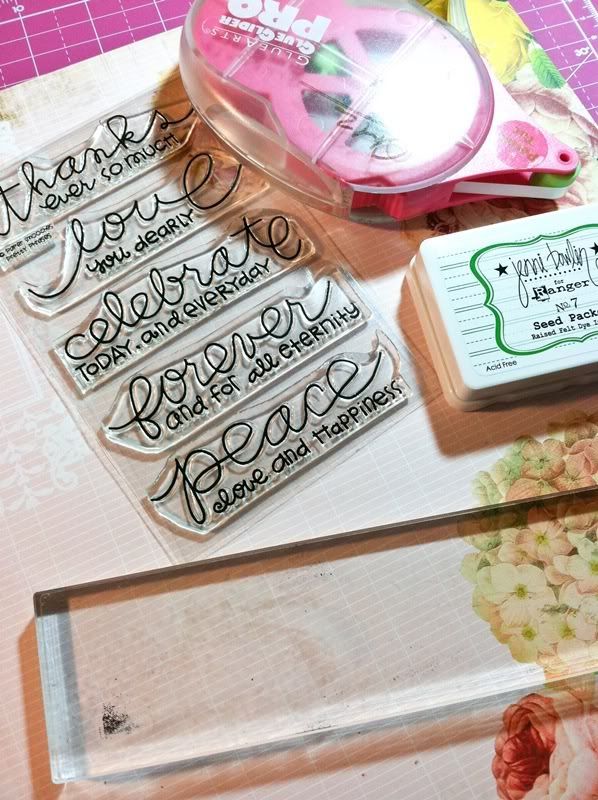
Stamp by Paper Smooches
Pattern Paper, Sticker & Notepad by Pink Paislee
Twine by American Crafts
Button by Pebbles
Ink by Jenni Bowlin
Flowers by Melissa Frances
Glue Glider Pro Perma Tac
Extreme Mini Squares
Stamp by Paper Smooches
Pattern Paper, Sticker & Notepad by Pink Paislee
Twine by American Crafts
Button by Pebbles
Ink by Jenni Bowlin
Flowers by Melissa Frances
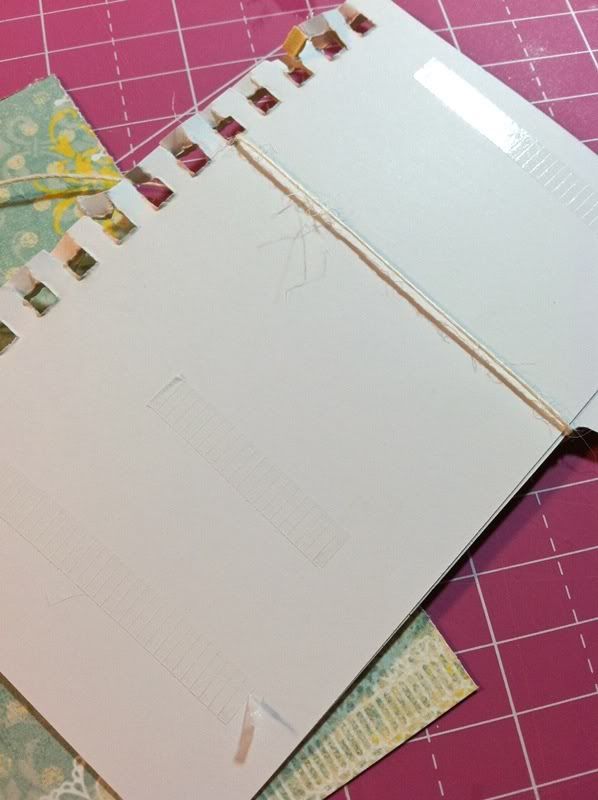
1. Start by cutting your base of your card to 5x5. Take two sheets from your notepad and layer then together and attach using Perma Tac.
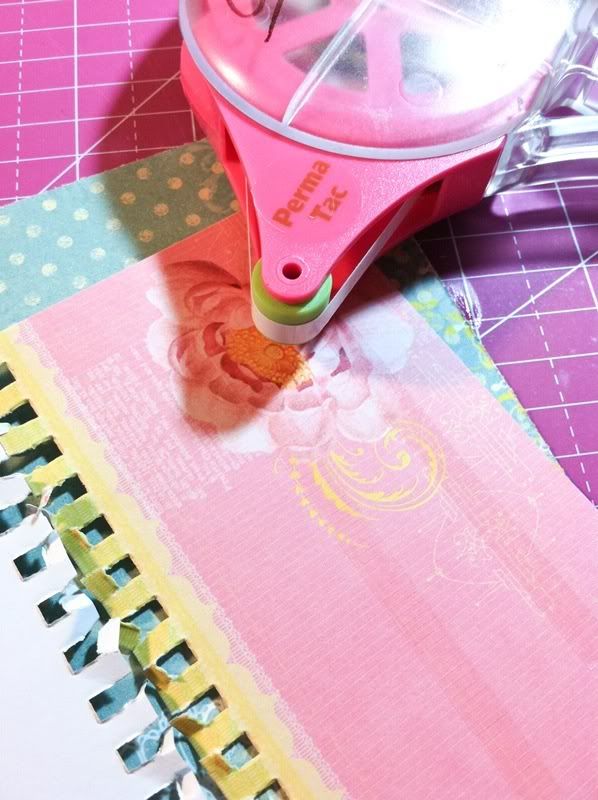
2. Before you attach your notepad piece to your card base you will want to wrap your twine around your notepad piece. Run your twine through your button and attach using Mini Extreme Squares.

3. Using Perma tac attach your notepad piece to your card base.
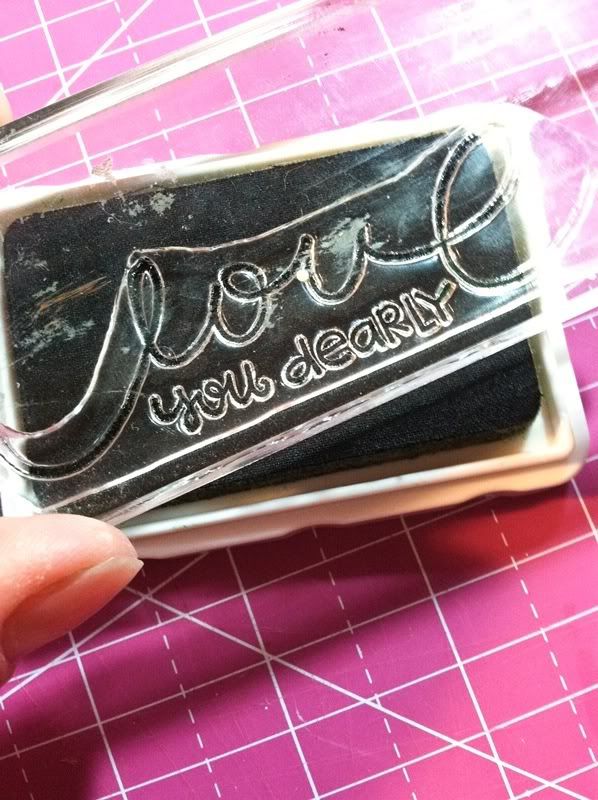
4. Next using an acrylic block and your ink stamp your sentiment. As you can see the image comes out clean and clear, just as it should be

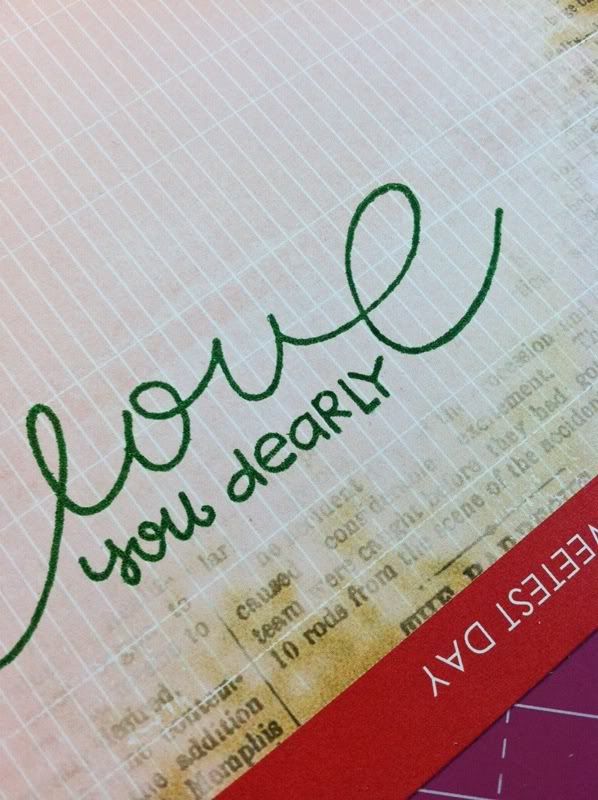
5. I chose to fussy cut my stamp sentiment out. You could also stamp directly to your card if you prefer.
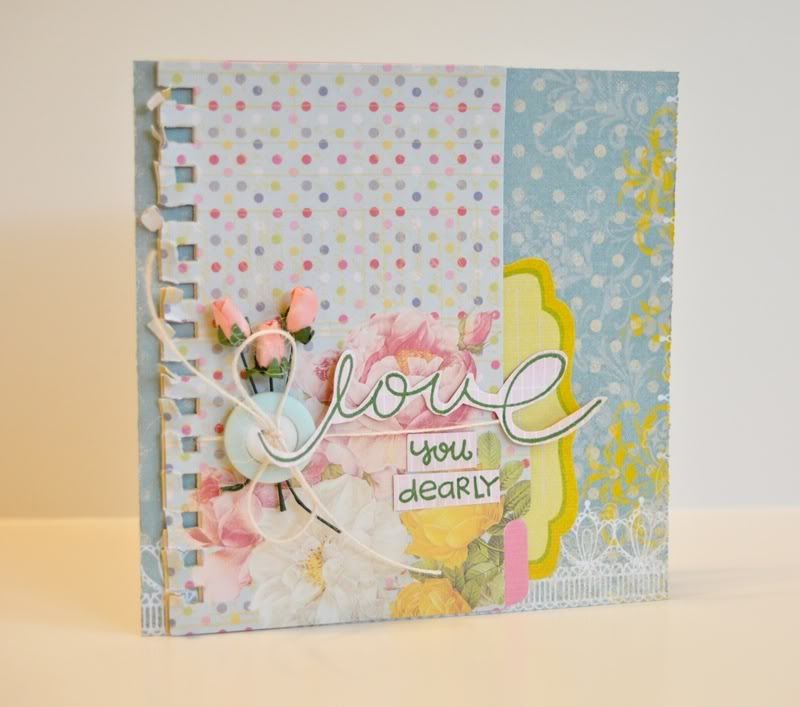
6. To finish I tucked in some sweet roses behind my button.
“You Make My Life Brighter” Card
GlueArts Designer: Patti Milazzo
Supplies:
Glue Arts:
Glue Glider Pro with 1/4 Perma Tac Cartridge Refill - Pro
Mini Adhesive Squares
U-Cut-It Adhesive Foam
Raise ‘Ns
Paper Smooches Stamps:
Giddy Bugs Stamp Set
Sentiment Sampler Stamp Set
Other: Echo Park – Splash and Sweet Summertime pattern papers
Versamark Ink or other clear embossing ink
Instructions:
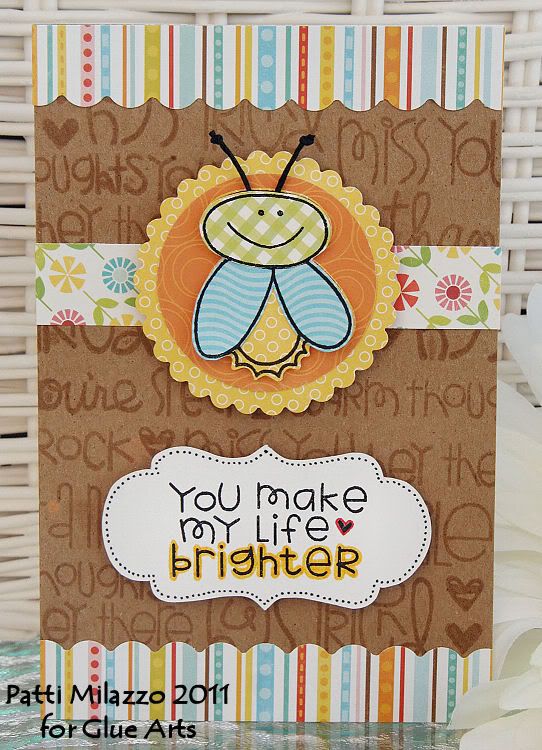
1. For the background of my card I used one of my favorite and simplest stamping techniques, watermarking. By using a clear embossing ink the watermark technique deepens the shade of the background paper of your stamped image(s). I love the subtle look of it and it turned out to be a great way to use a bunch of these cute Paper Smooches Stamps on the background of my card. I started by cutting a piece of kraft cardstock to 4.5” x 6.5”. I lightly drew a few pencil lines across the kraft cardstock piece to serve as a guide to keep my stamping straight.
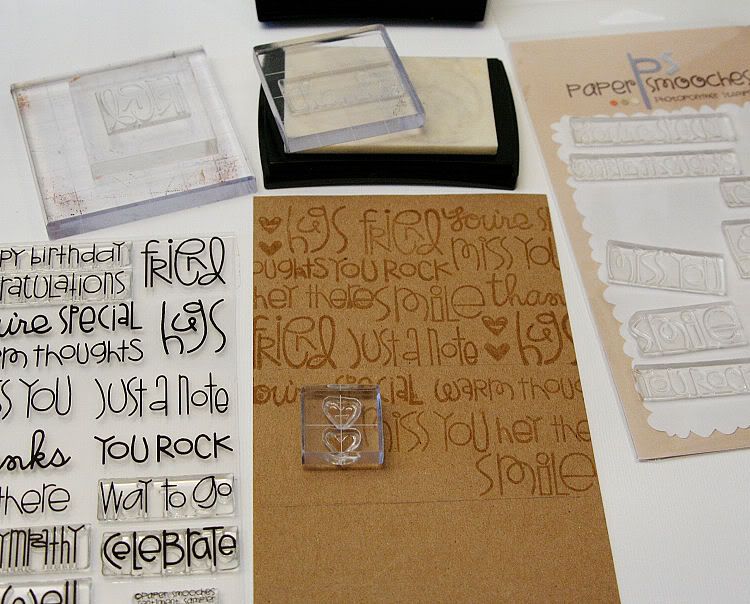
2. Then I created a sort of “word collage” from a mix of sentiments found in both Sentiment Sampler and Giddy Bugs sets. I started stamping in the middle and worked my way across and then up with each word or phrase. I let some of the words trail off the cardstock and tried to keep the pattern as random as possible. Once I’d completed the top, I then worked my way down. Along the way, be careful to keep your fingers free of the ink or you’ll end up with fingerprints stamped on your project too! Set aside and let dry completely and later be sure to erase any remaining pencil lines.
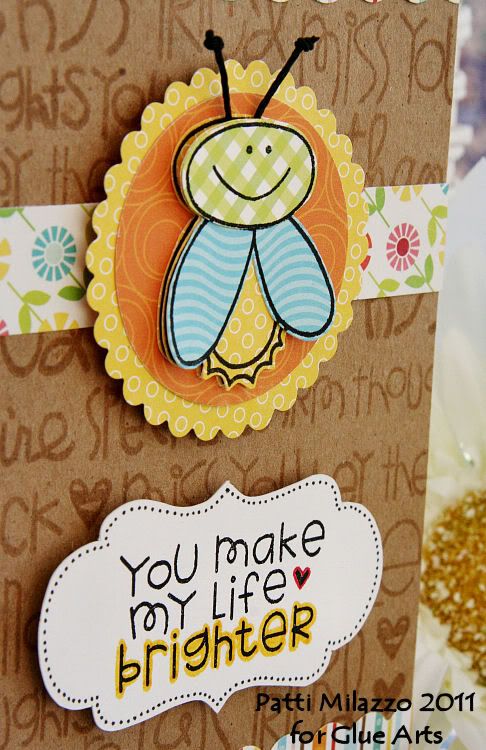
3. To create the paper pieced lightning bug/firefly, stamp with black ink the image onto 3 brightly colored pattern papers. At this time, I also stamped the sentiment inside a small journal shape that I’d traced onto white cardstock and punched out 2” and 2.5” circles (one with a scalloped edge) to frame the firefly.
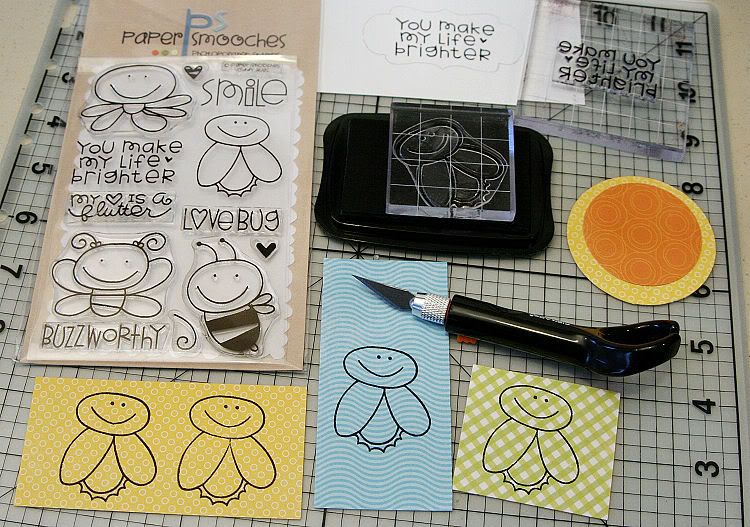
4. I then used a craft knife to cut out each yellow body (whole) and then the wings (blue) and head (green).
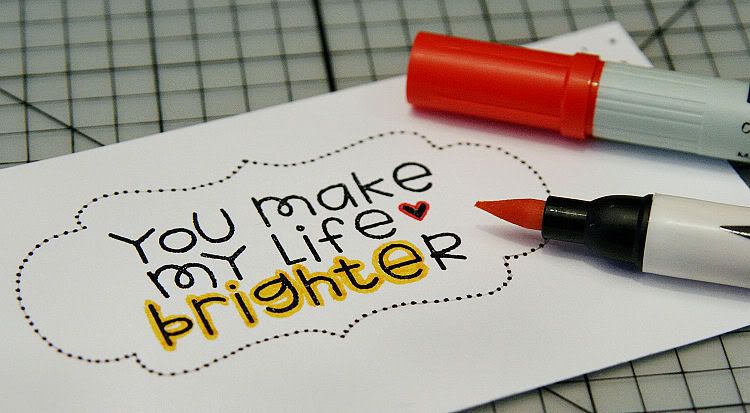
5. I dotted the outline of the journal shape with a black fine tip marker and added a bit of color to the word “brighter” and the heart. I cut this out as well with a craft knife.
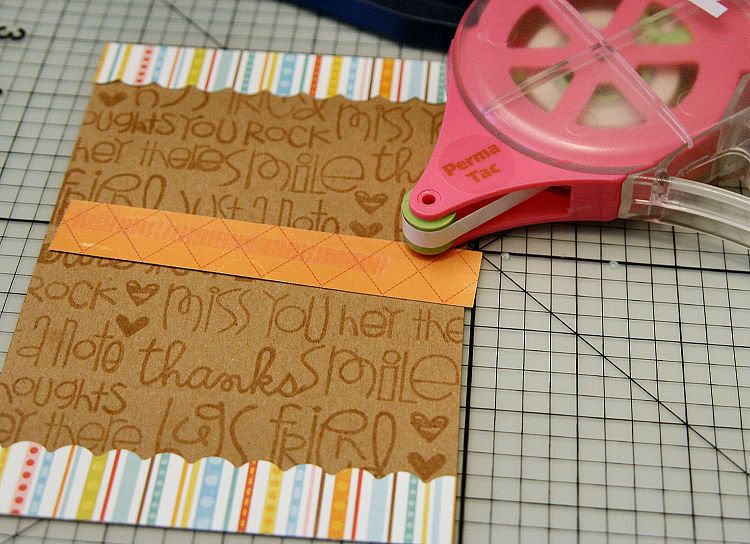
6. To finish the card front, I border punched 2 strips of striped paper and used the Glue Glider Pro with High Tac Adhesive to adhere the scallop strips to the top and bottom of the stamped kraft paper. I also used High Tac on the 1” strip that would be positioned across the card near the center.
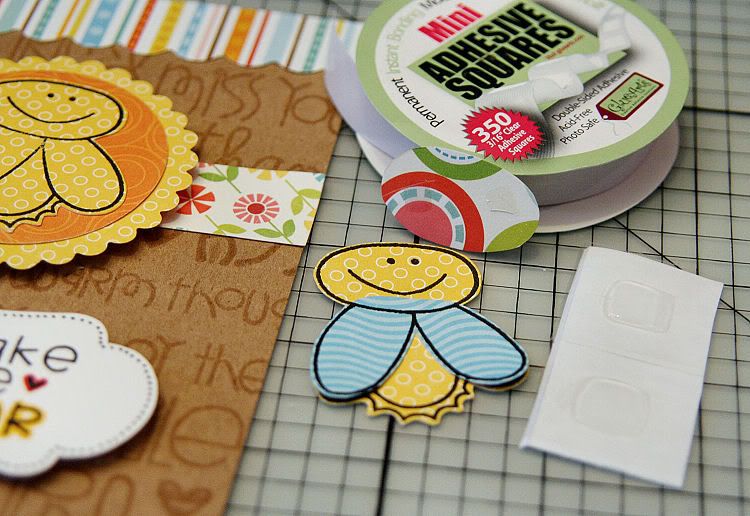
7. I adhered the 2 punched circles together with High Tac and adhered one of the yellow firefly bodies to the front. I applied pieces of U-Cut-It Adhesive Foam to the back of this and behind the cut sentiment shape and adhered them to the card front with the scalloped circle in the center of the flower print strip and the sentiment just below.

8. To paper piece the firefly, I used Mini Adhesive Squares to adhere the wings to the other yellow body and to adhere the head on top. For a little bit of dimension, I used Raise ‘Ns to adhere the paper pieced firefly on top of the one on the circle.
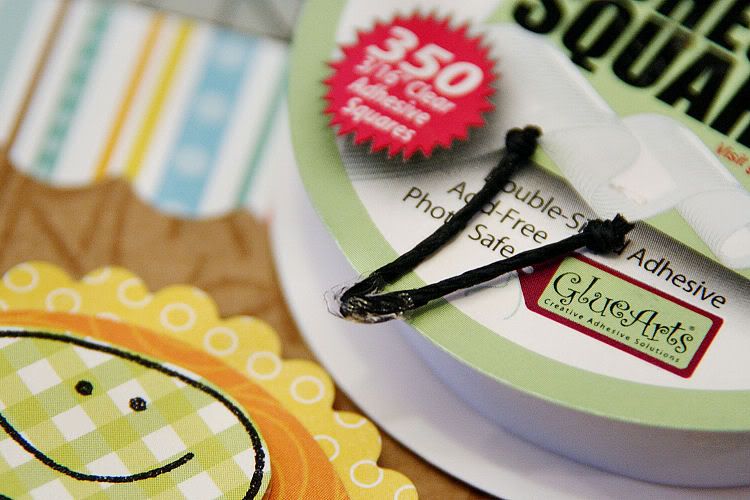
9. As a final touch, I create antennae by cutting a small piece of black hemp with tied knots at both ends. I folded it in half and applied a Mini Adhesive Square to the fold point and tucked it between the firefly layers at the head.
1. For the background of my card I used one of my favorite and simplest stamping techniques, watermarking. By using a clear embossing ink the watermark technique deepens the shade of the background paper of your stamped image(s). I love the subtle look of it and it turned out to be a great way to use a bunch of these cute Paper Smooches Stamps on the background of my card. I started by cutting a piece of kraft cardstock to 4.5” x 6.5”. I lightly drew a few pencil lines across the kraft cardstock piece to serve as a guide to keep my stamping straight.
2. Then I created a sort of “word collage” from a mix of sentiments found in both Sentiment Sampler and Giddy Bugs sets. I started stamping in the middle and worked my way across and then up with each word or phrase. I let some of the words trail off the cardstock and tried to keep the pattern as random as possible. Once I’d completed the top, I then worked my way down. Along the way, be careful to keep your fingers free of the ink or you’ll end up with fingerprints stamped on your project too! Set aside and let dry completely and later be sure to erase any remaining pencil lines.
3. To create the paper pieced lightning bug/firefly, stamp with black ink the image onto 3 brightly colored pattern papers. At this time, I also stamped the sentiment inside a small journal shape that I’d traced onto white cardstock and punched out 2” and 2.5” circles (one with a scalloped edge) to frame the firefly.
4. I then used a craft knife to cut out each yellow body (whole) and then the wings (blue) and head (green).
5. I dotted the outline of the journal shape with a black fine tip marker and added a bit of color to the word “brighter” and the heart. I cut this out as well with a craft knife.
6. To finish the card front, I border punched 2 strips of striped paper and used the Glue Glider Pro with High Tac Adhesive to adhere the scallop strips to the top and bottom of the stamped kraft paper. I also used High Tac on the 1” strip that would be positioned across the card near the center.
7. I adhered the 2 punched circles together with High Tac and adhered one of the yellow firefly bodies to the front. I applied pieces of U-Cut-It Adhesive Foam to the back of this and behind the cut sentiment shape and adhered them to the card front with the scalloped circle in the center of the flower print strip and the sentiment just below.
8. To paper piece the firefly, I used Mini Adhesive Squares to adhere the wings to the other yellow body and to adhere the head on top. For a little bit of dimension, I used Raise ‘Ns to adhere the paper pieced firefly on top of the one on the circle.
9. As a final touch, I create antennae by cutting a small piece of black hemp with tied knots at both ends. I folded it in half and applied a Mini Adhesive Square to the fold point and tucked it between the firefly layers at the head.
We'd like to make your day a bit brighter by giving you a chance to win your own Paper Smooches stamp set along with our Glue Glider Pro and our Adhesive Squares!


Simply leave us a comment today..and let us know what you loved about today's projects. We'll pick a random comment next Monday who will win their choice of stamps from Paper Smooches along with our GlueArts products!
We also invite you to visit the Paper Smooches blog and see what the talented gals there have created with our GlueArts products and Paper Smooches stamps! Be sure to post a comment and share some love with them as well!
It's Monday...so you know what that means...time to announce last week's prize winner and that is:
Roxie said...
I love that layout especially the butterflies! I would love to try the U CUT IT foam and all of your other products. Thanks for the chance to win!!
You have read this article Glue Gilder Pro /
Jenny /
Mini Adhesive Squares /
Paper Smooches /
Patti /
Perma Tac /
Raisen's /
U Cut It Foam
with the title Paper Smooches from Glue Arts. You can bookmark this page URL http://skinnyminny22.blogspot.com/2011/08/paper-smooches-from-glue-arts.html. Thanks!


